


MadJik
-
Posts
2,690 -
Joined
-
Last visited
-
Days Won
68
Posts posted by MadJik
-
-
-
 4
4
-
-
-
3
-
-
_____________________________________________________________________
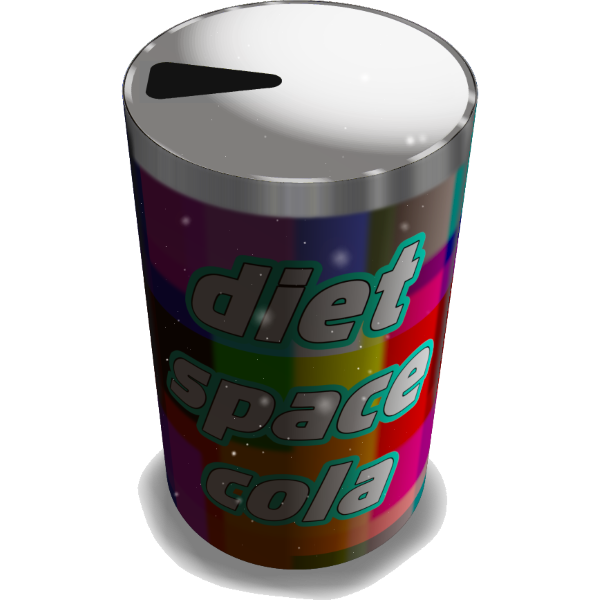
(28/10/2017)
Can of soda OOTF
Human was here

-
3
-
-
-
_____________________________________________________________________
(25/10/2017)
Some new abstracts:
Julia through a kaleidoscope

Reworked nebulos

Vitrail attempt using lightrays

Sphere(s)

Julia Spirals

-
3
-
 1
1
-
-
15 hours ago, Ego Eram Reputo said:
You people are fabulous
")
I'm glad to share this with a fabulous people as you @Ego Eram Reputo
-
1 hour ago, mottoman said:
Yes these are wellington boots made in the shape of a dog

Ah ah! j'adore!!

-
1
-
-
@Ego Eram Reputo Thank you for this plugin.
Some more requests:
Is it possible to change the low limit of the Strip width (first slider) to 1 or 2? (Wire fence?)
This image is also old (2009) :

So what about an angle chooser?
-
3
-
2
-
-
6 minutes ago, welshblue said:
I'm a big believer that Abstract Art should reflect the maker - mood/ personality
If I say I agree 200% that would be abstract as 100% should be enough...
-
2 hours ago, welshblue said:
I like abstracts ... very therapeutic

I like black/dark gradients and orange. This image doesn't seem to be issued from this tutorial. And I like this. I like to show you some doors and you open one I never think about to create such piece...
-
34 minutes ago, AndrewDavid said:
 Thank You @MadJik
 The creation of a new lifeform
LOL, This is something between ET, Maltazar and GRUT
-
I didn't make statistics about OOTW nor SOTW but I often see the first post wasn't the winner.
So I'm glad to see my post as the first entry winning this comp. Thanks, thanks, thanks, to all authors of entries, to who vote for me and toe_head2001 for hosting the comp.
Also I need to tell you I used for the first time the plugin "Palette from picture" (for none US users it works only one time, then you have to close/reopen PDN), with a chocolate sweet dessert to obtain this correct brown chocolate color. Except this, my entry is 100% paint.net.
-
From my tutorial, I found the same parameters in the built-in. I didn't need any more the + version as I think (as few/some of other plugins) they had contribute to PDN evolution.
I also looked for PI+ in the plugins indexes without success.
-
Never paid attention to this, but I can repro it.
-
On 19/10/2017 at 10:59 PM, MadJik said:
This picture was created/published in 2008, without this recent plugins...

Unburried tutorial for this kind of images:
-
This tutorial is available as a PDF. Click here to view or download it
Make some abstract with PDN v1
NB: this is a revival of a lost tutorial originally published in 2008.
My definition:
Some abstract is something that looks like nothing, but it is still nice to look or so intriguing...My examples:
Other related tutorials:
V2 A way to create more abstract... https://forums.getpaint.net/topic/21469-a-way-to-create-more-abstract/
V3 Do some abstract https://forums.getpaint.net/topic/21679-do-some-abstract-v3/
My tutorial:
Needed plugins:
Polar Inversion Plus (Ed Harvey)use the built-in Polar inversion.Gradient Blur (MadJik) https://forums.getpaint.net/index.php?showtopic=6532
Motion sharpen (MadJik) https://forums.getpaint.net/index.php?showtopic=9282
01. create a new image. As usual I build my tutorial with 800x600 pixels images. But it's really better to use bigger image (3200x2400).
02.
 With default colors (black and white) draw a linear gradient with angle between 30° and 60° for corner to corner.
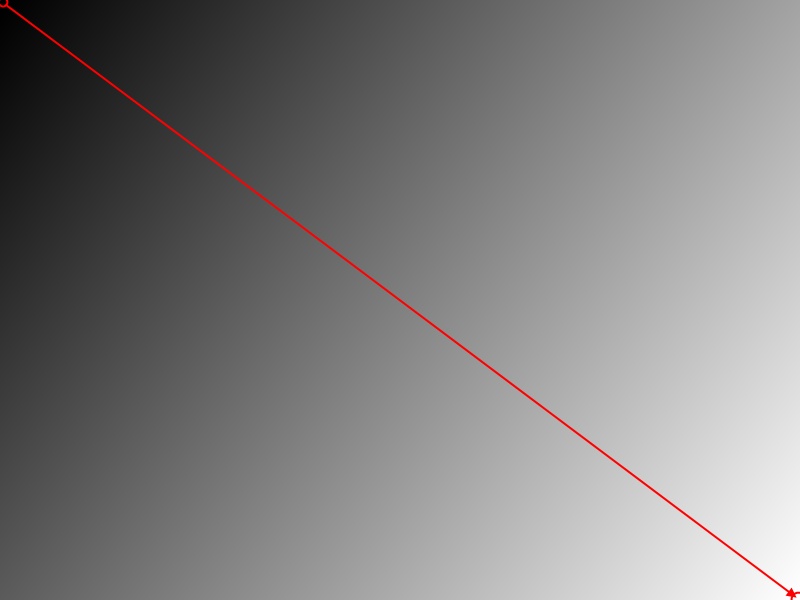
03.
Select the magic wand tool. Set the tolerance to 10-15%. Hold the key [Ctrl] and select 5-10 slices of the gradient. Try to have a regular gap between the slices.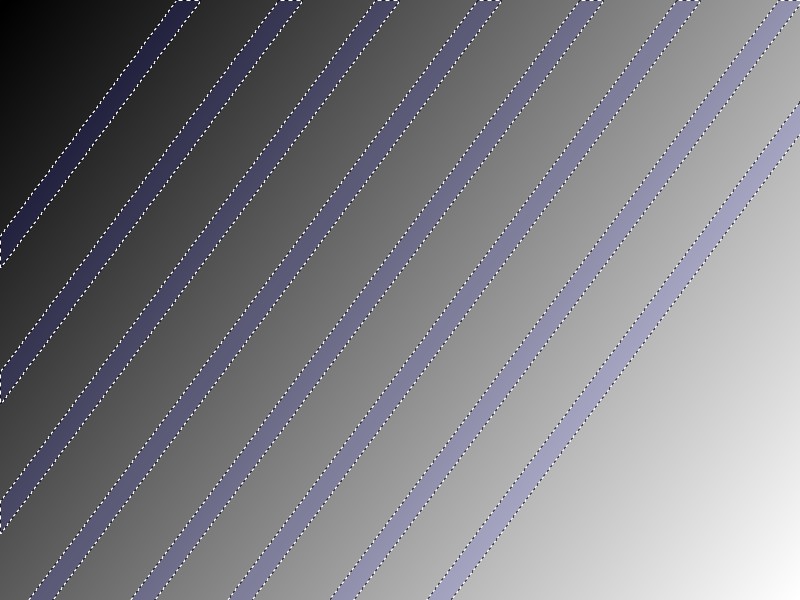
04.
With the selection, draw another linear gradient with a different angle (ex: vertical or horizontal).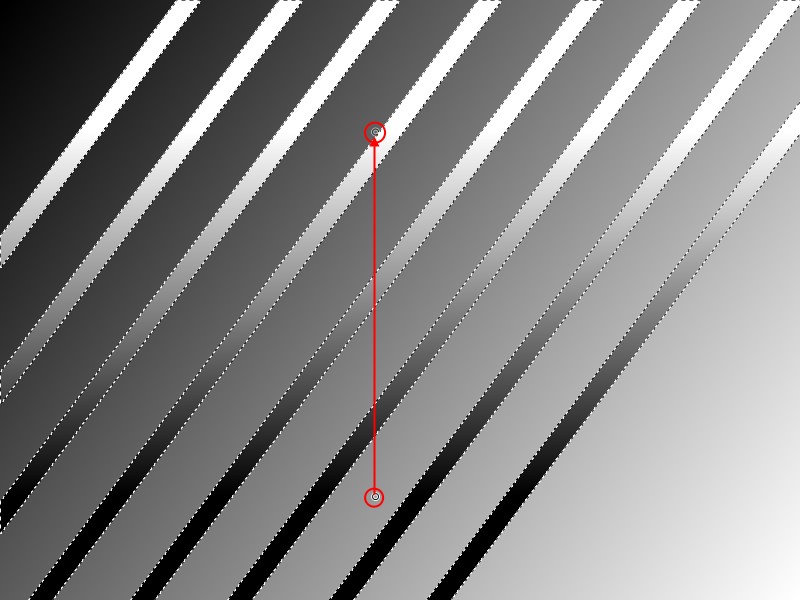
05.
 Deselect, and menu Effect / Distort /Polar Inversion
  (use the built-in Polar inversion.), Amount:0.80, Edge Behavior:Clamp to edge, Quality:5
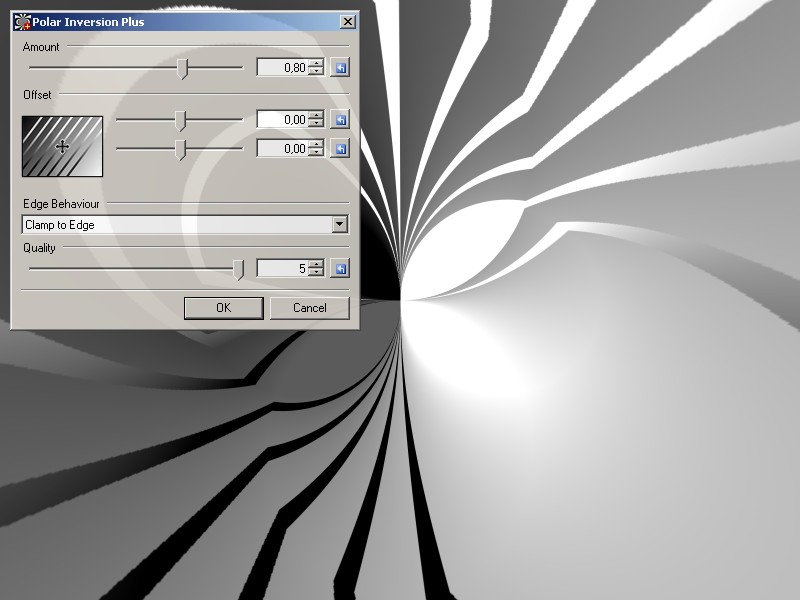
06.
 Duplicate the layer. Then
  Twist Effect Amount:18, Size:2, Quality:5. Hide the top layer.
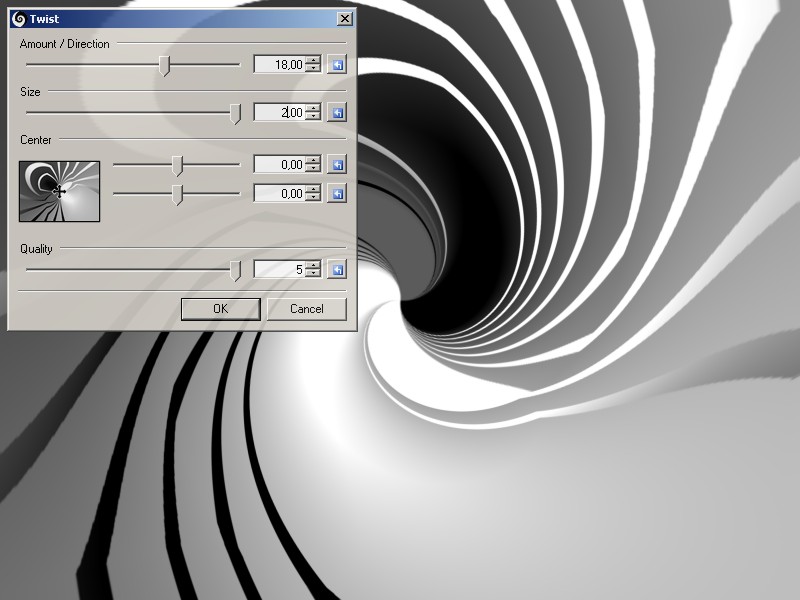
07. Menu Image,
 Flip Horizontal, Select the background layer, [Ctrl] + F : repeat the last effect (Twist).
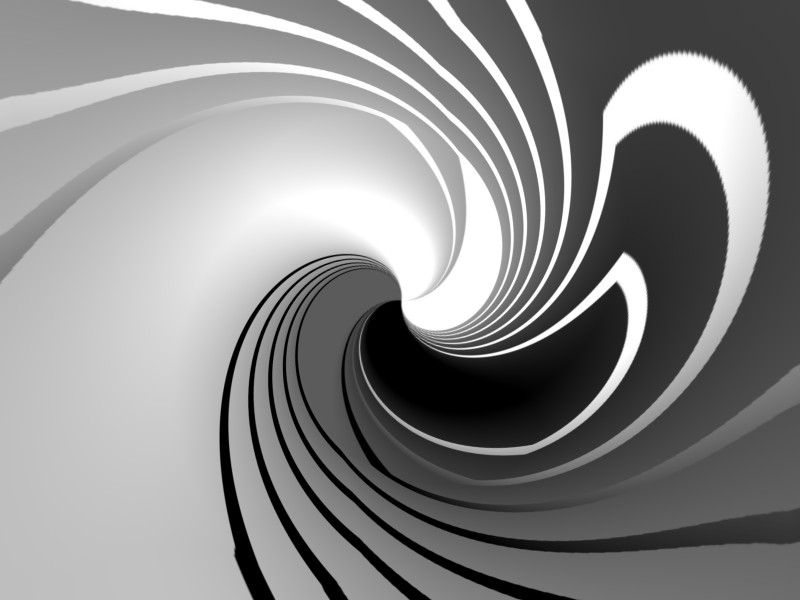
08. Select and show the layer on the top. Press F4
 , and play with the blend mode to find interesting result...
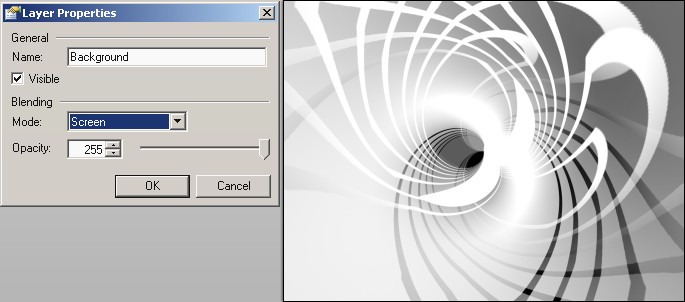
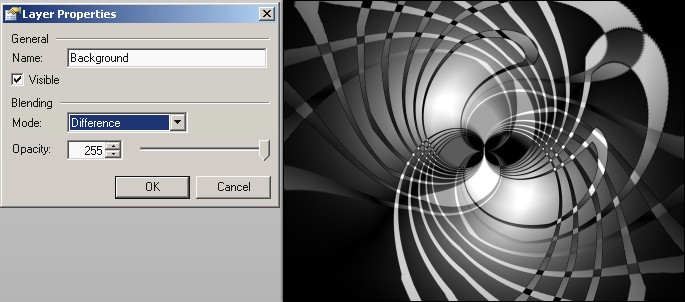
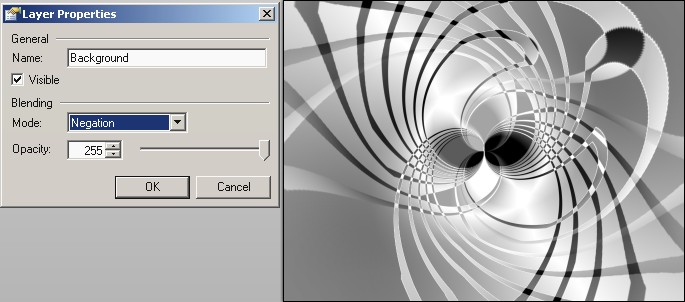
Your choice could be different if the image is different (different angle, different colors...)
I choose mode Negation.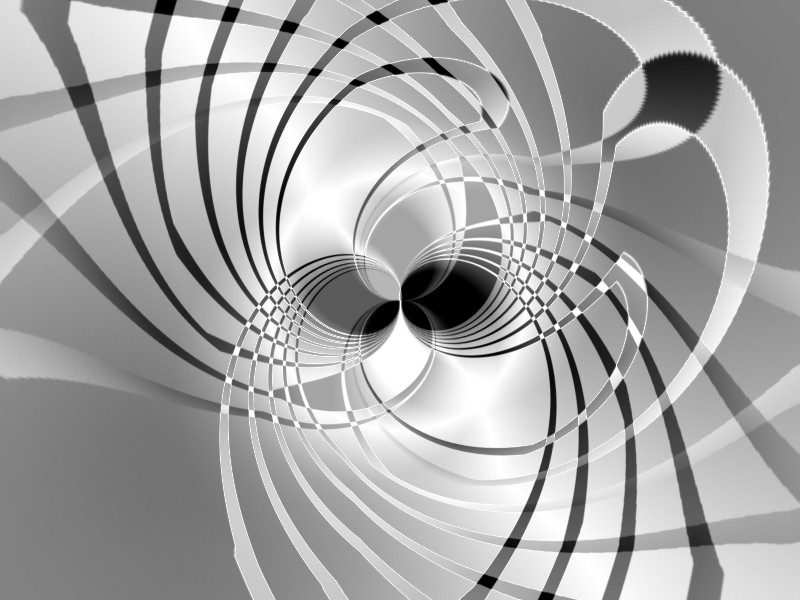
09. On the both layers, apply a gradient blur, see the setting on the screenshot:

10.
 Merge down the two layers.
11.
 Duplicate the new layer.
12. On the top layer, apply the motion sharpen effect: angle:0, centered, mode lighten, distance:100
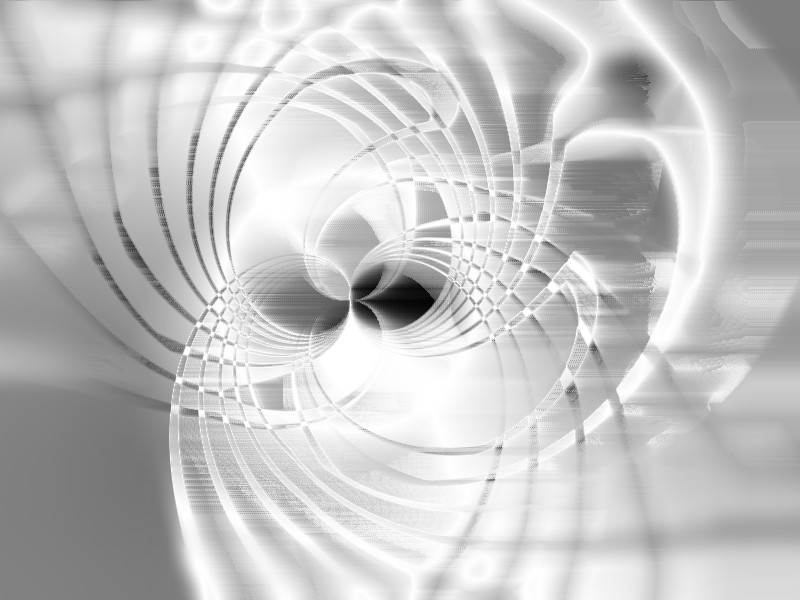
13. On the top layer again, adjustment,
 autolevel.
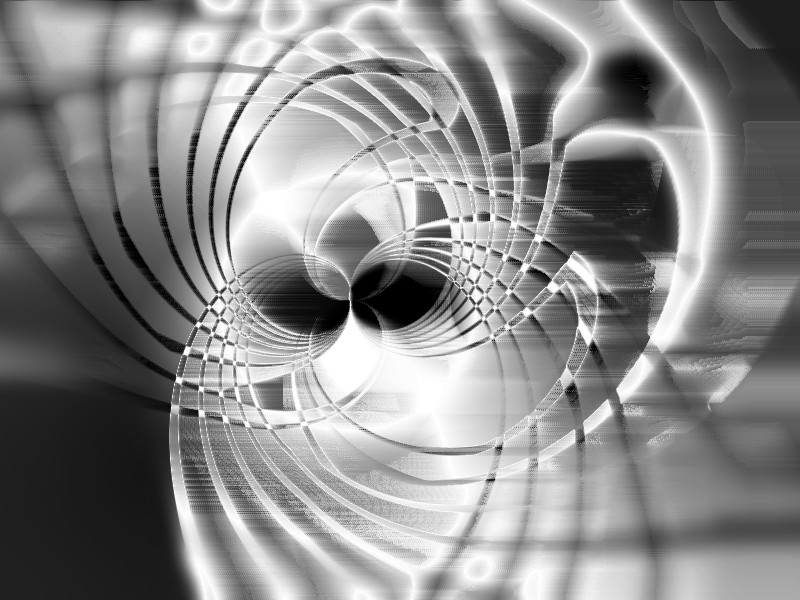
14.
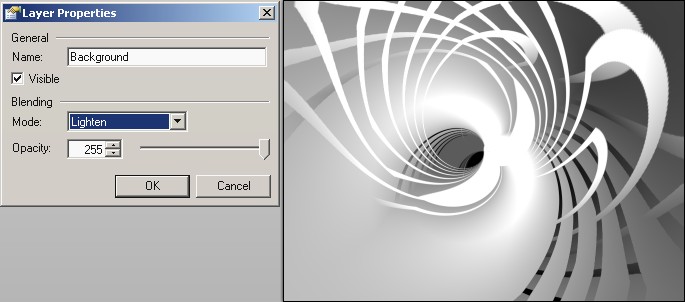
Duplicate the top layer and  flip it horizontally, press F4
  and choose a blend mode (Lighten)
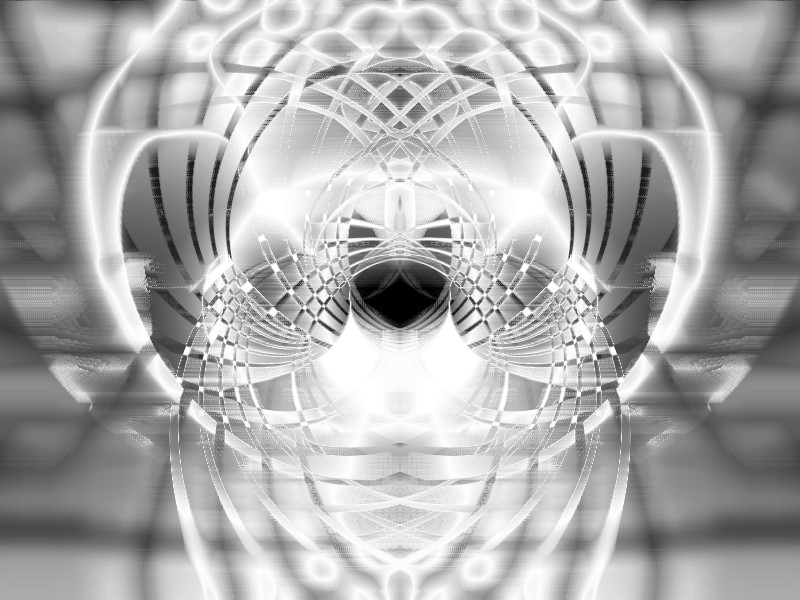
15.
Merge down the two top layers.
16. On the top layer again, adjustment,
autolevel.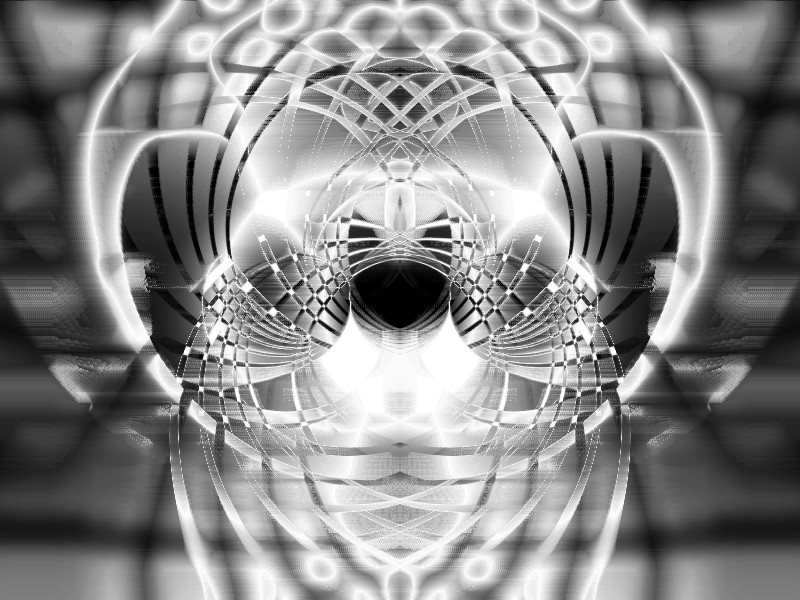
17. On the top layer again, press F4
and choose a blend mode (Screen)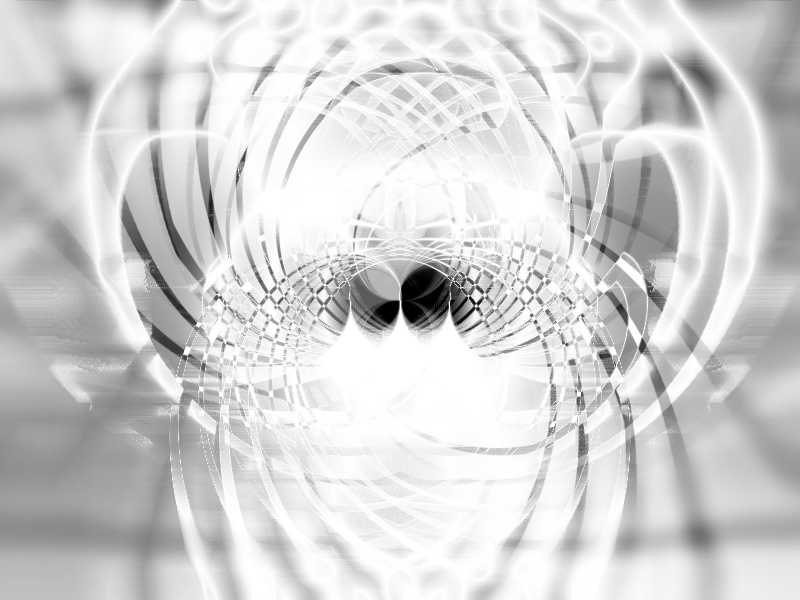
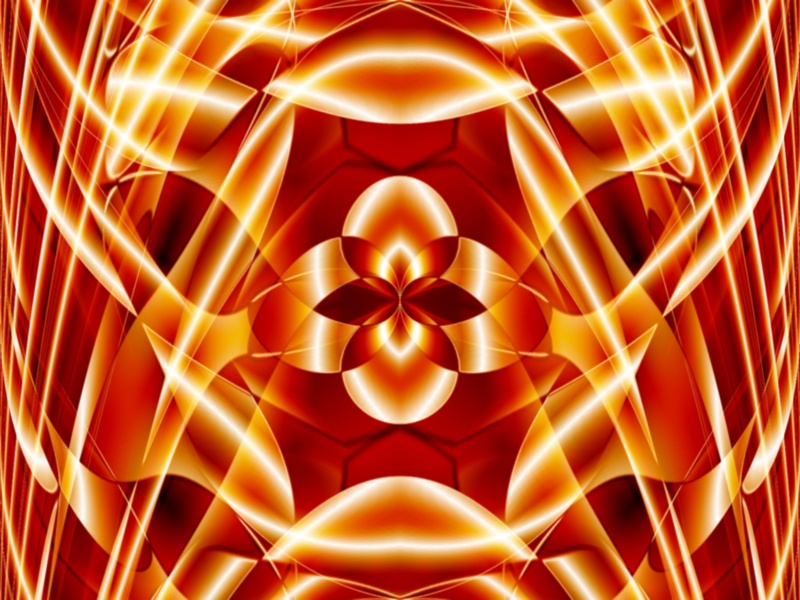
18.
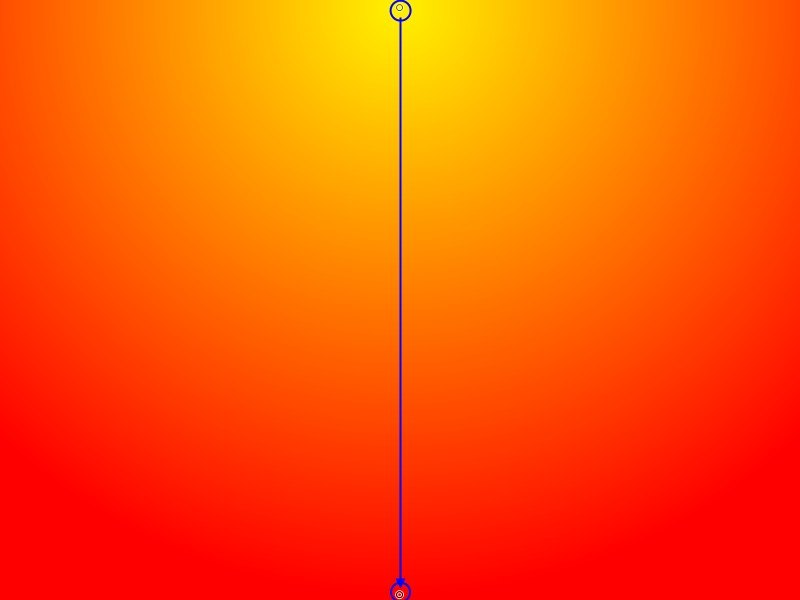
 Choose two colors : primary:yellow, secondary:red
  Add a new layer on the top,. Draw a radial gradient
  .
. 
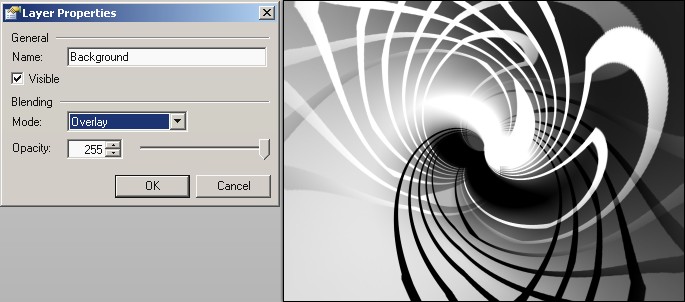
19. On the top layer, press F4
, choose a blend mode (Overlay) and set the opacity to 120.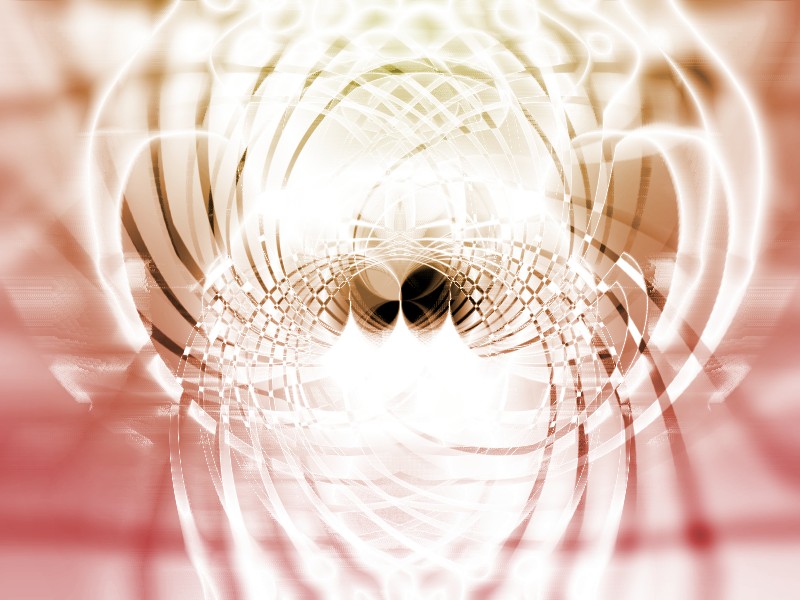
20.
Choose the default colors : primary:black, secondary:white Add a new layer on the top. Effect / Render / Clouds  (with defaults).
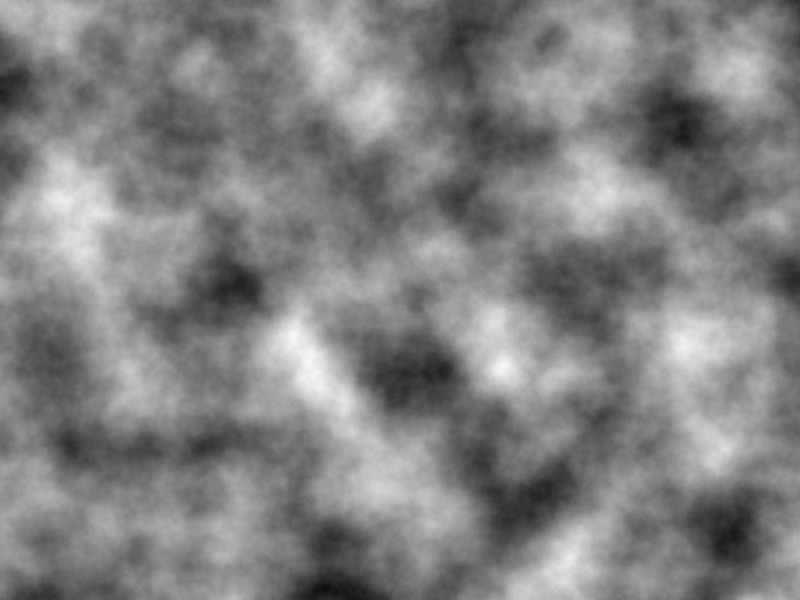
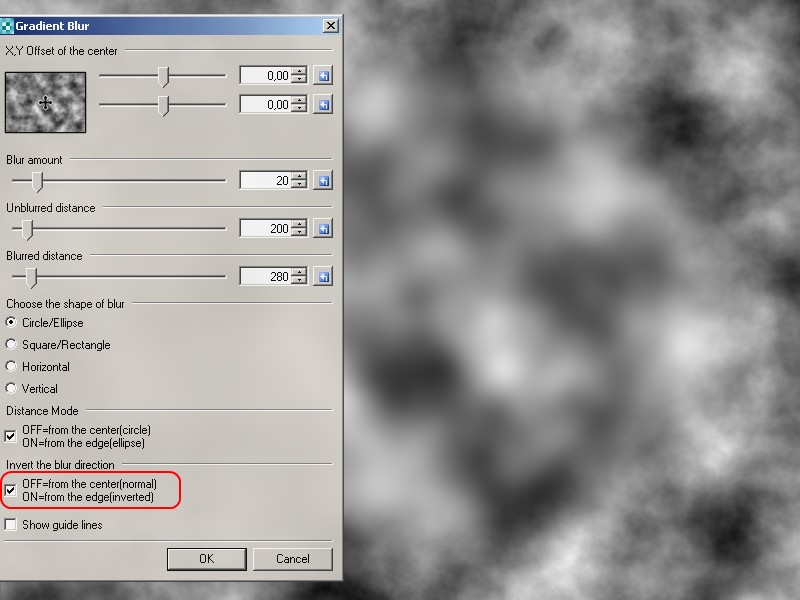
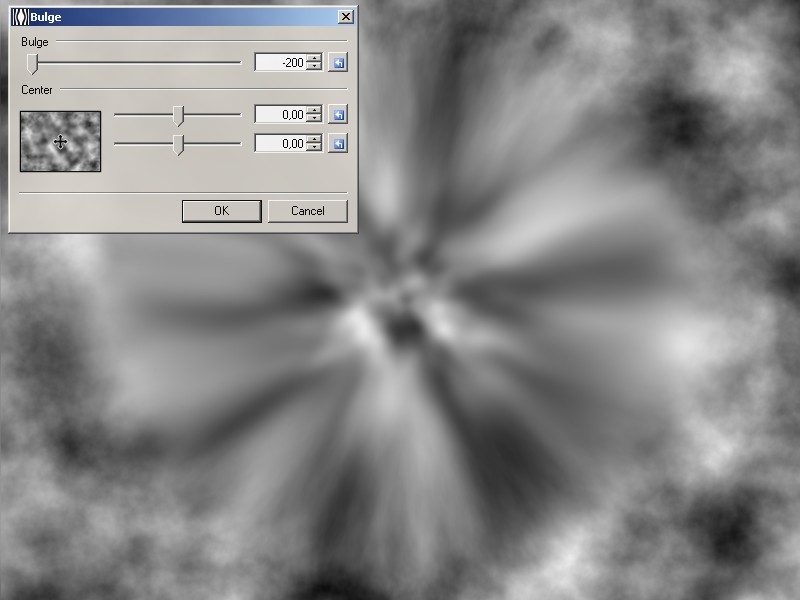
21. On the top layer (clouds), apply a gradient blur, see the setting on the screenshot:
22. Bulge Effect amount: -200, repeat it one more time : [Ctrl] + F
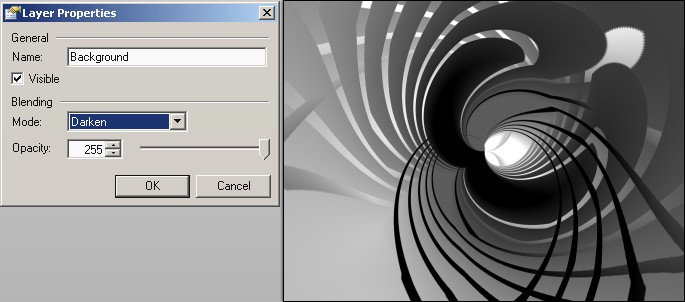
23. On the top layer, press F4
, choose a blend mode (Darken) and set the opacity to 100.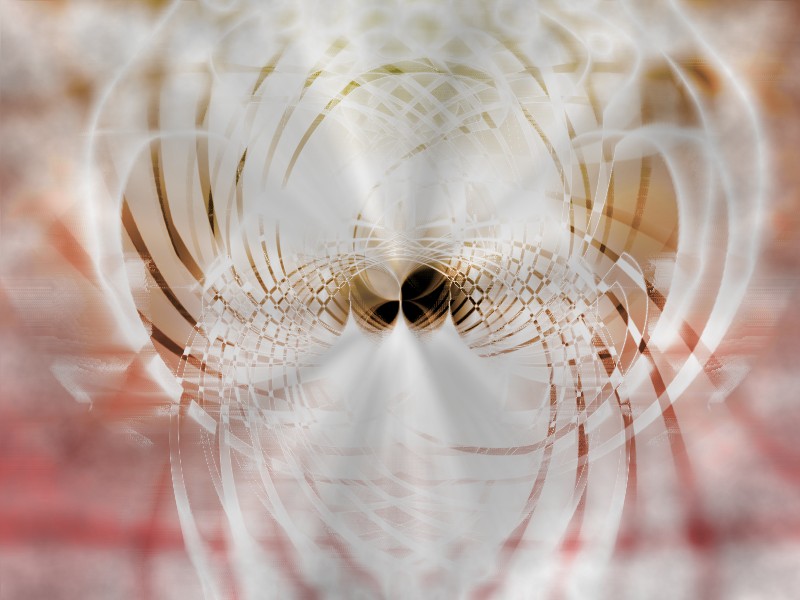
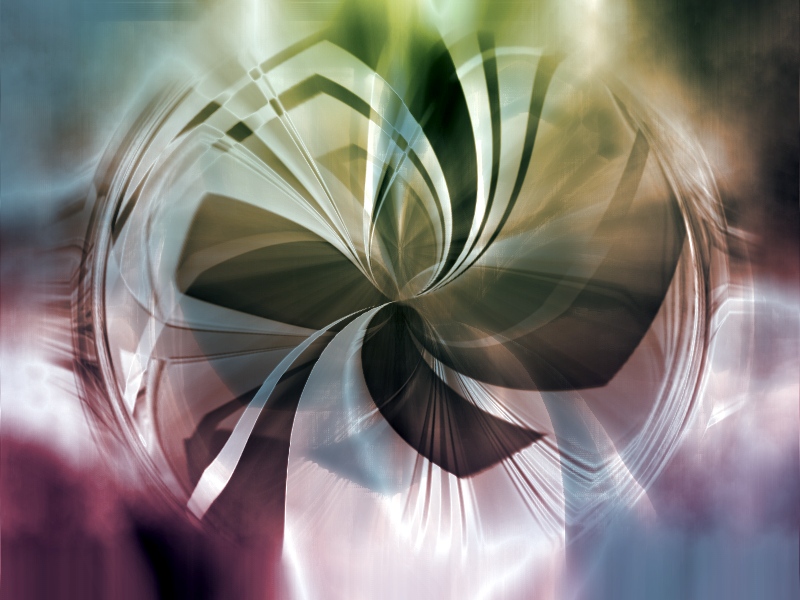
24. Now this is the magic moment.
 Flatten the image. And adjustment, autolevel.
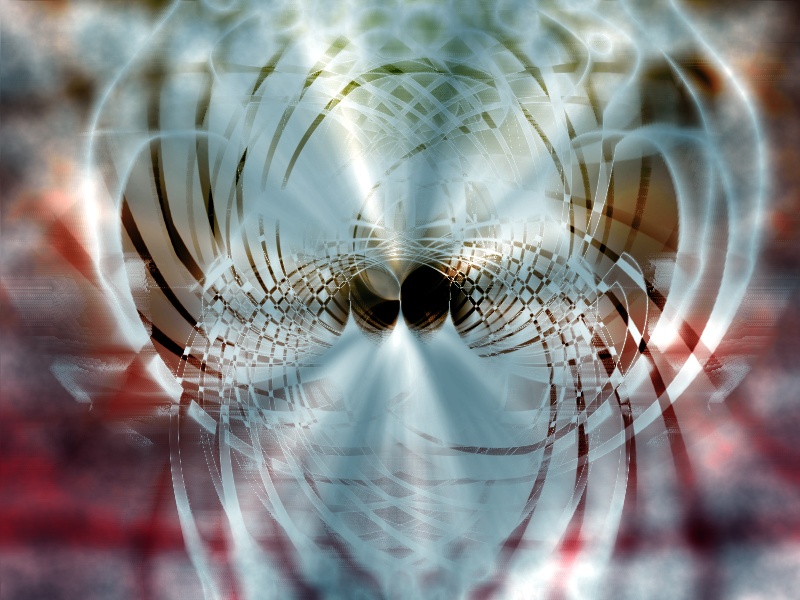
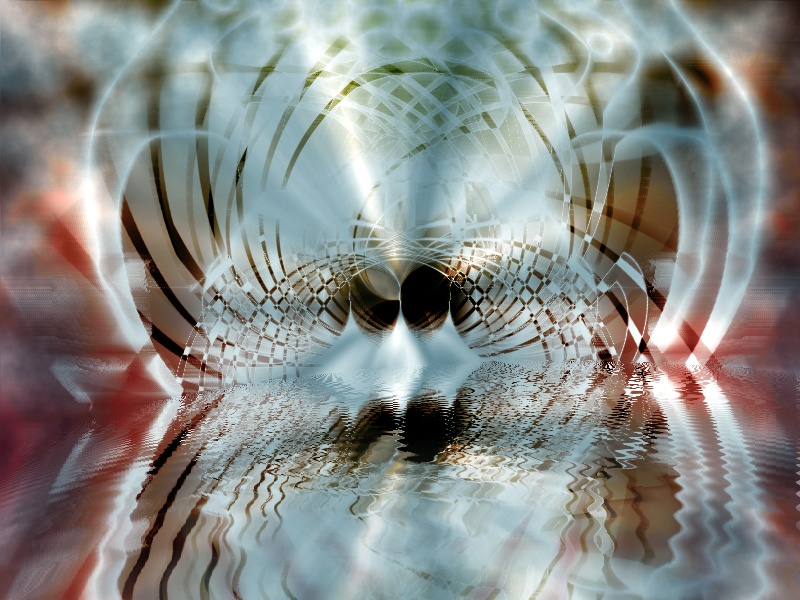
25. You could go on like this: duplicate, distort, blend, add few colors, etc... and/or other effects (water reflection, rect to polar, polar to rect, etc)
-
2
-
3
-
-
15 minutes ago, MadJik said:
If you need filled rectangles instead you could use the selection tool. In the tool bar, instead normal you could use fixed ratio.

Then define your ratio and each new selection will use it.
-
Hi @MJW
You could set your own values:
      configUI.SetPropertyControlValue(PropertyNames.tAngle, ControlInfoPropertyNames.SliderLargeChange, 0.25);
      configUI.SetPropertyControlValue(PropertyNames.tAngle, ControlInfoPropertyNames.SliderSmallChange, 0.05);
      configUI.SetPropertyControlValue(PropertyNames.tAngle, ControlInfoPropertyNames.UpDownIncrement, 0.01);
      configUI.SetPropertyControlValue(PropertyNames.tAngle, ControlInfoPropertyNames.DecimalPlaces, 2);
-
Hi @glarsson
Welcome to the forum.
Using the drawing shape tool, you only could constraint with Shift key the ratio (rectangle is square, ellipse is circle). Nope to draw fixed ratio 16:9 rectangles.
If you need filled rectangles instead you could use the selection tool. In the tool bar, instead normal you could use fixed ratio.
Then define your ratio and each new selection will use it.
Select the primary color and press backspace to have a filled rectangle.
Or use Boltbait's pack to outline the selection to have a empty rectangle.

-
6 hours ago, TrevorOutlaw said:
If someone provides me the math formula, I'll see what I can do.
I really like (and I'm surprised) to see how users like @oma @Seerose @Pixey @lynxster4 @Eli and (sorry for) the others could do with paint.net and the plugins effects.
Have you tried each and every of my plugins under the texture menu?
As a lot of them (Animal, Fractal attractor, Perlin, Julia, etc.) give the opportunity to the user to "travel" inside the rendering, playing with the sliders.
I think plugins are good to fill the "initial white page" and once the first step is made, the creativity is awake to accomplish some master piece of "art" at our level.
This picture was created/published in 2008, without this recent plugins...
NB: When I said creativity, for me it is : test, do, undo, redo, retest, etc. I never know how it will end.
-
2
-
2
-
-
This picture was made in july 2011.
Any resemblance between any real person... living or dead, is purely coincidental.
-
On 14/10/2017 at 4:18 PM, Eli said:
Those fractals are just beautiful. I feel as if I were looking through a microscope.
I would say as EER : new univers (through a telescope)
This would be my vision through a microscope:

-
4
-
1
-
-
-
1
-
-
4 hours ago, Ego Eram Reputo said:
@MadJik - lovely new plugin. Thanks!
You might want to edit your installation instructions as those won't work with the Store version of paint.net. Users wishing to install your plugin(s) for the Store version should install to
/My Documents/paint.net App Files/Effects/
or
/My Documents/paint.net App Files/Filetypes/
Done, let me know if it is ok like this before I update my other threads... 62 left


 The creation of a new lifeform
 create a new image. As usual I build my tutorial with 800x600 pixels images. But it's really better to use bigger image (3200x2400).
 With default colors (black and white) draw a linear gradient
  Deselect, and menu Effect / Distort /Polar Inversion
  (use the built-in Polar inversion.), Amount:0.80, Edge Behavior:Clamp to edge, Quality:5
 Twist Effect Amount:18, Size:2, Quality:5. Hide the top layer.
 Flip Horizontal, Select the background layer, [Ctrl] + F : repeat the last effect (Twist).
 , and play with the blend mode to find interesting result...
 Merge down the two layers.
 Duplicate the new layer.
 autolevel.
 flip it horizontally, press F4
  Choose two colors : primary:yellow, secondary:red
  Add a new layer on the top,. Draw a radial gradient
  .
.  amount: -200, repeat it one more time : [Ctrl] + F

")
Stars Effect (madjik's updated ymd:171101)
in Plugins - Publishing ONLY!
Posted
new version (repeat + steps + gradient)
Artwork using New stars (but not only...)