

HyReZ
-
Posts
1,324 -
Joined
-
Last visited
-
Days Won
10
Posts posted by HyReZ
-
-
4 hours ago, BobGrey said:
Very defensive...
I get defensive when I run into prejudgmental people!
I merely didn't understand what "storage location" referred to,Next time ask for clarification before jumping to erroneous conclusions!
Your attempt at 'simple logic' was a total failure and completely unnecessary.
😠 -
1 hour ago, BobGrey said:
I assume that was written first in a non-English language, then translated before posting?
There is no reason for your presumptuous assumptions! The creator of the DynamicDraw Plugin refers to the storage place for brushes a 'location'. Do you assume that he has issues with language also? I am beginning to think a few other people participating in this thread have issues that transcend language!😠
-
A
2 hours ago, BobGrey said:How does one make a custom brush? Is it possible to import photos hope brushes (there are a few I found that will be handy)
Any image can be a brush, just make sure that the background is transparent. You can use Paint.NET to make your own brushes. Make sure to make your canvas the size of your largest brush size because the brushes don't scale up well. Add the brush to the brush plugin storage area. There are hundreds of brushes that can be located around the internet or that are part of your other design software packages.
-
@Amita4ever
There is a plugin that is basically a blur brush, created by 'Pyrochild'.It is part of the pyrochild's plugin pack.zip. It is a .dll file called the Smudge plugin.
You can open up the plugin pack zip and just install the smudge.dll in the proper
Effects folder for the Classic or MS Store version of PDN.
-
On 3/24/2022 at 7:10 AM, lynxster4 said:
Welcome to the forum @Und3adShr3d. Why don't you use your scanned shape and open it up in the ShapeMaker plugin?
Then you can draw your shape in any line thickness? Here are some links: The ShapeMaker Plugin and a short tutorial on how to use it.
Your shape is very simple; it should be easy to trace.
In addition to being able to trace and vary the stroke (line width), the results can be Added to the Path List exported to svg for importing into some 3D rendering or printing programs.

-
 1
1
-
-
2 hours ago, jodooley said:
I have permission to use and image.. how do I apply changes to an image and retain the image then on my own?
Bring the image into Paint.NET. Then select 'Save As' and create a new name for the file before saving.
This will leave the original image in tact and you can work on the renamed copy -
@SebG
You can use a freeware called 'Metadata++' to examine the questionable image for its EXIF data and the app will reveal its file type.Here is a link to the web site where the app can be downloaded:
Logipole - Official Homepage of Metadata++, Konvertor, Flash 32 and Albm++(BTW- If you are not keen on dark mode, goto the settings in Metadata++ and uncheck it)
-
If you set the primary color to white and create a blank transparent layer in Paint.NET, turn on the Color Picker and Select More, and use the eyedropper on the transparent layer, you will notice that the primary color goes to black on the Color Picker and the opacity is set to zero (100% transparency). This indicates that the transparent layer is actually has black background but it is not being revealed. Strange days indeed!
Many years ago I used this software that would create multi-page Tiff files that would reveal its background image in MS Paint but not In Paint.NET.I have noticed that sometimes my PNG thumbnail icons will have a black background for a period of time, but will display later as transparent and my PNG will have a transparent background. I don't think that it is Paint.NET problem. A few years ago I had a problem like yours and it was caused by an issue with my web browser software.
-
You can also use the Windows Character Map and search for a star symbol in your Wingdings or Dingbats character sets.
Just Select(x37), Copy, from the Character Map and Paste into the plugin that BoltBait suggested.
-
Okay, is it the skyline of Blaine, Washington? 😁
-
I am going out on a limb here; can it be the Vancouver, Canada city skyline???
-
Photoshop has a feature called 'Content Aware Fill' that worked like what you are illustrating.
https://www.youtube.com/watch?v=cZS4dVabt6QNull54 created a Content Aware Fill plugin for Paint.NET:
https://forums.getpaint.net/topic/112730-content-aware-fill-2021-06-24/ -
I created my graphic design celebrating the 50,000th member in February of 2019.
-
When was the Paint.NET Forum members data base purged?
I remember commemorating its 50,000th membership with a graphic design.Am I experiencing The Mandela Effect?

-
On 3/15/2022 at 7:42 PM, spritemoney said:
There used to be a plugin on Paint.NET where you can easily change the color of an image with just a few clicks. I tried to search for this plugin and I cannot find it.
Think of it as a more advanced invert feature or a quick to use curves feature.
There is an inverter plugin called "Invert_Anything.dll" and it is reference in the Paint.net forum here:
-
My workflow is based upon well defined pixel placement also and having the pixel grid mostly enabled, helps a great deal.
This is especially important for me when dealing with editing the artifacts of anti aliasing.After all, the pixel grid is noticeable when you are zoomed in and to get a good idea of the of the end result
is to view the graphic as it would normally appear, and that is to zoom out.
So inclusion; I will iterate the clichéd idiom of "to each his own". -
3 hours ago, Tactilis said:
If you practice this, you can do it almost as fast as using a shortcut key, and much faster than using the mouse.
In my practice using grids, I basically leave them on after toggling, but to each his own!
-
-
@jimleslie77
There are a load of digital fonts that look like Pencil:
Fonts that look like pencil texturesYou also can create or locate a pencil texture and build a mask from the existing type image and superimpose it
-
If you are thinking about something like the image below,
after remembering how to use the plugins and assembling the assets, the project took ~ 2 hours.
(Click on the image for a larger view)

-
Search for the Windows Charaater Map app (bulit into every version of Windows), then scroll thru the map to locate and select your characters into the Select box.
Next click 'copy' to place your selections onto the Clipboard and paste into Paint.NET (or an other app the use text).
-
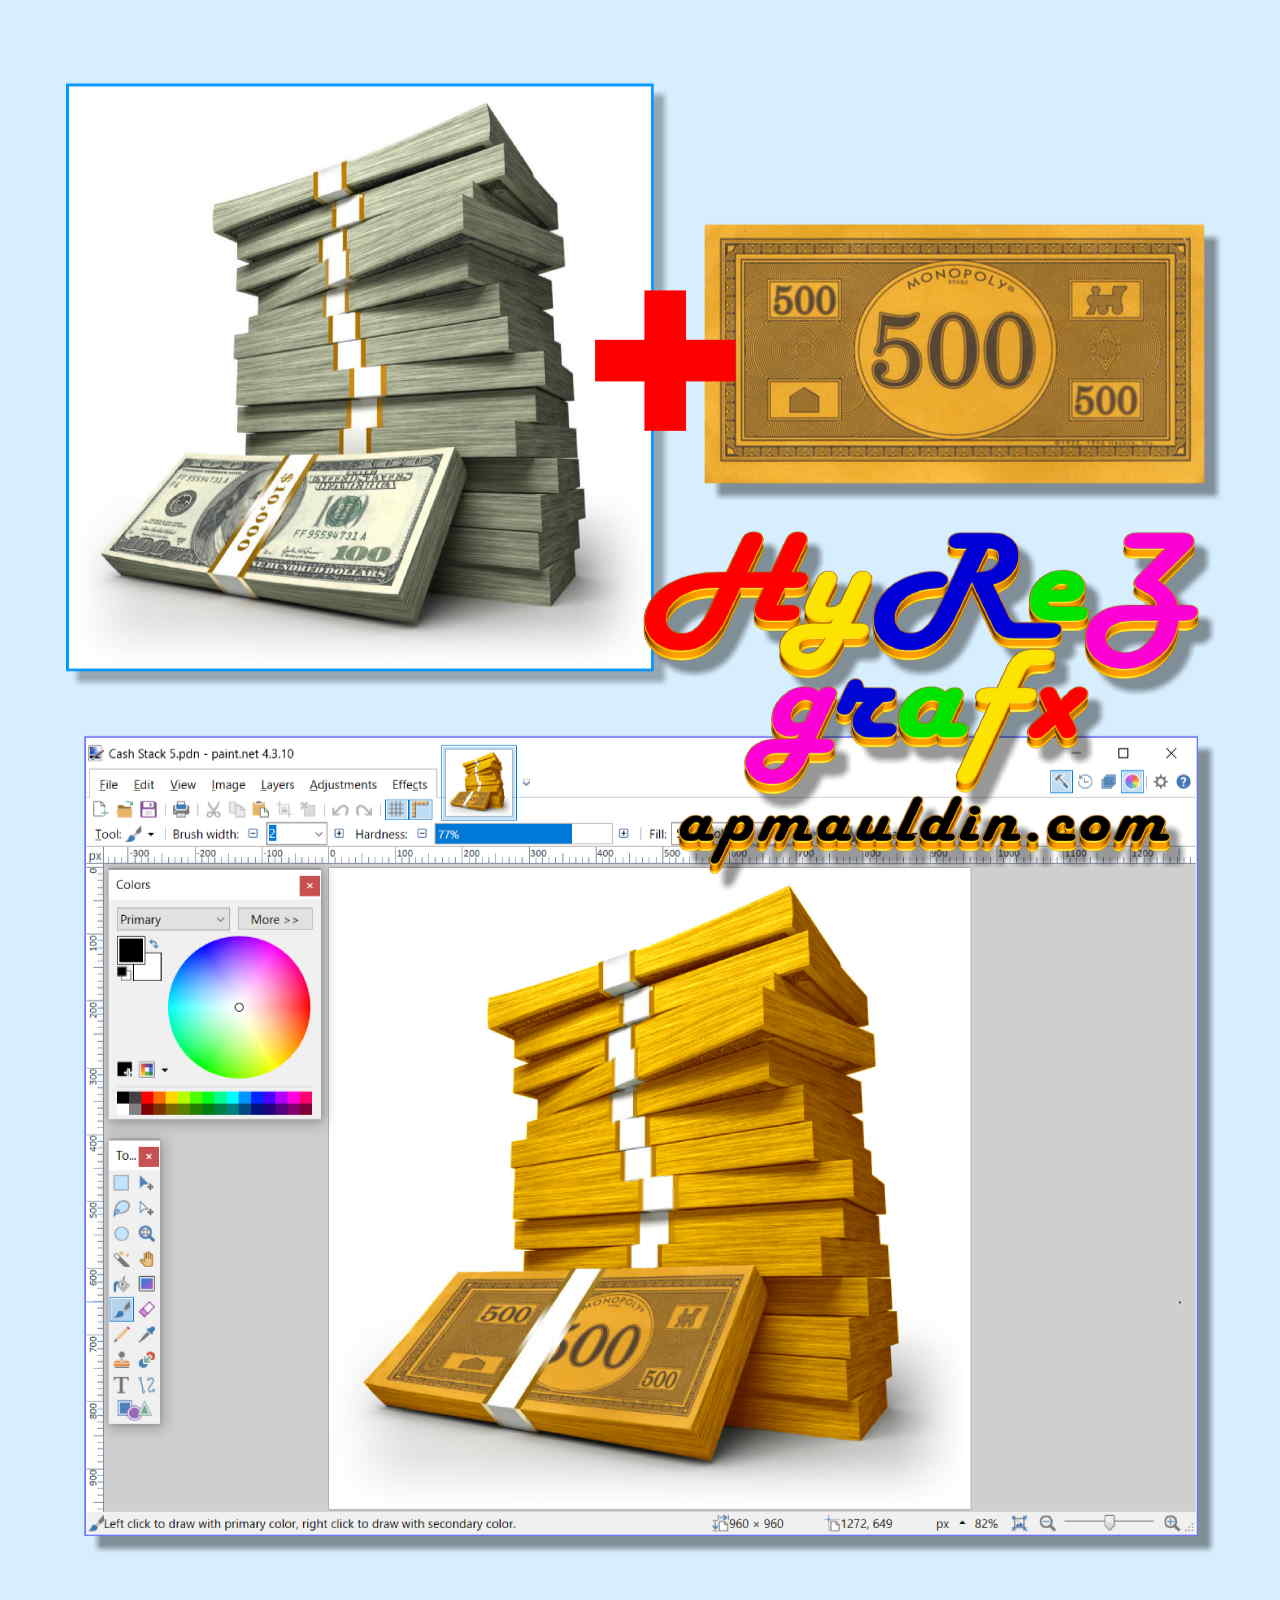
Why not go on the web and search for images of stacks of paper money and use Paint.NET to superimpose a layer of your image on top?
-
Try doing a screen capture instead of doing 'copy image'.
Steps:
Open your 'Team Meet'
Press F11 to go full screen
Press the 'Print Screen' button to capture the screen to the 'Clipboard'
In Paint.NET goto the 'File' tab and select 'New' from the menu (the new image layer will have the dimensions of the screen capture in memory)
Paste the screen capture on to the 'New Image' layer'.
You can use your PDN skills to crop image.This should work in all versions of Paint.NET
-
1 hour ago, Jane Anderson said:
Did try Metadata but black interface is not so good for me to see.
You can go to settings in Mettadata++ and uncheck Dark Mode
The only suggestion I have to make it better, when typing in a name on a photo, capital letters like "A" and "S" are quite a bit stairsteppy. It is noticeable only on extreme zooming in higher than 200% so isn't really an issue.
This jaggy effect is inherent in all bitmapped raster file types and is called 'Pixelation'. It is especially prominent in smaller images that are magnified. I work with larger images and have to reduce the image size when displaying on the web.
However I did check the same letters in Word and they were very smooth.
Windows use TTF (TrueType Fonts) and or OTF (OpenType Fonts). I think they are vectorized fonts using XML that scale up without causing pixelation until the fonts are converted to bitmaps when saved as an image file in software, such as Paint.NET.


Dynamic Draw v4.0 (7/25/24)
in Plugins - Publishing ONLY!
Posted
I will accept your weak apology this time, but now that you know better you should do better!
Enough said!