


barkbark00
-
Posts
2,890 -
Joined
-
Last visited
Posts posted by barkbark00
-
-
...it's fantastic...
Doctor, thy name is 'Myrddin'!
-
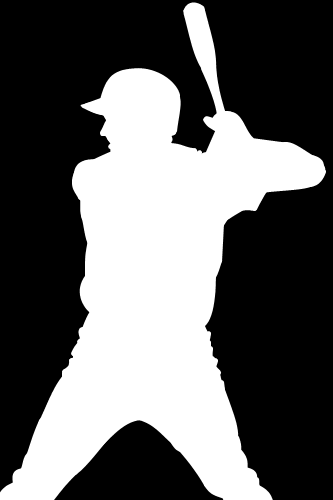
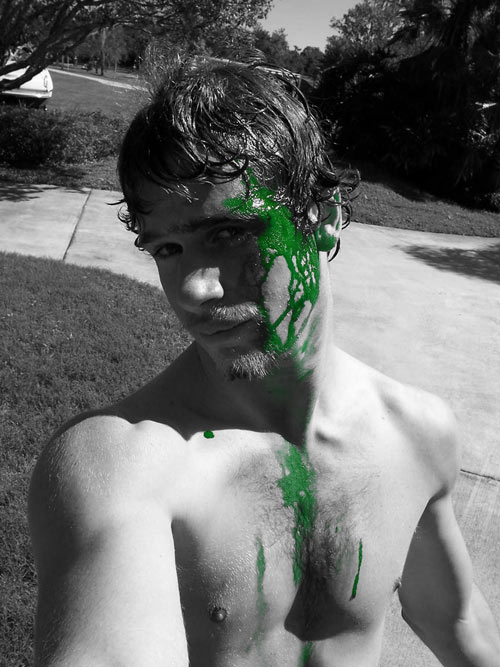
Batting Practice
A little fun with pyro's smudge plugin and blending modes...
-
I suggest you put the original topic title back and just add "Solved" to the end. You never know, other users may have the same problem in the future...
-
What's wrong with a 'handkini'?

-
-
I don't see how having the default blank canvas is a problem for you...You would still be clicking "New" if it wasn't there....so I always just end up clicking "new"... -
Nah, that's BoltBait's job...

-
Sure, just as long at you don't call me "BB" (as not to confuse me with BoltBait.).P.S. Can i call you BB00, instead of Barkbark00 (most others do, so i thought i'd ask)?
-
Thanks. The "cloth" was supposed to be rusted, torn up metal...I was thinking "jaws of life" gone wrong.
-
Metal tests...
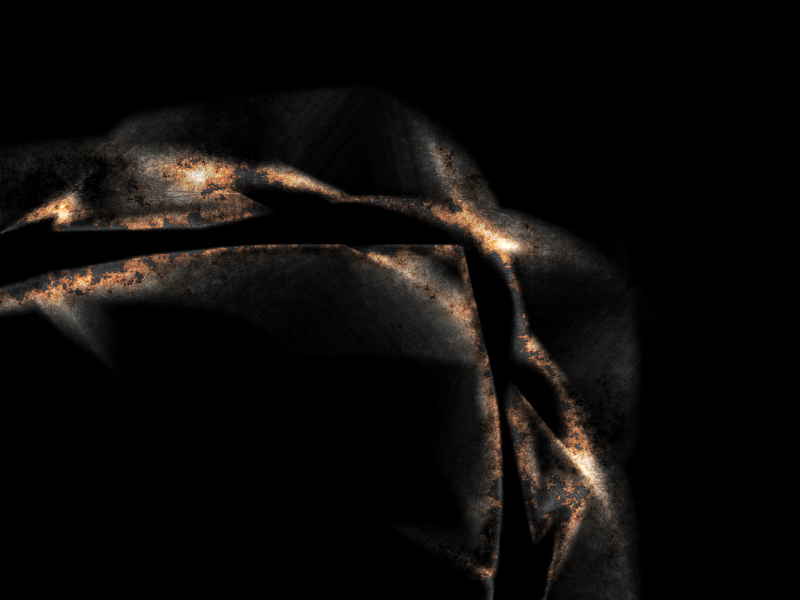
100% PdN, no stocks or custom burshes.
-
How about adding a blend mode option?
-
< 10 mins...BB00: You are really good at making masks :shock: ! How long did that one take?
what are you on man...?"Who is that Alpha Masked man?""He goes by the name 'Double b double 0'."

-
Thanks!
I may post a tutorial if I get bored enough...lol
-
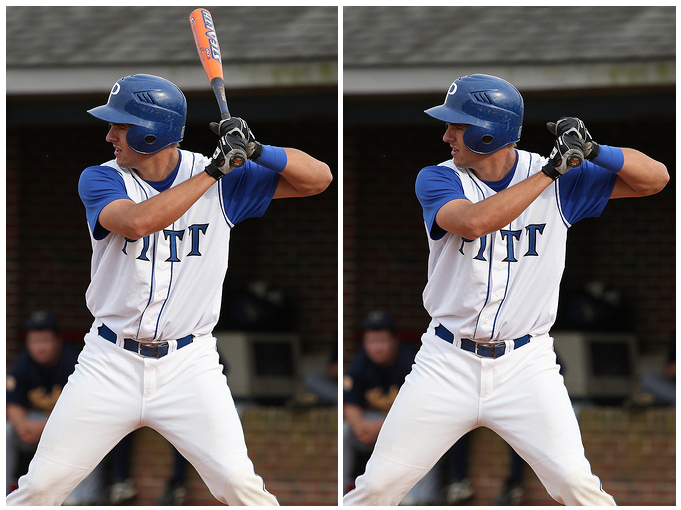
I just duplicated the image and used 'Unfocus Blur' at 3px on the top layer. Then I cut the background away using the 'Alpha Mask' plugin (mask included below) and alpha blur...
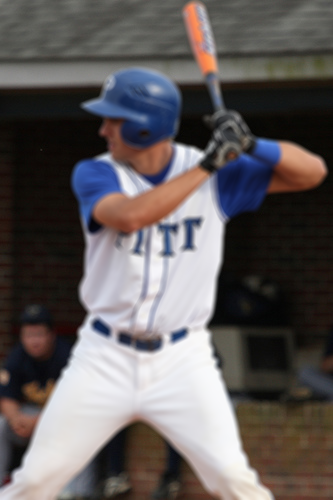
The easiest thing would be to just use 'Unfocus Blur' on the whole image at about 3-4px...
-
LightArt
aka, 'Glow Stick Heaven'
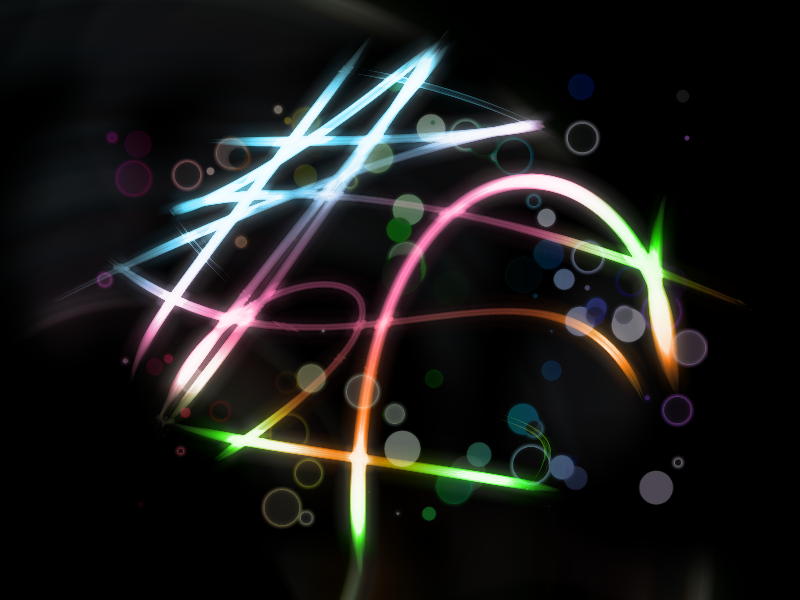
100% PdN, no stocks or renders
-
Great plugin. Love the many shape options.

Bug(?):
'Keep Inside' disregards non-rectangular selections.
Feature Request:
Add an option to keep each object separated; maybe even allow for min/max spacing.
-
How's this?
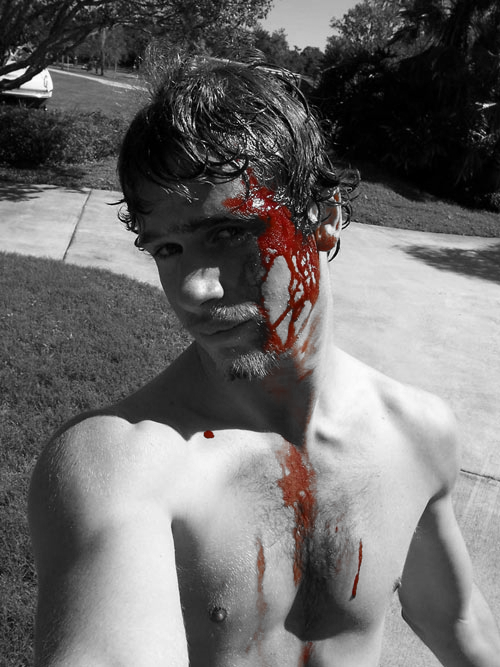
Gatorade style:
To do this I used the Extract Channel plugin to get the "CIELAB a*" data. Then I used the Brightness/Contrast adjustment to make the lightest parts of the image white and the darker parts completely black. Then I used that as a mask on the original image and I was left with just (most of) the blood which I pasted over a copy of the original...
-
Here is something I threw together to demonstrate the use the displace effect. I know it sucks, but hopefully you can see the similarities between this and the effect in that tutorial TopHATslash posted.
-
Using the Displacement feature to achieve slightly grungy distortion is a fairly popular concept.
Here is a PS tutorial that explains it...:
-
Have you used the effect in PS...or in GIMP for that matter?
The displacement effect in PS distorts pixels in your active image based on the luminosity values of the pixels in a source file.
Both of the PdN versions are actually more powerful that the PS version in that you can use any image (not just .psd's) and you can control the direction of the distortion...
My suggestion...
Google "photoshop displacement tutorials", read any relevant search results you find and then come back and try the plugins for PdN.
-
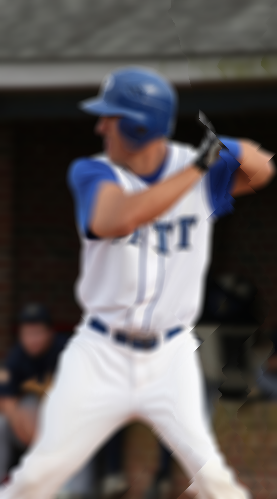
Took this:

And made this:
100% PdN, except for the original source....
-
This part?
I remember I started out with that intention, and had to abandon it for some reason. Can't remember what that reason was, though. I'll look into it again.Random Effect is amusing; it would be more so if a new effect were selected for every (Ctrl) + F. (I have a strong suspicion that this is impossible... oh well.Thanks.
-
Any way to make CTRL+F run a different effect randomly?
-
That is tough (near impossible) to accomplish programatically...
I suggest you get a drawing tablet and Photoshop and sit down for a couple of hours to brush it yourself. Sorry...

i advise................ we get
in Paint.NET Discussion and Questions
Posted
There is a tutorial for this...
viewtopic.php?f=15&t=22096