


mcamp14
-
Posts
117 -
Joined
-
Last visited
Posts posted by mcamp14
-
-
Are you talking about a tool like the Live Paint tool in Adobe Illustrator?
-
Granted, this recent addition is not related to astronomy at all, but I think that it is pretty cool. If you want to find me on facebook for whatever reason, check under Matt Camp and this is my profile picture.

-
Maybe you need to install additional fonts on your laptop. You can check your fonts under Control Panel and then Fonts. You can download fonts off of many websites, and they usually have instructions somewhere on that website or wikipedia / google. Hope you figure it out.
-
@Schism: That is one amazing use of this effect!
-
Oh yeah, I saw that. I hate to advice the use of this effect, but the polar inversion effect might do something to make the nebula look more nebula like, as in that around a star.
-
i agree with mcamp
There was no need for you to post this.
Hey I don't mind haha!
Anyway, the gaussian blur of an outline around the picture is the easiest way, but it is still not easy.
-
There is no one too for that. You could use the rectangle tool to make the rectangle and then use the ellipse tool to make the rounded roof shape. Simply erase the unwanted lines left over.
-
Remember that this is the .gif format, so there will be quality loss. Perhaps that's the source of the :AntiAliasingOff: .
Yeah I forgot about the low quality that a gif has.
-
Well, I haven't used v3.5.2 for that long(it was released what, yesterday?); perhaps you should speak with rick about this. But, for the whole time I've used PDN, keeping the modes the same always maximizes the effect.
Ok good to know
 By the way, how is that nebula tutorial coming?
 -
If you want the blending mode on layer x to remain the same when you merge it with layer y, you've got to keep the blending mode on both layers the same, or you'll lose the effect.
Really, I didn't have to do that with 3.5.1
-
try making the blending mode the same for every layer you merge. That's worked for me.
Wait, what? I don't think I understand, or it could be because it is late.
My problem is this:
Layer 1
---Blending Mode: Darken
Layer 2
---Blending Mode: Normal
When I merge down the two layers it acts like this:
Layer 1
---Blending Mode: Normal
Layer 2
---Blending Mode: Normal
The top layer totally overwrites the bottom layer, no matter what.
-
I've implemented this before I posted this tut, but I never knew where to post it.
The animgif plugin is responsible for the white bar at the bottom, but I think that's normal.
Amazing job! Just need to make it a bit smoother, if you have time. I will eventually. I think it might be a bit :AntiAliasingOff:, but that could just be me.
-
-
When I choose a blending mode such as darken, it looks like I expected it would. Once I merge the two layers, the blending mode seems to be ineffective. This is not just with darken, it is with additive, multiple, etc.
-
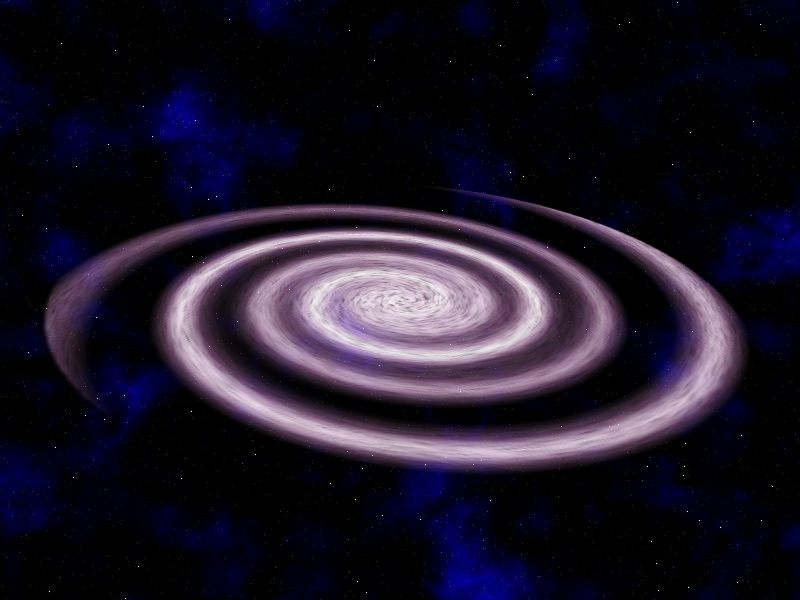
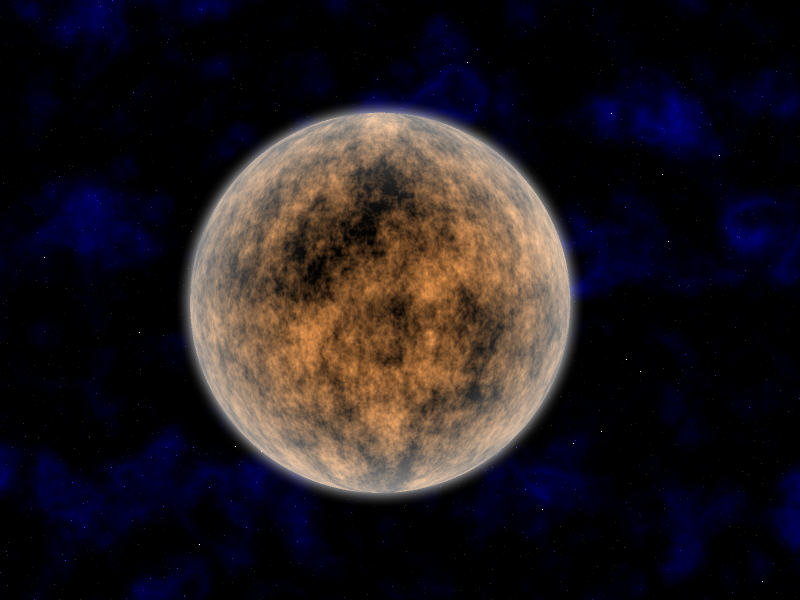
My space lineup
another galaxy
mars
a star
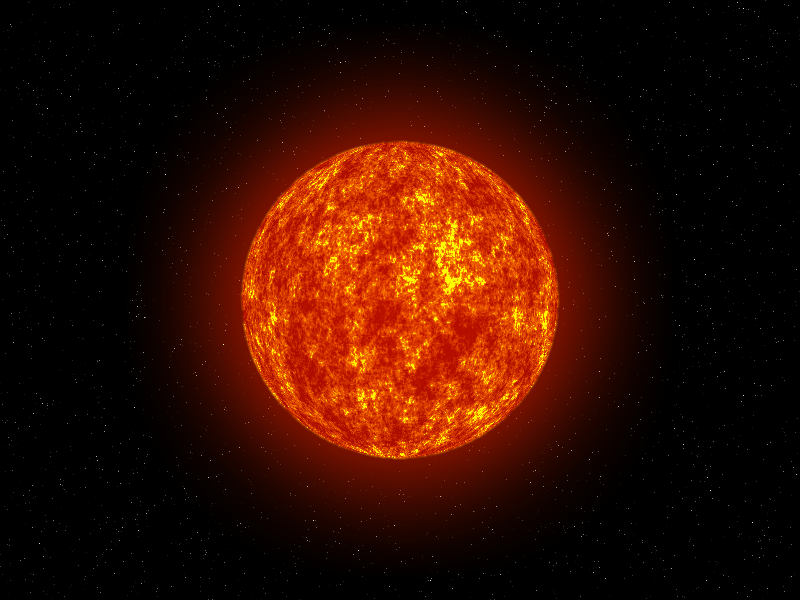
an interstellar system(the bright one is a star)
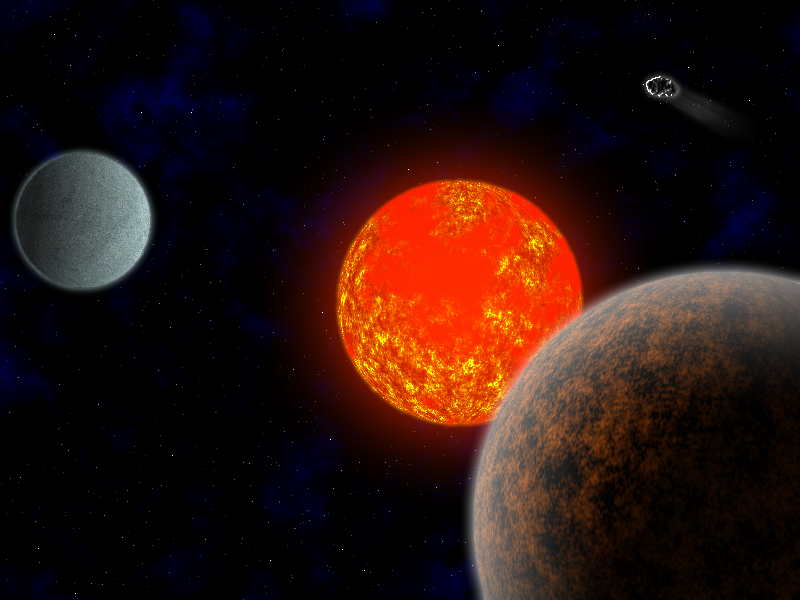
I love the last one. The asteroid is amazing! Great job dude!
-
And what about animate it?
http://paintdotnet.forumer.com/viewtopic.php?p=270596#p270596
I would, but I am busy.

-
Would love to see more from you , lovely signature you have

Yeah, I have not done space stuff in a while. I am planning one right now from scratch. Most of the others are from tutorials that I expanded off of. The next one will be all me. Thanks about the sig, that is one I did from scratch. I made a full version of it to fit my desktop and I cropped it down to a sig size.
-
"The Planet Earth"
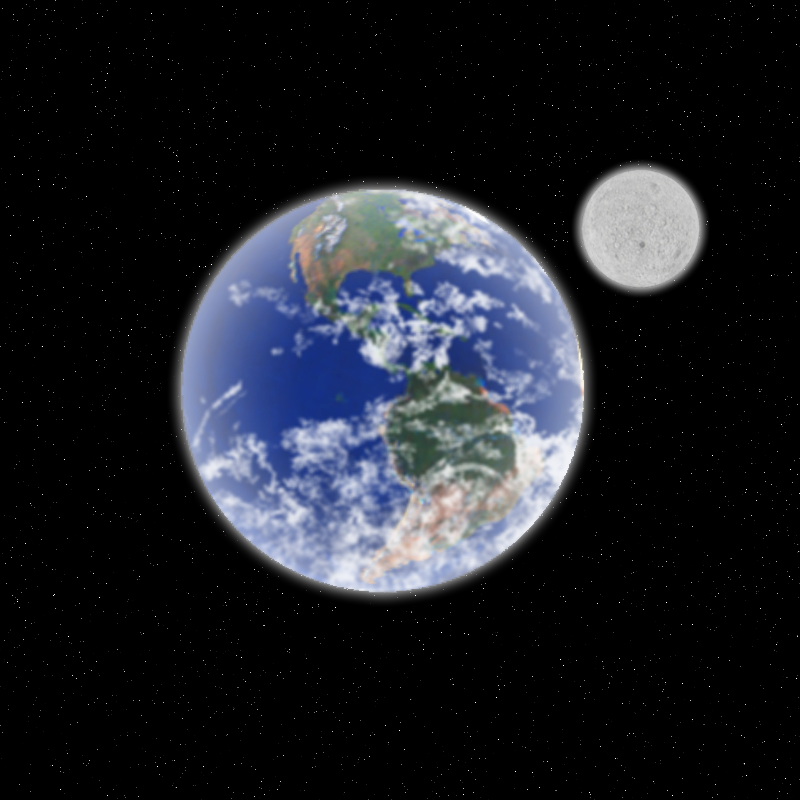
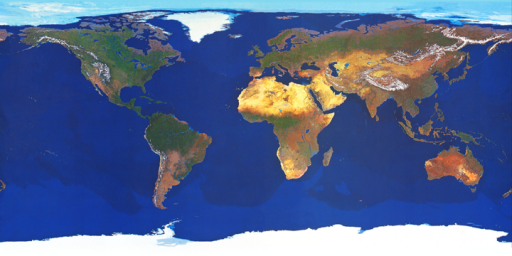
This pic was made from the following 2 images(source-Galactic Civilizations 2:Dread Lords planet maps):
Earth's map:
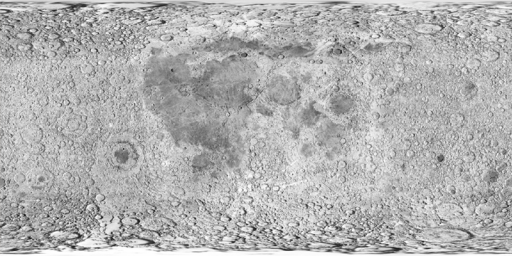
And Luna's(the moon's) map:
The clouds were made by getting a selection from a real picture of Earth's clouds and rendering the cloud effect in with some blurs.
I hate to nit pick, but I am an astronomer, haha. If the sun is behind you, then you would see the planet earth and the moon lit just like they are. But, and there must be a but with me
 , the moon's texture is facing the wrong way. You would see the maria face the earth. The maria are the dark lava flows.
 -
Note: I did not design the structure of this chip, full credit for that goes to Boltbait. I did, however, modify the chip's markings, essentially making it a PDN chip.
So...How much would the chip be worth? A free download of PDN, which is free anyway?
-
Ahh I see. Well thanks for the hellp!
-
Both PDN and Visual Studio 2008 use the .NET Framework. You might need to reinstall the .NET Framework, especially the newest version.
-
Try dents. However, this is not the place for questions, that would be under the a different topic.
Note the orange box at the top.
-
I'm trying this effect right now, but I've noticed that a shift of -1 doesn't do anything. However, I also noticed that the pic you provided is of fairly low resolution. So, if the image you're working with is large, you should use a larger shift, right? Cause this seems to be a cool effect.
The shift of -1 doesn't do much is the point. Repeat the effect like 10 times. If you do a -10 shift, you won't get a smooth look, it will only me like Bam, Bam. Not a smooth glide.
-
I will keep my eye out for plugins. I check about once a week on the plugin section anyway.

 , the moon's texture is facing the wrong way. You would see the maria face the earth. The maria are the dark lava flows.
Layer in a Layer
in Paint.NET Discussion and Questions
Posted
You would need to select the "front" of the cup and cut it out of the layer. Paste it in the exact same place on a layer above the baby. The order should be as follows: front of the cup, baby, rest of the cup.