


Hellfire010
-
Posts
672 -
Joined
-
Last visited
Posts posted by Hellfire010
-
-
Seems pretty easy to me...
Select, image :arrow: crop to selection
or,
image :arrow: canvas size
-
Also, here's a cool concept I discovered whilst messing around:

I'd like to know a bit more about the creation of that ^
(here's your attention!)
-
Couldn't have said it better myself.^
I think selecting multiple layers would be useful, however would take up a lot of memory when using effects and such. Some effects/adjustments/etc take long enough as it is, trying it on 5+ layers simultaneously would be even slower. The idea is good, but I don't think it would turn out well in the long run. Though, I could be wrong.
-
Ok, well, I'll type a quick tutorial, though it seems pretty self explanitory to me (but thats just me...), anyway:
Step one would be finding or creating your own sprites. Either use the site provided in that first video, or you can create your own. Basically, you'll want a small canvas (no more than 50x50 I'd say) and start drawing it with the pencil tool. Fill in certain areas with whatever looks good, blah blah blah. Leave the background transparent and say as .png, .gif, or .pdn so you can keep the transparency. K, you got the sprites.
Now, you need a storyline. Just type it out in notepad or something, and refer to it as an outline of your comic.
You need to decide how many sections of the comic you need. Make the canvas big enough to hold them, and then devide it into sections using the rectangle tool.
Once that is done, you need to find or create background for each section. All you h ave to do is paste them in (on a new layer) and resize/crop them to fit in each section as you wish.
Then, the next layers should be your sprites. Refer to your script and saved sprite images for placement. Simply copy/paste them where you want.
Then, speech bubbles (new layer). Just create speech bubble-like shapes in places where they won't cover any important part of the image. They should be white with black outline, and (if you want) add a drop shadow.
The next layer can be the text. This is pretty self explanitory, just use the text tool and type in the text you want in the text bubbles.
If you need further assistance with using various tools and effects, hit the F1 key in Paint.NET to bring up the help page.
-
It would help if you posted images as examples, and asked more specific questions. I'm not sure exactly what you're asking, but I have a geenral idea of what a sprite is. But what parts exactly do you need help with?
-
You may want to try changing the transparency of the blurred layer under layer options, and change it to 200 or so.
-
Paint.NET cannot handle animated images, and this forum isn't for the discussion of other programs.
I'd let you know anyway, but I don't know any.
-
Your the one that inspired me to do this one now i know what you go though holy cow.
Still like yours better.
Glad I can be a source of inspiration

-
I was using png, but I suppose that is a better idea. I'll use the transparent parts. =)
-
I've searched for this but you'd be surprised how many times the words hex and hexadecimal are used... so if this has been asked, though I've never seen it, my apologies.
I'm using Paint.NET to create a webpage. I need the background color of the page to match that of my image. So, I figured I would just copy it from the color window. Ok, that looks pretty good! Oh wait...
Is there a reason my browser (IE7) and Paint.NET's hex codes display the colors a slight bit differently...?
EDIT: The hex Paint.NET gives when editing the picture is different from that of the picture in the browser that I screenshotted. I fixed the problem, but I'd still like to know why this is happening.
-
 <-- Click for full size
Me likies.
Me thankies
-
I finished it ... I think.
<-- Click for full size -
Wait... how is he uploading to your photobucket.......?
-
I would simply draw lines from the center out, evenly spaced angles. Fill every other section with a light color, and the other ones with a darker shade of that color. Then, add a new layer and add a black->white radial gradient, and change the blending mode to whichever works best.
-
This is quite interesting. Though some textures can be achieved with distortion effects, I think this would be a great plugin.
Meanwhile, you could try the various fill effects with the paint bucket, then change the transparency on that layer. It probably won't come close to what you're suggesting, though.
-
Paint Bucket? I don't understand what you mean by "colorful like disney cartoons." Are they not colored with ... color?
The only other things I can suggest is using the magic wand + linear and radial gradients. And, perhaps try to find a color pallet resembling brighter colors often used in disney cartoons.
-
How about an asian theme? Like, china/japan/that whole area.
-
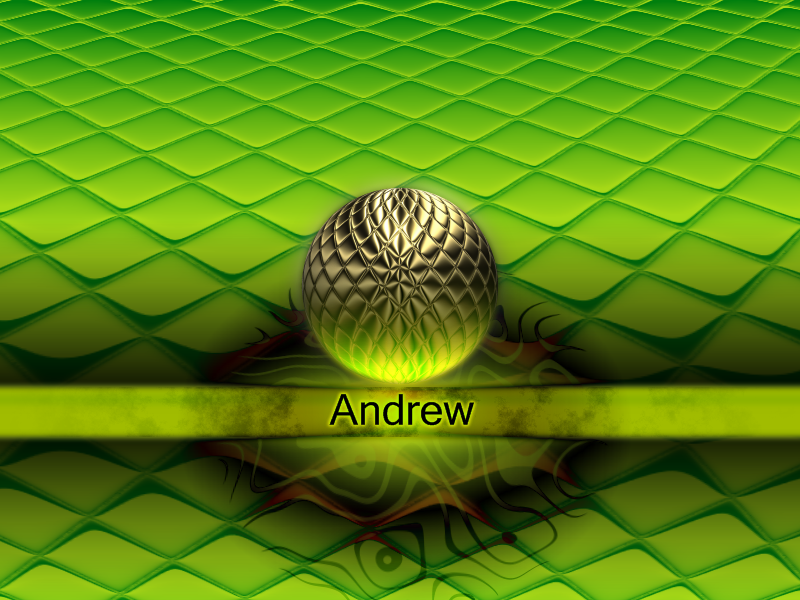
 <- Click
I've been working on a new desktop background (that ^). I was wondering if anyone had some suggestions for the text, and for anything else I could so with the picture.
-
Search for it in plugins. There is a plugin for it.
-
Honda, i tried that but it didn't really work ... at all. Not for me anyway...
-
I tried the clone stamp to remake that part of his face based on what a human's perspective would think it'd look like (as oppose to a computer's). Kind of works, but not well enough.
-
Not Paint.NET's license but ...
About adding people's code into the program,
Rick can't go over to photoshop, steal a huge chunk of their code, and put it into paint.net. Similarly, I don't think he can take someone's code and implement it into Paint.NET unless he has their aproval.
...right?
-
I tried curves, clone stamp + blur + blending mode darken, and a few other things. I could reduce it a little, but it really just made it look worse. I can't help you, maybe that plugin will help but I doubt it.
-
Oh... I'm sorry, I thought you said how do you ADD the flash...
I'll see what I can do with that.

Layers
in Paint.NET Discussion and Questions
Posted
Press F1 while in Paint.NET (or help(menu) :arrow: help topics)
It will provide a lot of detail about layers, as well as other aspects of Paint.NET. If you still have questions, feel free to ask them here.