


Xander_Lyon
-
Posts
76 -
Joined
-
Last visited
Posts posted by Xander_Lyon
-
-
Wow, those are some sick water effects, Possum! I'd love to see some actual droplets splashing up from the background. I feel like an audience member trying to figure out how David Copperfield is floating around in that little box.
-
@P-awesome: Thank you much
 It's almost embarrassing looking at the first lightsaber I posted here a while back. You're on, by the way. You read my mind. I hadn't thought specifically of Han's blaster, but a gun of some sort was definitely next on the list. Tapering a cylinder and making the handle will be quite a challenge I believe. With you and Ash as inspiration, I may try General Grevious one day.
@Janettsue: thanks to you too
I'm glad my little retro piece didn't go unnoticed.@h3llb0yn3cr0: holy smokes, man, I like your stars. I'm looking forward to the flares you mentioned.
-
@P-awesome: Thank you much
It's almost embarrassing looking at the first lightsaber I posted here a while back. You're on, by the way. You read my mind. I hadn't thought specifically of Han's blaster, but a gun of some sort was definitely next on the list. Tapering a cylinder and making the handle will be quite a challenge I believe. With you and Ash as inspiration, I may try General Grevious one day.@Janettsue: thanks to you too
I'm glad my little retro piece didn't go unnoticed.@h3llb0yn3cr0: holy smokes, man, I like your stars. I'm looking forward to the flares you mentioned.
-
3D using PDN? It's not too hard if you put your mind to it.
We have many users who can do a nice job.
Possum Roadkill seems to be willing to take the challenge.
I usually offer more help to those who are willing to push their limits, if they want my help.
I know I'm a bare bones newbie, but that seems to be part of the joy of using PDN. That is to say, the challenge of doing great things with a program that may not always appear as great as others at doing what resident artists around here can do. If I really wanted to, I could find a 3d rendering program that would make creating realistic robots a veritable breeze. However, I feel like I'm learning so much more by doing things "the hard way". I appreciate elder members I've seen here who are willing to teach, but even more the members who are willing to learn. Could you imagine how useful it would be even to know how to alias/anti-alias by hand (i.e. choosing colors and varying transparencies and applying with the pencil, brush, line, and/or shape)? I'm babbling at this point, but y'all understand me. Enjoy the learning process in anything. It's worth it.
-
@Possum - So you've mastered the robot spider at this point. (Incidentally, the reflection is awesome, though I know what it means to be picky about your own work in any medium.) May I challenge you with the robot fly?
Ha, I looked again and had to remark on the nice wood grain baseboard, too. That's an amazing texture.
I'm sure by now you all are getting tired of seeing my lightsabers, but I think I finally nailed it this time, more or less. I've followed some previous suggestions on lighting the beam and have a simpler but more "realistic" beam of light now. The handle is essentially done unless I try to contour the white spaces in the lower portion. Since the image is too big for the forum, here's a preview and link:
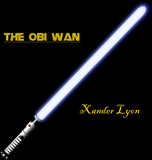
http://i126.photobucket.com/albums/p109 ... ObiWan.png
Okay, this is frustrating. I double checked the link I gave you all and photobucket's showing a truncated version of my picture, meaning it's all :AntiAliasingOff: now. If you'd like to see the correct version, you may have to go to my album, open the bloody picture, then tell it to view at normal size:
http://s126.photobucket.com/albums/p109/didgeboy/
Sorry about the inconvenience, y'all.
-
@Possum - So you've mastered the robot spider at this point. (Incidentally, the reflection is awesome, though I know what it means to be picky about your own work in any medium.) May I challenge you with the robot fly?
Ha, I looked again and had to remark on the nice wood grain baseboard, too. That's an amazing texture.
I'm sure by now you all are getting tired of seeing my lightsabers, but I think I finally nailed it this time, more or less. I've followed some previous suggestions on lighting the beam and have a simpler but more "realistic" beam of light now. The handle is essentially done unless I try to contour the white spaces in the lower portion. Since the image is too big for the forum, here's a preview and link:
http://i126.photobucket.com/albums/p109 ... ObiWan.png
Okay, this is frustrating. I double checked the link I gave you all and photobucket's showing a truncated version of my picture, meaning it's all :AntiAliasingOff: now. If you'd like to see the correct version, you may have to go to my album, open the bloody picture, then tell it to view at normal size:
http://s126.photobucket.com/albums/p109/didgeboy/
Sorry about the inconvenience, y'all.
-
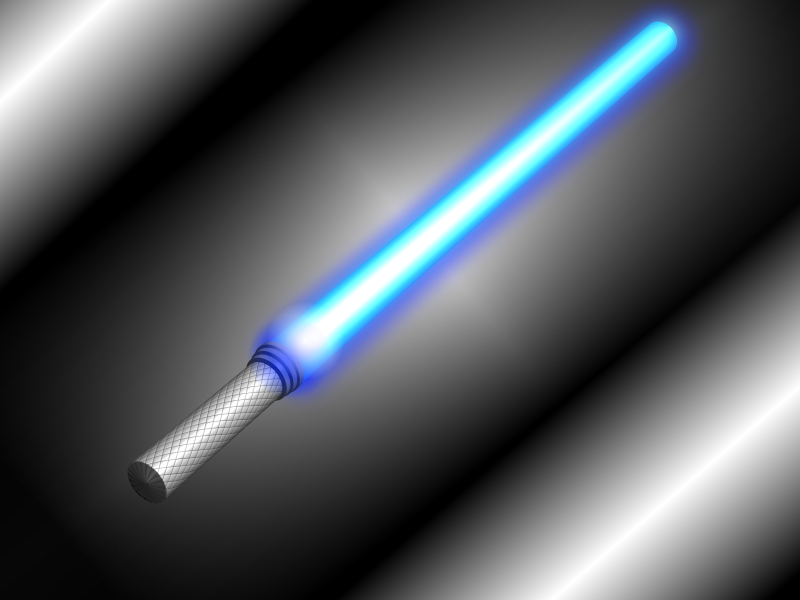
Possum, Goonfella, thanks for your suggestions. I was thinking maybe some blurring or smudging would desolidify the beam a little. I suppose right now it looks like a Spencer's Gifts product. I'll fix the background, too, to at least move the backlight off of the beam. Does anybody have any suggestions for tapered polygons? I'd like to put a short flared cone off the bottom of the handle, like the shape of a shuttle's rocket.
-
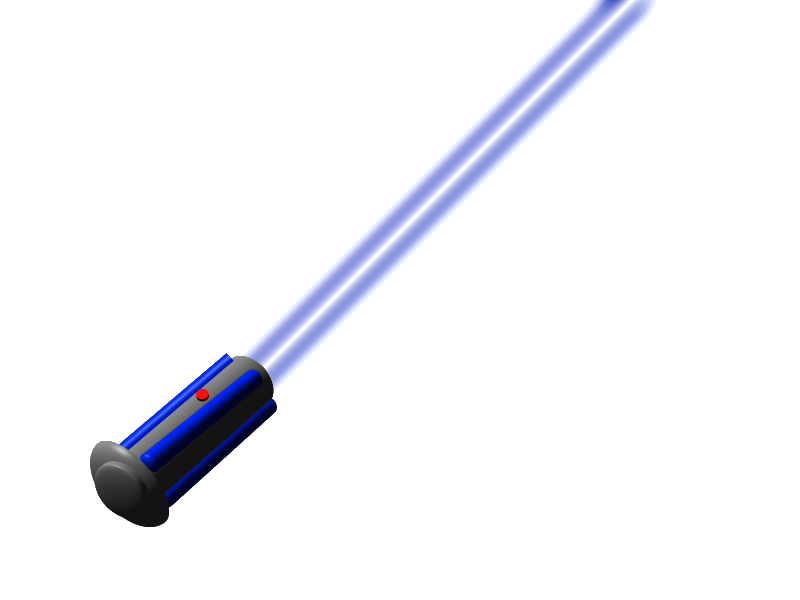
Yellowman, excellent work on the melon. I was following the thread and saw Ash call you out on slicing the thing open for us . . . and then you actually did it. Most impressive, sir! You had the seeds, the blended texture between the rind and the flesh, everything. I'm looking forward to experimenting with cutting holes in 3d objects like you did with the melon ad the bullet holes I noticed in a tut from a while ago. I'm presenting my second shot at a light saber. I think I've got the alignment between the hilt and the beam down. I actually just used a 3d cylinder at the same angle as the handle and then played with the lighting to get a decent glow. I know this is a somwhat basic model, but I wanted to post here before going on with a power button and any other accoutrements.
PS Loved the avatar and sig, too, yellowman. That leather is so realistic.
-
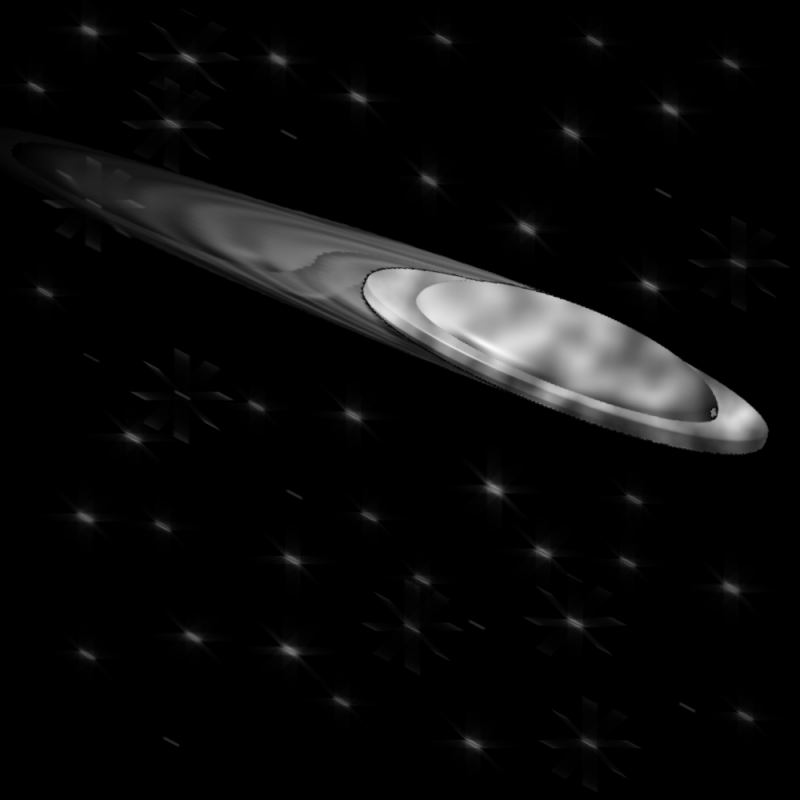
Okay, so it's obvious what I'm trying to do here, but oddly enough the saber part came out well enough just not the light. Ideally I'll have a detailed skin on the hilt in a future model. Anyway, let me know what you think and how I can fix this dang beam.
Incidentally, thanks, Ash, for the eyeball tutorial. That led to a decent looking 8ball that just needs some aliasing work on the actual number and a shadow.
-
@Xander_Lyon I really like the eye that is really awesome ! You have really gotten off to a great start with PdN !
Thanks, Possum
Madjik's another brilliant artist around here. I haven't tried many other options but it occurs to me that any tool that can create layers of the same pattern that enlargen can follow his same tutorial for the hexfield. -
@Ash - All right, so I thought I was going to bed on time until I started looking at your tutorials. I read through them all and I'm dying to start making some eyes and gems etc. I'm also going to try out some rope making. Honestly, I forget right now if that one was you or not.
@Possum - This is an amazing community of people. Not only is everyone so friendly and helpful, but I found references to Firefly, Dr. Horrible's Sing-Along-Blog, and StrongBad's Trogdor (burinanator). After I figure out Ash's eyeball I may have to go straight for the Death Star.
-
Thanks for the help, Ash. I'll take a look at your googlepage now. I'm excited to get into some 3d modeling. I forget who made the ps2 controller, but that was spectacular. Incidentally, water reflection gave me a nice warp effect on my ufo. I had to rotate it 90 degrees since the effect only points downward.
By "now" I mean the next time I'm online since sleep beckons with an angry fist.
-
You know what? You're exactly right. A light/shadow plug-in would have to recognize 2d objects as 3d so it would know where to start the brightest spot on an object. Oh well, the veterans seem to know how to handle light and shadow pretty well. I'll just have to see how they do it.
-
You know what? You're exactly right. A light/shadow plug-in would have to recognize 2d objects as 3d so it would know where to start the brightest spot on an object. Oh well, the veterans seem to know how to handle light and shadow pretty well. I'll just have to see how they do it.
-
I havent been working with pdn long but i was happy to see the shape3d lighting effects. I've tried to follow previous advice to other people and "search" for my answer, but would a plug-in be fesible to basically use just the lighting tool from shape 3d to light an image while at the same time setting a shadow behind it? I think most light schemes use some kind of blur and glow combination but with multiple images on the screen it would be nice to set a single, simple light source (including direction, distance, strength, etc). The shadow I don't understand at all how to make beyond drop shadow. That has to be simple, I know, but I haven't found it on the boards yet. I know I'm rambling at this point so hopefully one of you all-stars can point me in the right direction.
-
Second post, first abstract. My first was a ((edit: crappy)) ufo ((need to fix the aa)) on the "realistic" grouping. You people keep blowing me away, first back on page one with cjmcguinness's creepy, twisted bowels abstract all the way to possum roadkill's shiny ribbon abstract. So here are mine mostly inspired by madjik's tutorial from his hex plug-in. I used his hex for the wormhole and jsonchiu's diagonal lines for the orange eyeball thing.
wormhole:

the eye:
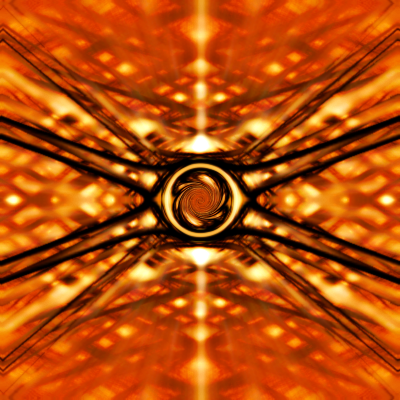
My deepest thanks to the paint.net creator and all of the plug-in creators. You've made graphic art construction and learning available to so many who can't afford photoshop ('course pdn seems comparable or better than ps
)
Image Umbrella: Abstract Images
in The Pictorium
Posted
Wow, those are some sick water effects, Possum! I'd love to see some actual droplets splashing up from the background. I feel like an audience member trying to figure out how David Copperfield is floating around in that little box.