


iKid
-
Posts
321 -
Joined
-
Last visited
Posts posted by iKid
-
-
You either use the blending modes, or another way it to turn the transparency down a little (Of the top image).
-
Thanks for the fast reply.
Man, I feel stupid

-
This helped me when I was using XP, but I got a Laptop, that has Vista. How would I install them onto here?
-
Wow.
:shock: :shock:
Thats amazing

-
I dont make sets to often, but Im proud of this one.
I'd appreciate any feedback :wink:
-
Update:
My most recent Avatar\Signature pair. Do you like it?

Awesome job!
-
If I want a specific size, like 402x53 (Random numbers), all I do is use the rectangle select, and then use the arrow keys to make the right size.
-
-
The Color Wheel
:Colors:
-
Try using Search :wink:
But I already found it.
-
I made this odd swirly thing...

Please don't ask how i made it... i have NO idea... :oops:
Looks like a Pepermint

-
Hope this Helps

- Draw a White Rounded Rectangle
Add new Layer
Draw another Rounded Rectangle slightly smaller than the first, make it fit in the White one
Select the 2nd Rectangle
Switch to Gradient Tool
Pick your colors
Draw Gradient
Add New Layer
Add your text
Use Drop Shadow at the settings you want
Add new Layer
Use Border PlugIn
Guassian Blur, 5 pixels
Rotate/Zoom to what you want *Optional*
Then Save it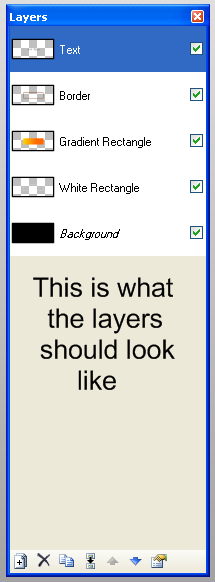
End Result
- Draw a White Rounded Rectangle
-
I wasn't serious about making something, I was just experimenting with a few ideas. I've actually learned a lot after ending up with this. Now I have some very useful new techniques to apply for later edits.
::image::
this was just an experiment, but I wanted to show you all anyways.
PLEASE make a tut for this!!!! DUDE ITS AWESOME AND IM A DUMBASS! perfect formula for a tut? xD

I will if more people request it
I'm requesting
-
You select your cut-out, then hit Ctrl + C, to Copy
Then on the image you want it on, hit Ctrl + V, to Paste, then move it to where you want it.
-
Thats.... actually pretty cool
I like it.
-
Maybe you will like this~
I used BB's method, which worked good, then I tweeked it a little bit.
1. Open your imageHere is how to add some shading so that it looks 3D:
2. Layer > Duplicate Layer (Your graphic should have 2 layers now, both with a copy of your graphic.)
3. Select the top layer
4. Effects > Blurs > Gaussian Blur (Radius = 10)
5. Layers > Layer Property (Set blending mode to Darken and adjust Opacity for desired 3D effect)
6. Image > Flaten
Here is how to color it gold:
7. Image > Add new layer
8. Select the new, empty, top layer
9. Fill that layer with color FFD92B (You can do this by entering FFD92B into the Hex box of the More>> mode of the Colors Docker window for your primary color. Then using the paint bucket tool fill the layer with color.)
10. Layers > Layer Property (Set blending mode to Multiply)
11. Image > Flaten
-
I don't quite understand what you are asking, but if you are trying to make an animation, look here.
Hope it helps
-
-
-
Well, here is my entry. I guess I'm going to be the one to set the bar.
I'm putting a link so It doens't make the page lag :wink:
-
ok.. one thing. am i the only one whos noticed that SOMEONE (rick....) is allowing a advertisement to show for PHOTOSHOP!? at the top of the page? well... someones gotta do soemthing about that.
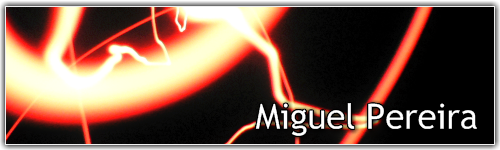
anyway, heres a sig i made for my friend ikid. i dont know if he likes it or not. oh well. i think i did a good job. feedback appreciated.

I love it
I like the way the red blurs into the gray.PS
Here's three Sigs, any tips, suggestions?

Any tips on them?
-
Here's three Sigs, any tips, suggestions?
-
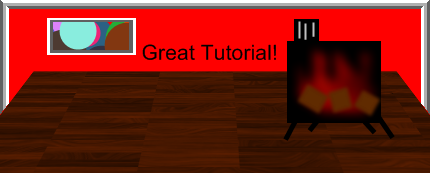
Here is my result~
I skipped a few steps, but I still like the ending result
Great Tut
-
I think we found the logo for Paint.net 4.0
I'd say so.


Image Umbrella: Signatures, Avatars, Logos & Text
in The Pictorium
Posted
Does anyone like my current Set?