


olav.k.m
-
Posts
265 -
Joined
-
Last visited
Posts posted by olav.k.m
-
-
Very nice. I like the colors and the grungy style you've given it.
I think it is a bit dark though, but that might just be me.
-
@ Bizor: Don't really know what it's supposed to be, so dunno if it's very realistic or not. I still like it though, it has a cool futuristic feel to it. Don't think it looks completely finished though, it does have potential so it would be cool to see if you could work it into a bigger picture.
@ LFC4EVER: Seeing the thumbnails I thought it was just going to be a clouds, noise, motionblur kind of fur, but that looks really good. The (lighter) wavy hairs stand out in a good way, making the fur look "sharp" and detailed.
-
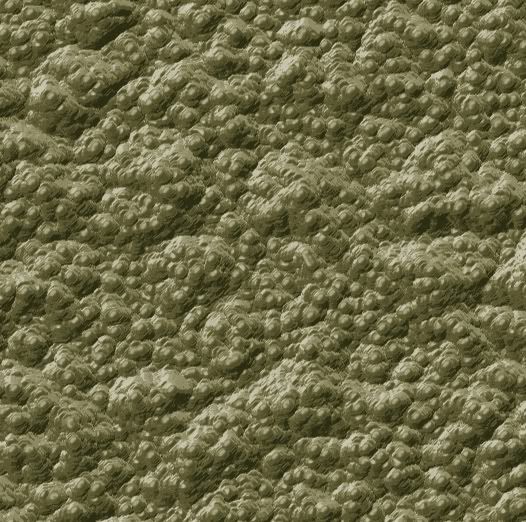
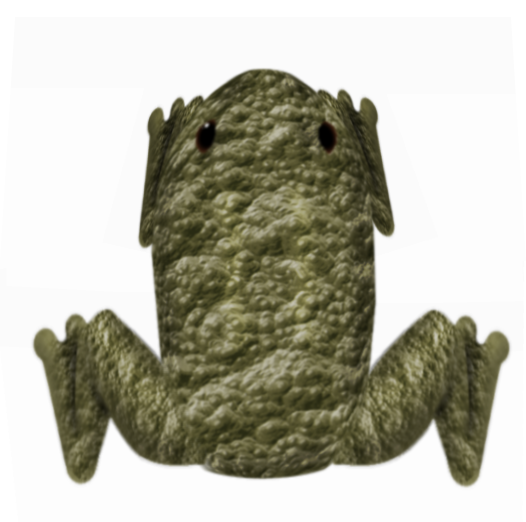
Nice tutorial with a cool outcome.
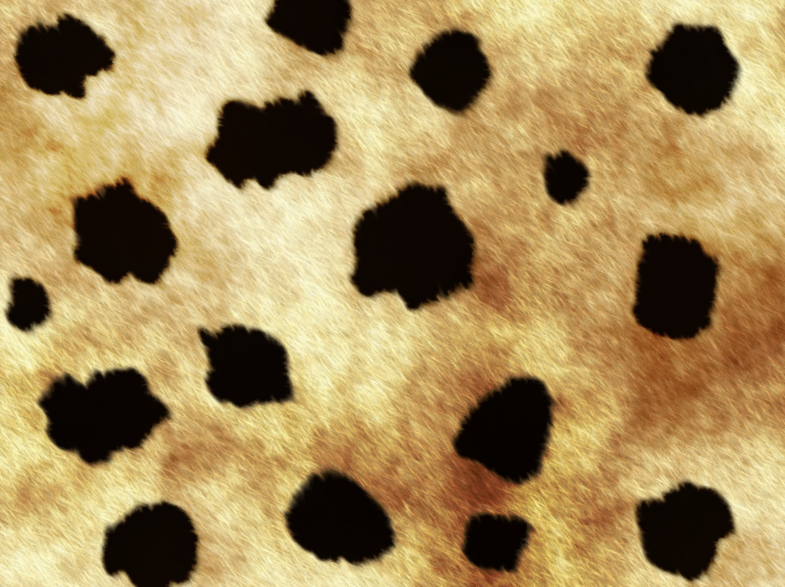
If you use median blur with high percentile you get circle-shapes instead of squares.
Then you can make something similar to the skin/hide of a toad !
Edit:
yup...

-
 1
1
-
-
For another kind of lightning you can try this tutorial: LINK
It's a photoshop tutorial, but easily translates to PDN. Don't know if it fits the dragonball energy orb look though.
-
I agree with chrisco97; your spaceart is really unique. I love the glow and misty effect on the bigger stars, and the sun/star/explosion on top looks really great.
-
Could do with some more work, but it's all I've got time for. Now I'm off on vacation

-
@ Olav ... an accidental discovery ...


Put your wood texture on top and play with opacity, set to overlay

So I tried it out, kind of..

Didn't quite manage to get the splintered effect in your picture, so I rather messed around with it a bit.
Even though the outcome differs I think your hexagonal grid base really added a cool effect to the wood, so thanks

-
Nice discovery welshblue, however accidental. I'll have to try that later.
-
Sure, I can see the Hexagonal grid in the speaker, but in the wood?
Both look really good anyways. I remember when I learned to make wood textures in PDN using noise and motion blur i thought it looked really realistic
It's cool, not to mention inspiring, to see how much farther you can take it ! -
(Looks better full-size)
-
Pretty much perfect, excellent work Falken!

-
The background turned out really cool.. erm I mean scary!
Good job
-
@ ptuZ Shoe looking good so far. I would maybe try making a texture for the fabric of the shoe and perhaps try to add some more shading to give it a more 3D feeling.
As for the horror background I noticed the black or dark gray areas in between the white noise stuff. Maybe you could try to "hide" some scary looking shapes in the picture. Just a suggestion, I think it's pretty cool as it is
Here's a small example, a skull shape hidden in a part of your background:
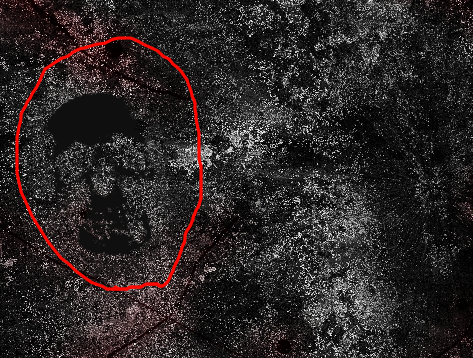
Perhaps make it a bit more subtle than what I have done if you chose to do this.
Good luck
-
Very cool Falken. The mist gives it an eerie feel
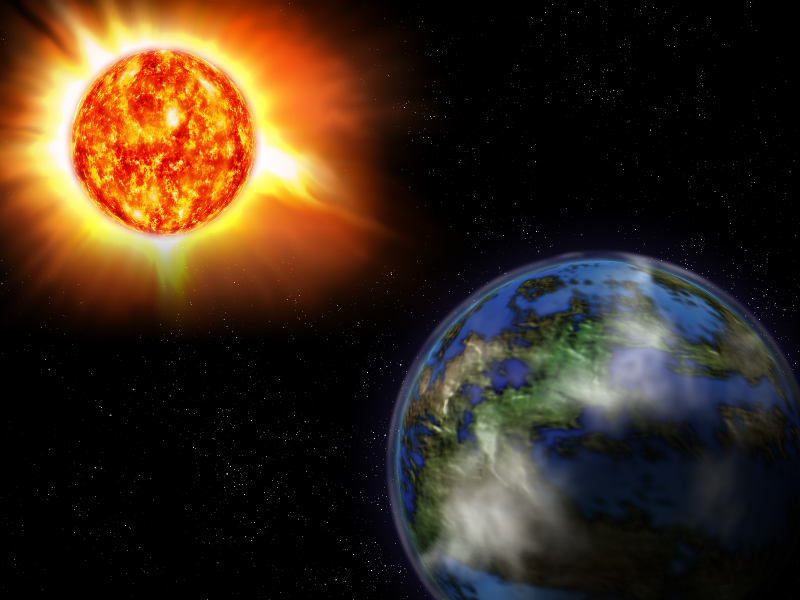
A small solar storm/explosion thingy I made now:
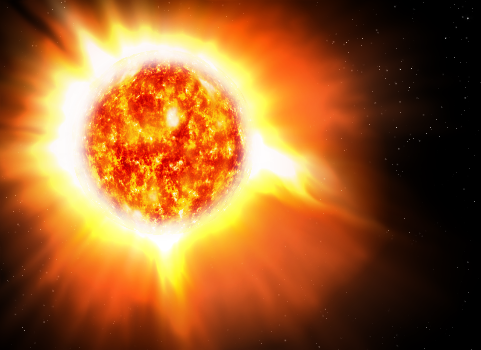
Edit:
Added an "earthlike" planet

-
If I don't close it immediately, consider the time until I do a grace period.
Meaning one can still enter? If so:
-
Incredible! Especially the last one
-
@ chrisco97: like it, but I think you should do something about the wall in the corners to give it a better 3d feel.
@ Trine0: Very cool lion
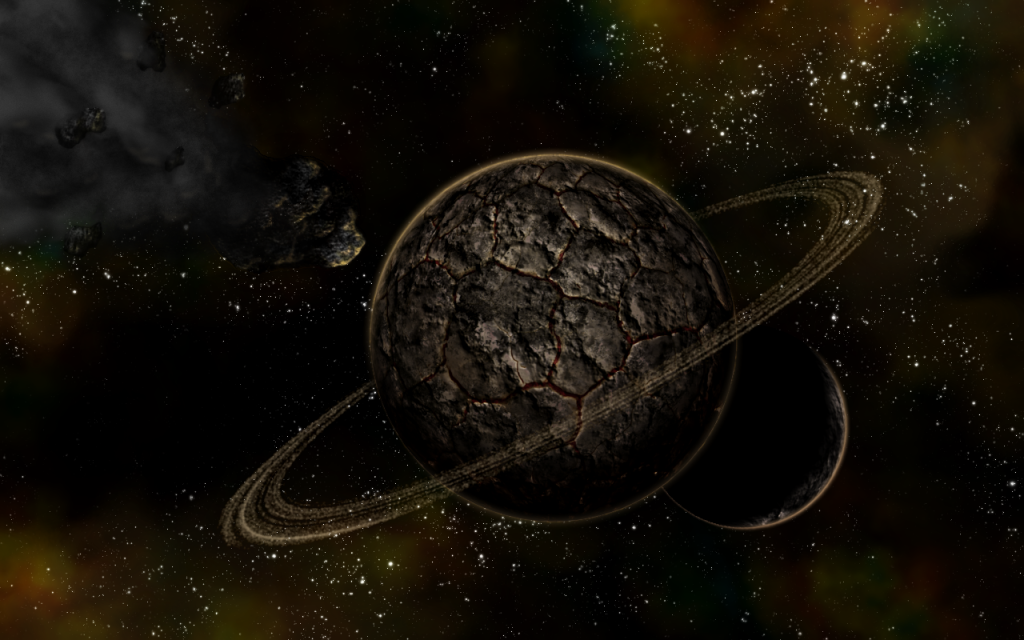
Looks like the mane took quite some time to make. It kind of looks like tattoo style type of art, in my opinion. In a good way What's that? You want more space pictures?? Sure thing!

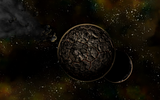
Other version with planetary ring:

barbieq25, you made me lose the game...
-
Haven't tried bulge myself but the Lens effect often works good.
Just make a circular shaped selection somewhere on your texture and run the effect.
Afterward just cut the rest of the texture
-
yay first entry !

I call it "Incarnation of Opposing Elements set in Universal Arena of Timeless Space"
-
old tutorial, but still a sweet effect
-
Cool radio Goonie
I think the background and colors really works well with the vintage feel. Big version of my attempt to make a (weird) steampunk-like signature for the SOTW
Had to re-size it (obviously) so thought I'd post the original version too
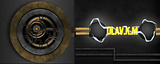
Clickable
-
Turned out kind of wierd, and big.
But hey, whaddayougonnado?

no stocks
-
You mean too plane?
-
It's possible, but is one of those things that gets better the more time you spend making it i guess.
Here's one way:
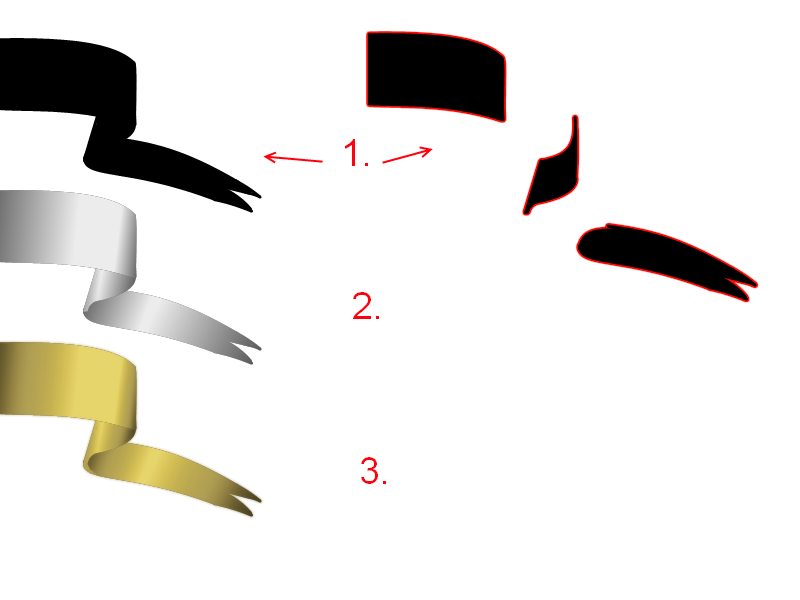
1. Draw the different "levels of ribbon" on different layers using line tool and fill with paint bucket. Here I've used three separate layers for the three folds.
2. Duplicate each of the layers and invert the color. Then you have the same shape only white instead of black in my example. Use the gradient tool
 with transparency :AlphaChannel: and make the variations in light and shadow. (I also made the black lighter and the white darker)
3. Now your folding ribbon will probably not fit together in all the places, so using brush tool try correcting the minor flaws between the folds. I also added color using curves RGB and made some other minor adjustments.
Like I said, the more time you spend the better it gets.
Here's one attempt I did, spending a bit more time:

Hope this is understandable and a bit helpful
Good luck


 with transparency :AlphaChannel: and make the variations in light and shadow. (I also made the black lighter and the white darker)
Image Hospital: Help With Image Problems Here!
in The Pictorium
Posted
@ SedatedRaccoon: Well, there's a lot of ways you can go from there. Depends on what you want to make of it.
You could add more symbols or something and make something like in this tut: LINK
The four parts of the big circle makes me think you could fill each of those sections with something representing one of the four seasons. (Or you can fill the top two sections with red and the bottom two with white and then you'll have a pokéball ) You could also add some texture outside the big circle, maybe something like this: LINK, but keep the smaller circles black inside.
It's up to you really, that's just some ideas. Good luck
@ ConfuzzledManiac: It depends what your aiming for; just doing some adjustments or more in the photo-retouch area. If you just want to make that picture look better you should try adjusting the levels, brightness/contrast and/or hue and saturation, all in the Adjustments menu in Paint.NET. You could also try cropping the image, in that case you might find this tut useful: LINK
To be honest I don't really like you edited image, the two images are not blended together very good, you can even see the horizon through the mountains (or the other way around...). If you want to combine those two photos you can spend some time cutting out the snowy mountains and working them into the sunset picture. That will require some work, both cutting them out and adjusting the colors and lightness to fit the sunset picture, to make it look good and realistic. Good luck