


Athena.mm
-
Posts
34 -
Joined
-
Last visited
Content Type
Events
Profiles
Forums
Blogs
Gallery
Downloads
Posts posted by Athena.mm
-
-
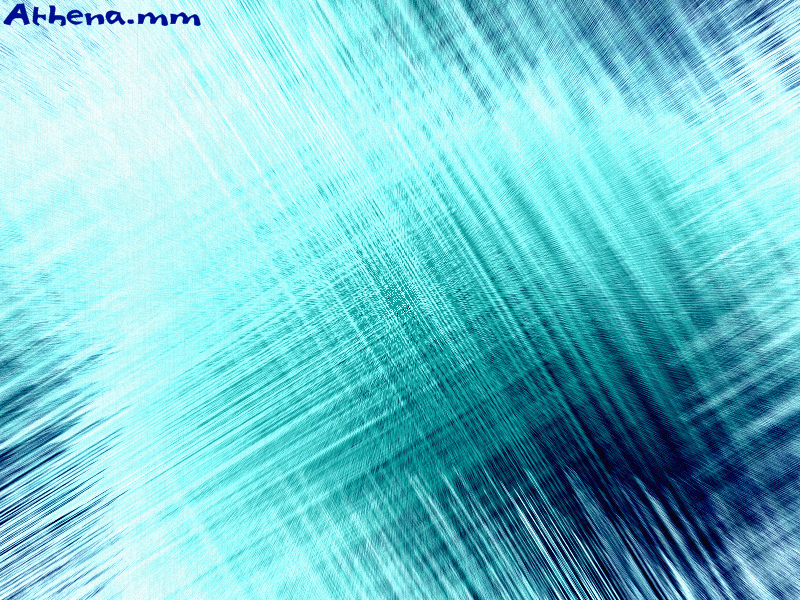
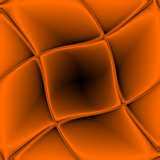
You'll be making something like:
Plugins Needed:
Stitch
Film
(Sorry, no links!)
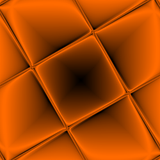
1. Get a new canvas with the dimensions of 800x600.
2. Color the canvas with your base color. (Main color)
3. Start making ellipses of circles from the top left corner down to the bottom right getting darker every ellipse.

4. Now stitch the photo.
Amount: 260
Width: 1
Seed: 0
5. Film the photo.
Grain: 1
Discoloration: 0.37
/5.A (Checkup!). Your picture should now look something like this:
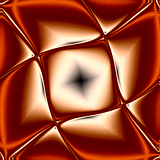
/5.A (Optional). You can put your name on it somewhere if you want too.
Good fonts available at DaFont.
Please post results!

-
Hi. You'll be making something like this:

Plugin A needed: Fade edge (Sorry, no link!)
Plugin B needed: Outline object (Sorry, no link!)
1. Choose a font and think of what your 'word' will be.
My font: Organic Elements
2. Make a canvas with the dimension 350x150.
3. Paint the canvas with your base color. (As shown in the top which is sky blue)

4. Fade the edge of your base color.
Effects > Photo > Fade Edge
Width: 5
Power: 0.63
You can change width and power to your own likings.

5. Create a new layer, :AddNewLayer: name it 'Background B' and color it the background color. (Note: This will only be seen very minimally)
6. Fade the edge of 'Background B' (The new layer).
Width: 3
Power: 0.37
You can change width and power to your own likings.
/6.A (Optional). Make a new layer :AddNewLayer: and place it on the top, name it 'Lined Effect'
/6.B Select the paint bucket and change the 'Fill Mode' to 'Dark Upward Diagonal'.
/6.C Make your primary color invisible, and your secondary colour white.
/6.D Click on the 'Lined Effect' layer giving it a big lined effect.
/6.E Change the opacity to the new layer to around 40 - 100. I chose 80.
7. Merge all of the layers together.
/7.A (Checkup!). You should now have something like this:

/7.A (Optional). If you don't like the edge, you can use another fade effect.
Width: 9
Power: 0.33
8. Now, make another layer and name it 'Font' choose font size 40 and select the font that you want to use, (I used Organic Elements) and write what you want to write.
/8.A (Optional). If you want to border the text, use your 'Outline Object' under Effects > Photo > Outline Object.
I used:
Width: 6
Softness: 231
/8.A (Checkup!). Your picture should now look something like this:

9. Make a new layer, :AddNewLayer: name the new layer 'Shine Effect', and select the 'Rectangle Select' tool and select co-ordinates: 9, 9 to 289, 79.
10. Select the 'Elipse' tool and draw an elipse the same color as your base color about half way down the text.

11. Make the layer 'Shine Effect's opactity around 40 - 100. I chose 60.
12. Merge all of the layers together, and there you have it! A crappy yet functional web text button!
Final product:

If you try this, please post your results!
This is my first tutorial, so sorry for any inconvieniences.
-
That's mine. Like it?

-
Solution: 'St. Andrews' a font I had installed really lagged my computer. I was thinking it was one of the fonts because before I had installed 3 more fonts, it didn't do that. I tried to open the '.TTF' 'TrueType' file and it shut my computer off. Typical, eh? :wink:
-
im pretty sure the fire tool is a plugin that people have to download. You might want to state that somewhere.
None the less, This is pretty cool outcome i guess
I got the fire tool and the ice tool (Or whatever they are called) when I first downloaded it.
Just putting that out there.. 8)
-
Probably not the rite forum, sorry for that, but when I open paint.net everything is fine, but when I try to use my fonts, (From the font menu) or type it goes really slow and freezes my computer for about 30 seconds.
Can anyone help please?

-
Sweet. I like the font too! I was just going to post for the name of it (and/or link) but I saw the link. That's what most thread's need, if they use a specific font, to post the link if they know it.
I over explained. Anyway, that's pretty cool. 8)
-
Hey! I'm going to show you some of my things that I mdae in Paint.net! Hope you enjoy! :wink:
Xor A:
Xor B:
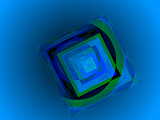
Twist A:
Twist B:
Reflection A:
Reflection B:
Sunbeam A:
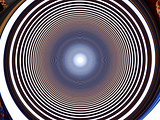
Inversion A:
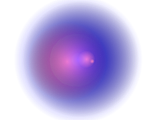
Glass Ball A:

Fourth (My game name) Signature A:
Fourth (My game name) Signature B:

Fourth (My game name) Signature C:

Fourth (My game name) Signature D:

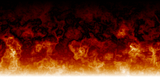
Flame A:
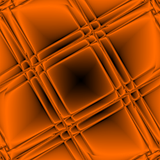
Circular A:
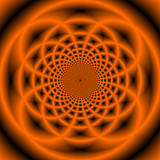
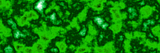
Poison Type Substance A:
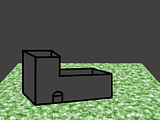
Crappy 3D House A:
Okay. Any suggestions or comments?
Sorry if I broke some rules! :shock:
This is my first post, and yes I read them.

~ Athena's Tutorial On A 3D Looking Background ~
in Tutorial Graveyard
Posted
Nice. :wink:
And thanks!