


emanda1964
-
Posts
38 -
Joined
-
Last visited
Posts posted by emanda1964
-
-
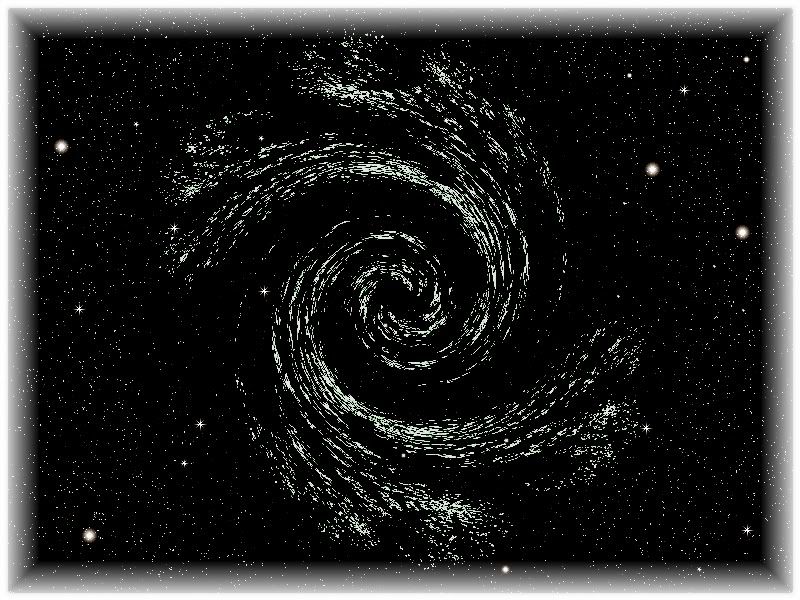
Night sky
-
Omg im so sorry it went in the wrong place, i meant to post it in image modification
-
Omg im so sorry it went in the wrong place, i meant to post it in image modification
-
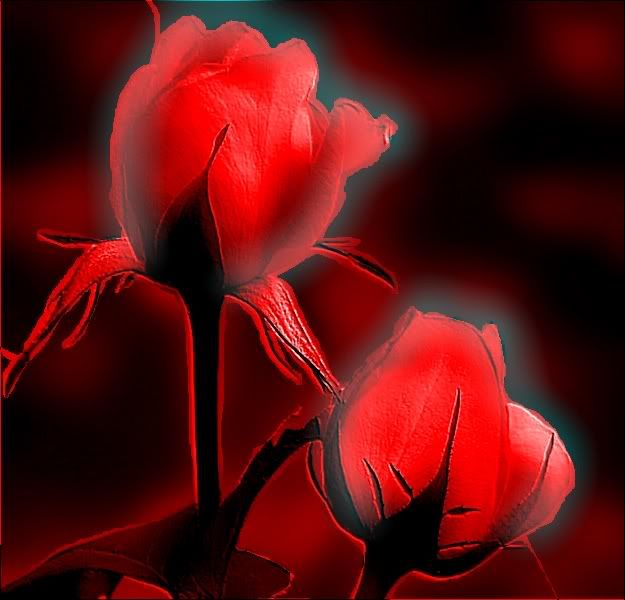
just colour modification
original
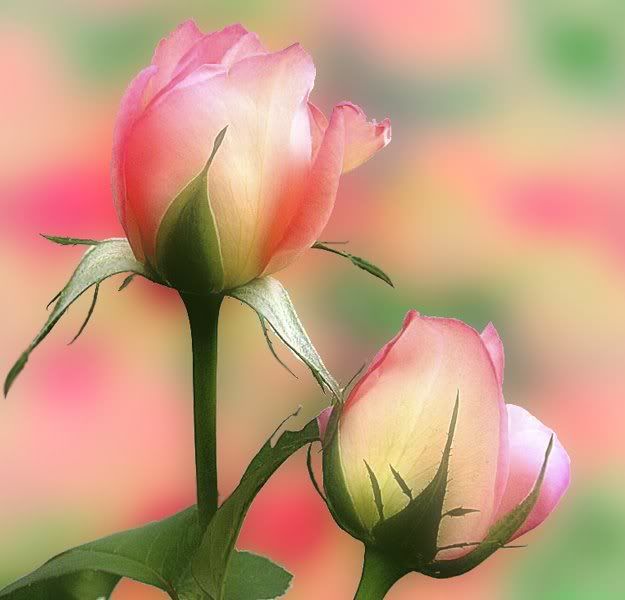
and modified
-
just colour modification
original
and modified
-
yes u r right, its gif
-
Thanks but thats how we learn, thats why we keep seeing "fiddling around" tutorials
-
Hi
I know there r a lot of fire tuts but this is little different
So we'll start with this

and we'll end up with this
First open the image of an object u want to put on fire
Then open new layer and set the blending mode to screen

Use the paint bucket and make the layer black
Change the primary colour to white and with the brush tool (size 15) draw some random lines like this

Then duplicate the black layer and aply a motion blur (effects - blur - motion blur)
-angle 135
-distance 80
and uncheck the "centered" (optional)

Go to the second black layer and repeat motion blur

then merge the 2 black layers

Now aply dents (effect - distort - dents)
- scale 80
- amount 80

Then go to adjustments -curves and aply the changes like in the image below

after this, unckeck the black layer so u have now the backround image

With the lasso tool select the car (dsnt have to be perfect), something like this

Go to effects - distort - displacement
X - 10
Y - 10

Then deselect the car, check the black layer back and flatten the image
Thats it. Looks real, right?
-
I was trying to make a face coming out of the wall but i didnt succed, my lack of experience is screaming out loud but i think its interesting what came out of this so i thought ill share it
Plugins needed: Alpha blur
Noise
Relief
Color tint
Color match
So we'll start with this
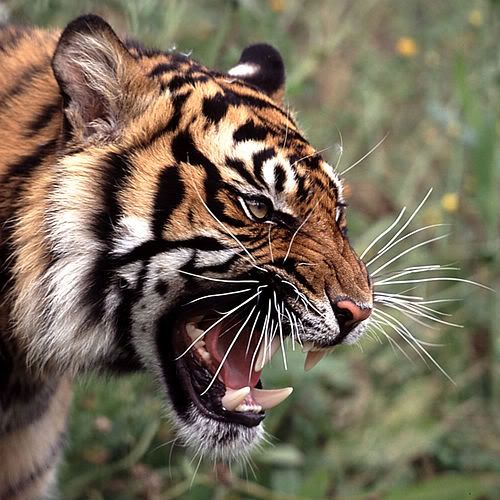
and we'll end up with something like this
So first u open the tiger image and use the lasso tool to select the head, then click edit- invert selection and hit delete
This is what u should have

Now go to effect - photo - sharpen (amount 20)
Then alpha blur (radius 20)

Save image as gif
Open new layer and name it wall
color it brown using the paint bucket tool
Add noise (effect-noise) intensity=50, colour=0, coverage=25

Now go to effects -stylize -relief
then effects - colour - colour tint (hue 45, tint 255)

before going on, we have to save this image too
after saving, click layers - import from file and open the tiger head u saved before

Go to Adjustments -color match, browse and open the wall u have saved
apply an alpha blur radius 60

ok now add new layer and use paint bucket to make it yellow
set the opacity of yellow layer to 50 and the blending mode to multiply, flatten the img and thats it
Of course u can add a frame (add new layer and use the rectangle tool for example)
Well, i hope u like it and i hope i didnt do any mistakes to be locked again
[attachment=0]sig.jpg[/attachment]
Chocolate
in Textures
Posted
This tutorial is available as a PDF. Click here to view or download it
Hi
Im trying for a while to make a chocolate image and i think this one it pretty good
So the plugins needed
Clouds
Splinter (in blurs)
Ripple (distorsions)
Relief (stylize)
Colour flip rotate (colors)
Colour balance( adjustments)
Rotate/zoom (layers)
Tile reflection (distortion)
Of course we open new layer and render clouds (scale - 1000 and roughness - 1)
Then go to effects - distorsion and ripple (amount - 1; ripples-10.00; ripple phase- 0; highlight 82 and angle 55)
Now we need a new layer, render clouds same like first layer, and ripple again with same values only the angle
will be minus 55 this time
double click on this new layer and set the blend mode to screen
now we need to aply blur - splinter (no of splinters - 23; rotation - 25; distance - 117 and mode -lighten)
then go to the other layer and repeat blur splinter
now merge the two layers and aply a relief (angle 45)
we need a colour flip/rotate (its in effects, colours) and choose the one like in image below
after this go to adjustments, colour balance
red 20
green 0
blue -8
To get rid of the white line we need a rotate/zoom (layers) zoom 1;11
Then tile reflection (tile size 196; curvature minus 25)
and if u want to make it look like caramel u can do a relief again and then glow
I like more the caramel one ( the image and the taste! lol)