


tillerman35
-
Posts
3 -
Joined
-
Last visited
Content Type
Events
Profiles
Forums
Blogs
Gallery
Downloads
Posts posted by tillerman35
-
-
All-
I'm a relative newb. Is there a filter or plugin/whatever that will redo my color photos and make them look like old timey (circa 1900) pictures? I'd need to turn them from color to B&W or the B&W + hand tinted look, add a few scratches, and some script writing (like they used to scratch on tintypes). I can figure out how to do the writing, but everything else is a mystery to me.
Thanks!
-
Brilliant tutorial!
I used your method to produce rounded square buttons. I'm not 100% satisfied with the highlights, but I can tweak them later.
Tip for this type of work: Duplicate and keep the original background layer around. Call it "Flat White Background." It will make selecting the work area much easier (i.e. go to layer, magic-wand the circle or rectangle or whatever, then invert selection if needed). Make sure to un-check the "visible" option in the layer properties, though.
My first attempt:
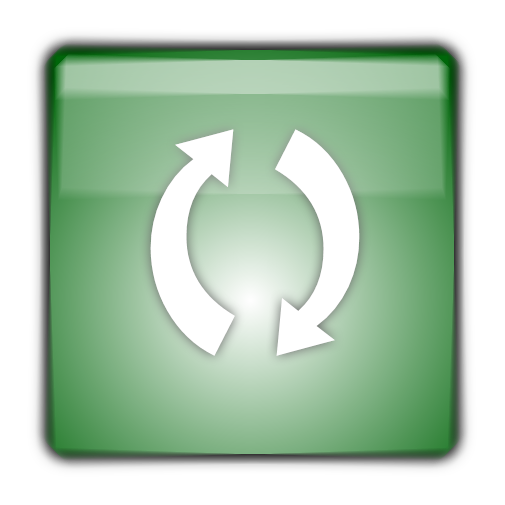
I followed the tutorial nearly exactly. I only changed three things:
1. Made it a rounded rectangle
2. Used Glow effect, not drop-shadow on the "Control" layer
3. Used drop shadow twice on the flattened image, once with X=0, Y=0, Blur=10, and again with X=5, Y=5, Blur=10
A slight variation - Glossy Marbled Texture
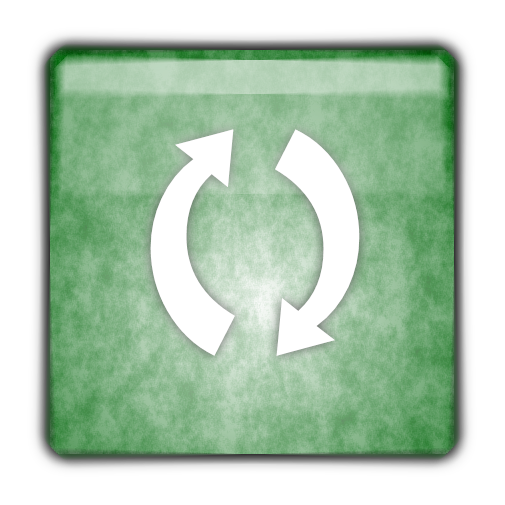
Same as above except:
1. Duplicate the "Flat White Background" layer, move to just above "Background" layer and rename to "Marble"
2. Select Primary Color=00660A, Secondary Color=White
3. Magic-wand the Marble layer to select the rectangle.
4. Effects->Clouds(Scale=75, Roughness=75, Blend=Normal)
5. Set Layer Properties to Blend=Normal, Opacity=50
Another slight variation - Swirly Glass Texture
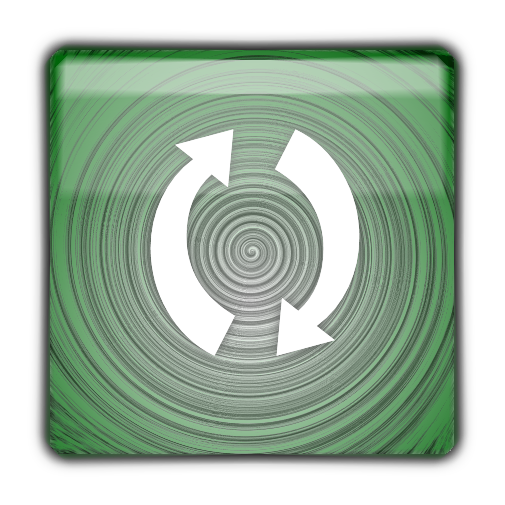
Same as above except:
1. Make a new (throwaway) image 800x600.
2. Primary Color=Black, Secondary=White
3. Effects->Clouds(Scale=75, Roughness=75, Blend=Normal)
4. Effects->Distort->Twist(Amount=45,Quality=2)
5. Ctrl-A to select entire image, Ctrl-C to copy
6. Switch back to original image and Edit->Paste Into New Layer. Keep the canvas size. Selection should be centered.
7. Set Layer Properties to Blend=Darken, Opacity=135, Name="Swirly"
8. Move Swirly layer to just above Background layer
9. Go back to Flat White Background layer. Select rectangle, Ctrl-I to invert selection.
10. Go back to Swirly layer and hit Delete key to make swirly same size/shape as rectangle.
11. Effects->Blurs->Radial Blur(Radial Amount=2)
Old Timey Effect
in Paint.NET Discussion and Questions
Posted
Sigh. As usual, poking around I figured out how to do the tinting. Who knew they'd have the word "Sepia" in a menu.
And I figured out a decent (although not the best) method of adding the scratches. I cloned the picture into two layers, used the "frosted glass" effect on the cloned layer with the following settings:
Maximum Scatter Radius: 27.03
Minimum Scatter Radius: 5.89
Smoothness: 1
I put the cloned layer on top of the original layer, set the cloned layer's opacity to 62, and it seemed to turn out pretty nice.