


Atradese
-
Posts
38 -
Joined
-
Last visited
Content Type
Events
Profiles
Forums
Blogs
Gallery
Downloads
Posts posted by Atradese
-
-
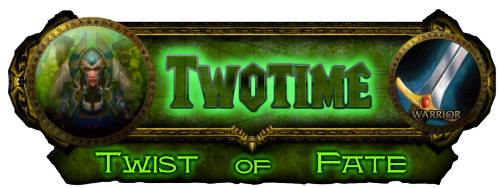
This is a signature I made for one of my World of Warcraft characters.
-
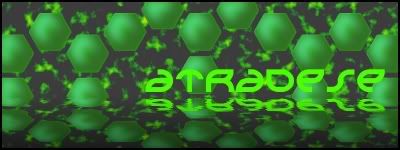
I have been trying to find wallpapers for my web book and found it to be nearly impossible. So I made one. the problem is its unusual size. 1204 x 600. The one I made needs some thing done with it but I cant figure out what it is thats looks wrong. Any help would be cool. Also I could really use some good wallpapers so if any of you more experience users want to make something for people like me I would appreciate it.
Heres what I made:
-
@ flip I like it. but I agree with Blooper about the floating text.
Atradese, I like the 3D of the hexagons, but the clouds don't look right. Can't put the finger on why exactly. Also, try going for multiple colors in each piece.Yeah I had the same problem when I was making it. I think its in the brightness and contrast but when i tried adjusting it it just got worse so I left it like this. If you come up with an idea on how to fix it let me know.
Whoops I forgot to rate.Yes, the hexagons are good, but the water effect is overdone. But, it does look good.
Can you explain how the water effect is overdone? I don't understand. I was trying to get the ripples like the old water plug-in.
Thanks in advance.
-
@ flip I like the sigs very nice.
@ kinzo I think its good for a first sig. actually I think its better than my first sig. Keep up the good work

Here is something I threw together playing with some plug-ins I haven't used yet. Let me know what you think.
-
Are you sure they don't give you a direct link to the image of your profile? :?
I looked for that with no luck. The only thing you can do is pick one of 4 themes they offer.
The following would be needed to create such a sig:* An xfire API for retrieving the data.
* A web host the supports PHP and Cron and allows hotlinking.
If you can meet those requirements, simply add a cron job that retrieves the data and use PHP's image processing functions to save the image to a file and hotlink your signature to the file's URI.
I have no idea what either of those are. I guess I will have to keep looking.
Thanks to all of you for your replies. Everything helps.
-
I edited my original post to show what x-fire does. I am trying to find a way to do this that I can understand. Everything I have seen on how to do this so far is all php which I have no idea about. I could post the code I found but I hardly think that would be appropriate. If someone knows a way to link teh information to a sig or idk how it woudl work I would really appreciate any help. If someone wants the code to look at let me know and I will post it.
Thanks again.
-
I'm not really good with html or any of that so I was wondering if someone could tell me how to put the information in the xfire sig into a custom sig that I make.If your not sure what xfire it I can post their sig in an edit to this post. If you do know please help me with this. Thank you in advance.
Edit:
This is the x-fire mini profile.

The information relating to game time and online status are real time so I need to know if anyone has found a way to get this information into a custom sig using PDN and if they have please let me know how you did it or if you know how I would appreciate your help.
-
Very nice tut. I had to try this so here's what I got.

This may be my new siggy not sure yet.
-
I wanted to try something different so I made a fantacy style siggy. Hope you like it.

-
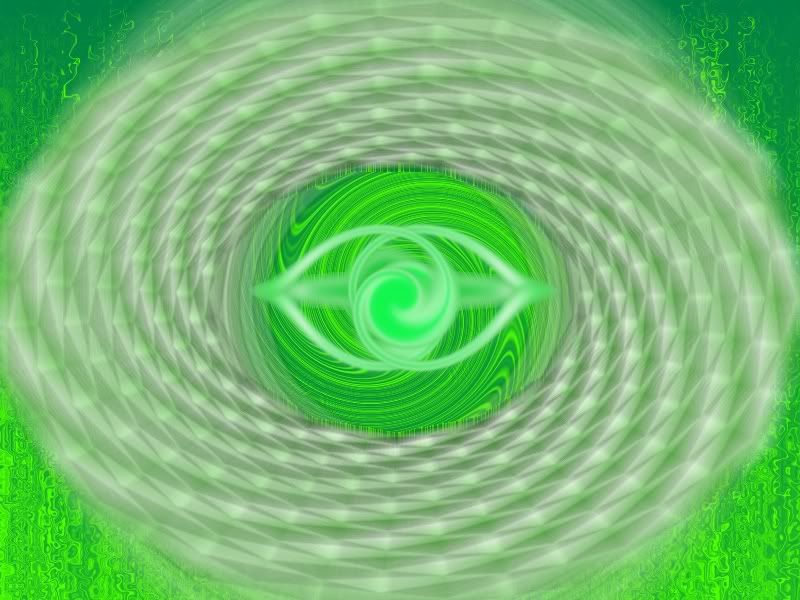
Whoa ! Now that is green. I like it ! How did you do the outer swirl?
Making a Vortex
On a transparent layer.
I used spirograph with these settings or near them at least:
Angles 11
Density 5
Depth 50
Zoom 100
Gradient 127
Then make sure the boxes are checked for Lines, Black & White Lines, Filled with gradient and Fit rectical size.
use magic wand at around 25% and cut out the center area. If you forgot and used the default white layer remove the area outside the spirogragh.
Duplicate layer
On the lower layer use Radial Blur at about 6 or 7
On the upper layer use Zoom Blur at around 16 or 17
Its not an exact science but this is as close to the settings I used as I could get. I had to recreate it. Enjoy!
Side note: That whole picture came about becase I wanted to play with Gradient Bars. The only parts that are not background are the swirlyspaceything(thanks swalski) and the vortex. Being bored has its advantages sometimes I guess.
-
Im partial to green. I call it "Your Green is Mind". Enjoy! I hope...
-
Im partial to green. I call it "Your Green is Mind". Enjoy! I hope...
-
Im partial to green. I call it "Your Green is Mind". Enjoy! I hope...
-
Im partial to green. I call it "Your Green is Mind". Enjoy! I hope...
-
yeah swalski tut that. I really like it and would like to know how its done.
-
yeah swalski tut that. I really like it and would like to know how its done.
-
I got bored and did this today. just played around and this kinda came to life on its own.
-
I got bored and did this today. just played around and this kinda came to life on its own.
-
I have been going absolutly insane trying to figure out how you guys/girls made this awsome stuff. Now I am beggining to learn.
I want to give you all a HUGE thanks for taking the time to make these.
I realize to some my siggy may be a bit offensive but as I learn more it will be modified and remade countless times till I can get a siggy thats as awsome as I imagine.
Thanks again.
-
Heres Mine

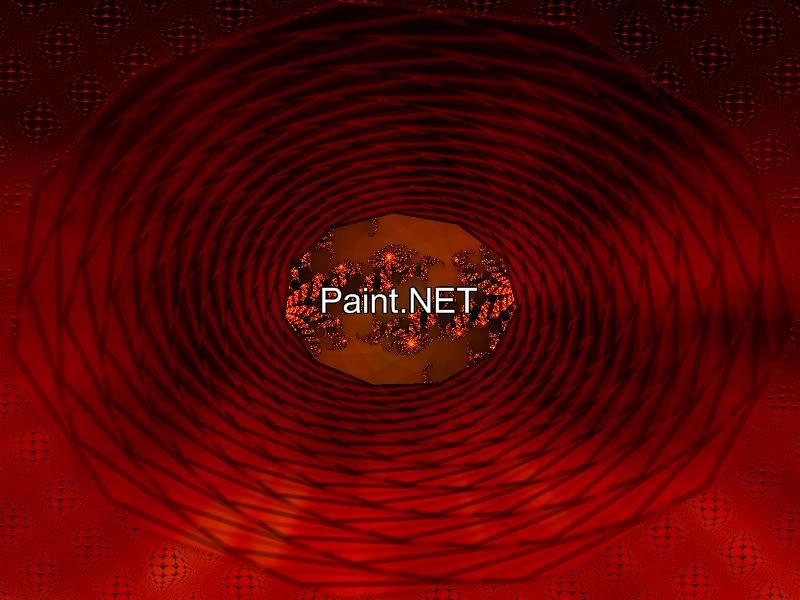
Paint.NET is great, except it always does this.....
in Paint.NET Discussion and Questions
Posted
For this the solution is put your text on a new layer. This way you can move the text all you want without moving the background image/color.
In this case if you are using an image, just duplicate the image layer and work on the top layer. In this way you will be able to move the selected part of the image and still have it visible from the layer below so it will be as if you didn't move it. The same can be done if you don't want to go back and fill it in when using a solid color background.
This is not a problem. "Fiddling around with layers" is EXACTLY what a multilayer photo/image editor is for. If you want to use any type of quality image editor this skill is a must.
Considering your rigid standpoint and unwillingness to learn staying with mspaint may be just the thing for you to do.