


blooper101
-
Posts
114 -
Joined
-
Last visited
Posts posted by blooper101
-
-
Alright, I got the grass and the wood thing covered. Now, I need a "Render Cow" plugin. Or, Ash's L3370rz skillz.
-
However, with blur... you wouldn't be able to do this:
(I thumbnailed it, 'cause it was big.)
I selected the white to do this. However, with blurred edges, it's going to be a bit difficult.
Which is why I think that if our dear plug-in maker fixes it with a blur, he should make it so that we can have both the plug-ins.

-
@Lots of people, again... Especially JPope's image, and, no need to say, ash.
Good work.
@trooper
5-tuple post -- world record perhaps?

@blooper101
Shut up....
-
Thanks for the mini-tut for the grass
-
Alright! I made something with this great tutorial, but I won't show it to you until you make a tutorial to make grass..
-
What I hate about this topic, is that if you spend a day without checking it, boy you have some reading to do

I really love the eyeball, did you use dent for the blood vessels?
Oma, I'm sure you'll work out that shelf thing. I hate it when I forget words.
Make sure you don't break a plate!
[/lame joke of the day]
Oh, by the way, maybe (if you didn't do so already), put the windows on a layer, the plates on another one, and the wooden frame on another one. That way, you can see the pattern of the glass on the bowl

-
What you want to do, is have a canvas of the size of your biggest image. Then, open, say the trophy image, press Ctrl+A (Select all), CTRL+C (Copy), then, on the big canvas image thingy-ma-bob (i'm sure it's clear enough
), make a new layer, press CTRL+V (Paste), then press "M" (they key, "M" on your keyboard )and drag your image to where you want it. Press CTRL+Shist+F (Flatten image). Repeat the steps for all the images. Hope that helped? -
@Everyone since my last post that posted pictures:
Good job, especially Ash, ares, and MadJik.
Veromy, help us help you. I see your pictures are taken in Germany. If you want a little help in german...
[whisper]PM me![/whisper]
-
Good work.
-
Hey oma, nice work! Ash, you weren't suppose to join us dancing... The gods I mentioned were you
 I'll just shut up lose the lower part of my jaw looking at your picture. Ok? Ok.
 -
Everyone is going to spam your inbox asking "Can I make this with Shape3D?"
Starting with me
That eye looks great. My way looks more chaotic though (you could do the same kind of thing with your method though)
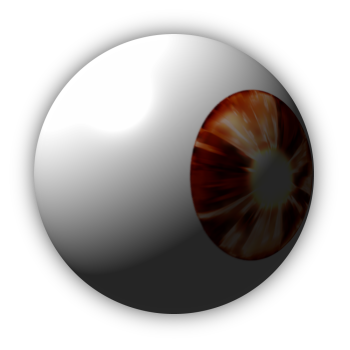
Follow the explosion tutorial, delete the crackled sphere layer, and crop it into a circle. Then, resize as needed, paste on a white background, S3D sphere and you're set.
-
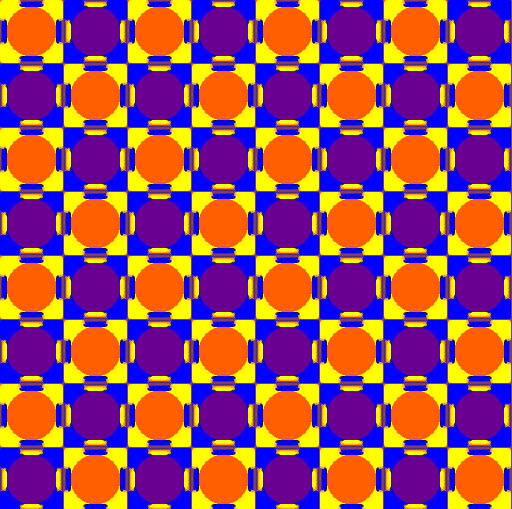
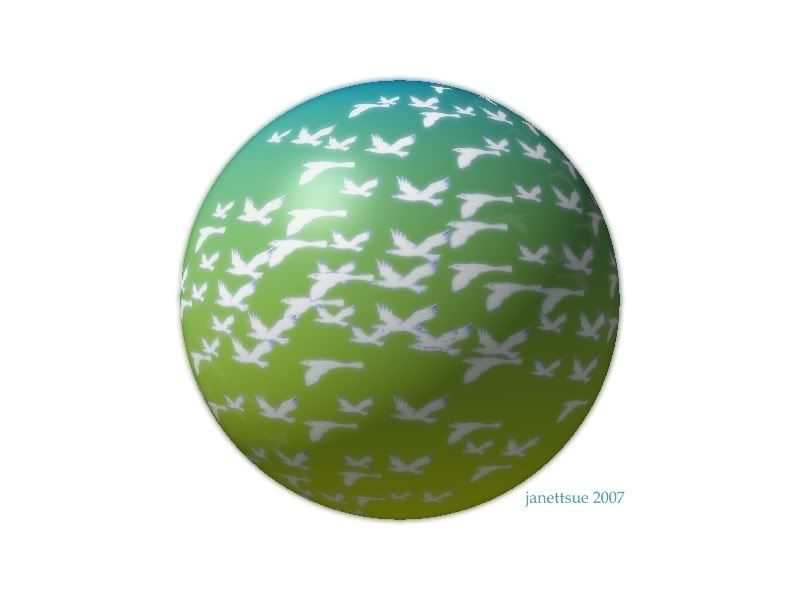
Hey Oma, since you like patterns that much...
I came up with a little something for you. Let's see what you can do with it :wink:
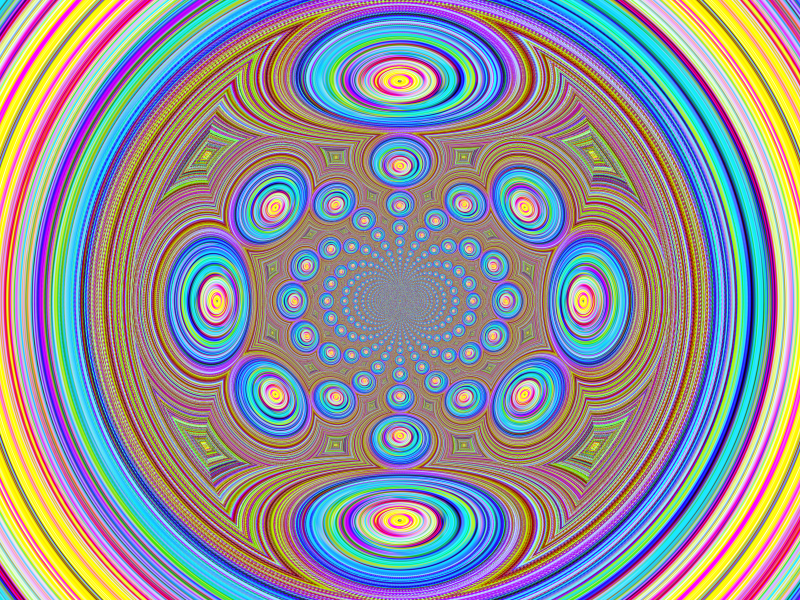
My try at the polar inversion, with innovation V. Instead of scratching around, use "Cloud", normal settings, then open Curves (Adjustements>Curves), mess around, Radial blur, open curves, press enter, Ctrl+F, and so on until you get colors you like. Then Polar Invert.
-
Blah blah blah
is looks so hard to do and its the easiest way EVER!
User posted image
Mmm, yes, doesn't look very complicated to the PDN-friendly eye. Otherwise, it looks great, that's the kinda thing I used to do at basically the same moment (in PDN life... Confused? same here.).
-
Oooo! More plug-ins!
I triied to do that on Paint back in the days. Why is that program not called pain?
Hehe... Just found a little trick...
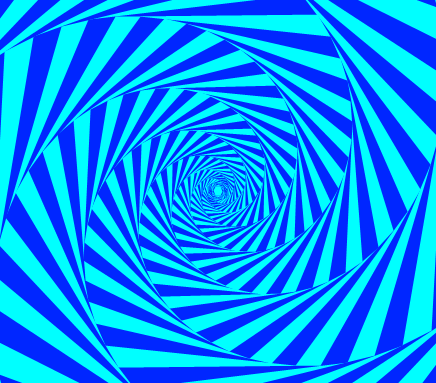
Look at the middle of the image. Now move your head closer, then further.
The twisted triangles look like they're turning.
MadJik, you truly are Mad and you definitely are a Jik.Keep up the good work.
One question though. Do you ever eat?
Gods don't eat.
-
Very nice tutorial,especially for a first.
"Flattening", not "flatering" :wink:
Et les Français sont les meilleurs
-
*Laughs at T_LH and gets striked(sp?) by lightning for not amusing the gods*
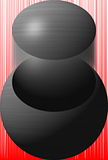
Open sphere.

-
We're going to have to wait for the master to tell us.
*Dances to make the gods happy*
-
Wow ash, that's amazing! :shock:
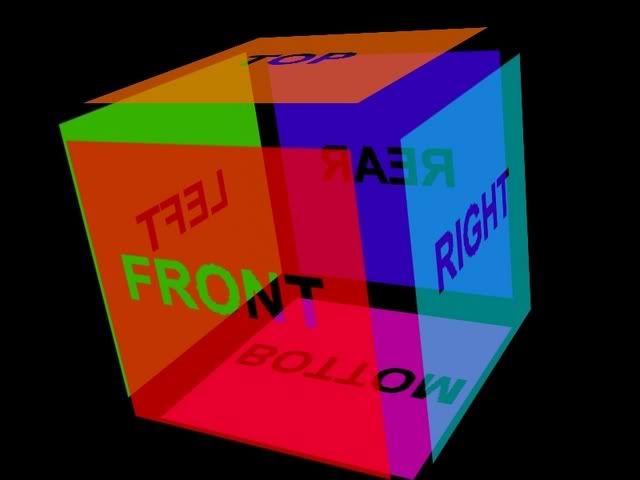
I've been trying to make a dice using the 3D object plugin, but I had a lot of trouble, so I just made a 3D dice plan instead :wink:
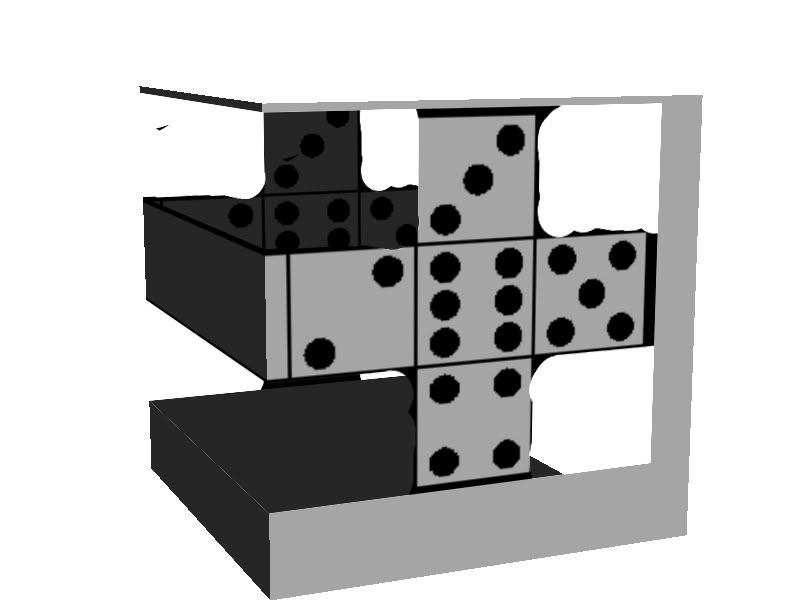
To make a dice, check out Ash's tutorial. Just replace the pictures by Dots. Oh, and each face has to add up to 7 with the opposite face. And, using the grid plugin can be useful for this.
@Ash: Great work. Astonishing(sp?).
-
Next time you use S3D, use anti-aliasation to the max, otherwise, your sphere looks like it has an edge :wink:
Here's my most recent artwork... From this:
To this:
To this eyeball. Look at the explosion tutorial, and look at my posts.
-
Thank you, thank you
I guess we're all in the same boat, I wonder what I'd do if I didn't have Paint.Net. I was looking for themes for my computer on crystalxp.net, and -- hey! a free editing program! I downloaded, and it's awesome. Thanks Rick, and all the developers :wink:
-
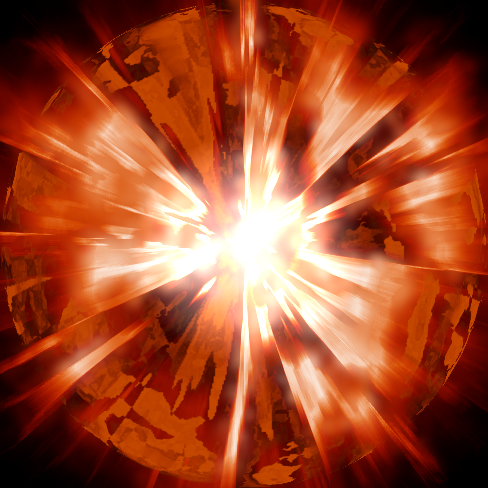
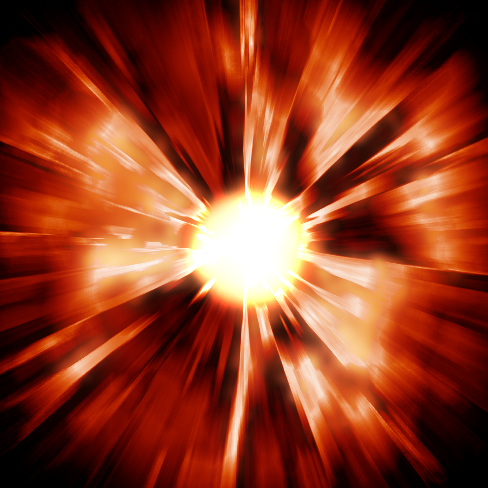
I think reworking it could make a fine eyeball, using S3D.
\That didn't take long
I used lens on the supernova, default settings. I used Rotate/Zoom to make the pupil smaller. I then selected the lensed part (put the cursor at the top left corner of the image [Height 0, width 0] then drag to the bottom right corner with the ellipse tool), pressed CTRL+Shift+X, selected the transparent parts around the orange circle, filled them with white, used Shape3D, added a dmall glow, duplicated the layer, selected the transparent parts on the bottom layer, pressed CTRL+I, used the rectangle tool
(:ShapeInterior:) to fill the selection with black, deselected, gaussian blurred it, and I was done!
-
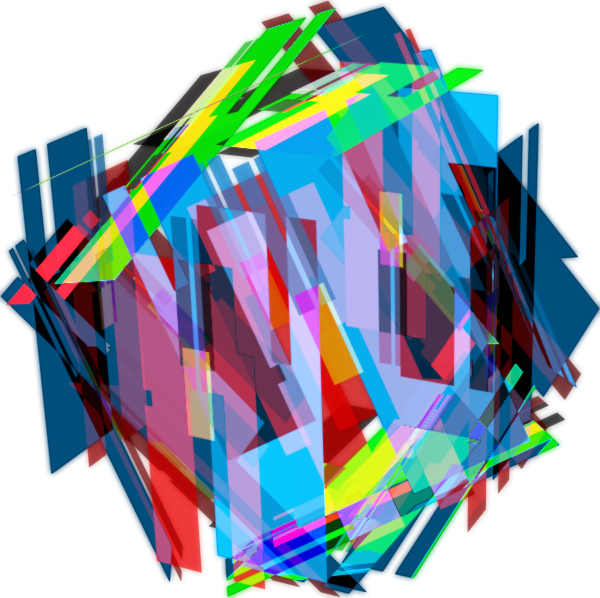
Hey blooper could you try that same effect with imaging a face. Its pretty obvious what major artist I am thinking of, pretty cool result from what I assume is a cube.
Yes, a lot of semi-transparent rectangles, duplicate the layers twice, use Shape 3D, 3 different X, Y, and Z settings, for each layer, and all layers set to difference or negation.
And I don't understand what imaging means. I speak french better :wink:
Or maybe you mean this?
Credits to Ash.
It's very easy to do, follow Ash's tutorial.
-
Alright... here are mine:
Regular explosion. Like yours.
Took the layer with the exploding sphere away, and used the portrait plug-in many times with the defaults, and max warmth, on the layer with the gradients. Very simple.
-
I call it the Mass.

 I'll just shut up lose the lower part of my jaw looking at your picture. Ok? Ok.
The Pictorium! Post your created or edited images here!
in The Pictorium
Posted
Awesome work...
Oma, I'll be working on something you asked us to do... a hidden part of me :wink: