


D00m259
-
Posts
2 -
Joined
-
Last visited
Posts posted by D00m259
-
-
This tutorial is available as a PDF. Click here to view or download it
Hey! Welcome, this is my first tutorial and I hope you like it.

Plugins required:
- Gravity http://forums.getpai...vity-ymd100714/
- Power Stretch http://forums.getpai...ted-may-3-2008/
- TwistZ http://forums.getpai...wist-ymd100718/
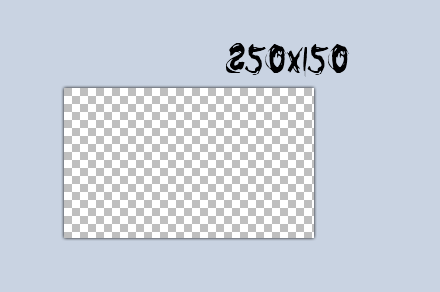
Alright, let's get started, first make a picture that is 250x150 pixels.
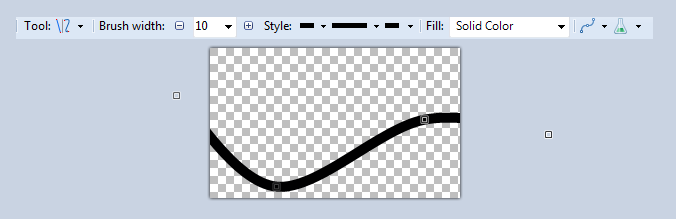
Now select the Line tool, set the width to 10 and make a shape something like this (or how you want it).
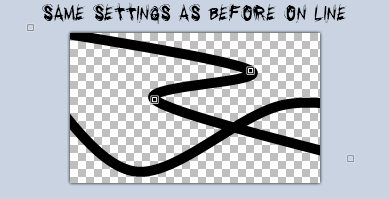
Now do it again, but kind of like this.
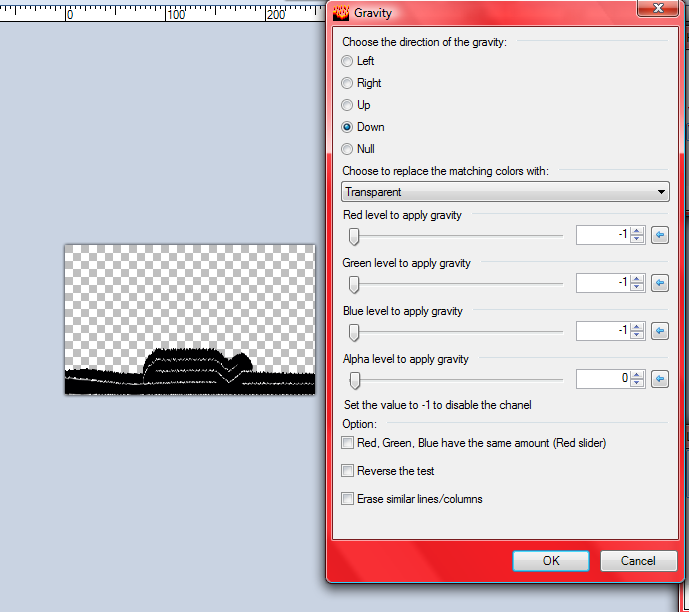
Now apply Gravity (Distort>Gravity) with these settings:
Down
Transparent
-1
-1
-1
0
No check
No check
No check
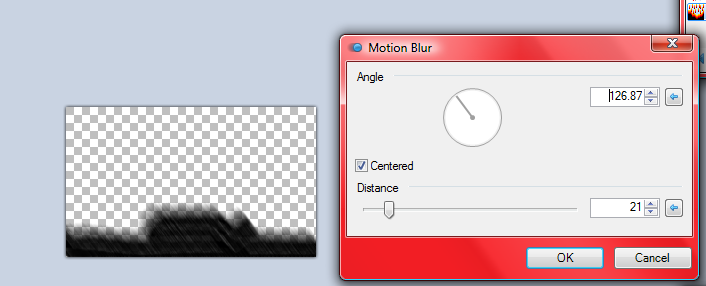
Now apply Motion Blur (Blurs>Motion Blur) with these settings:
125 - 127
20 - 22
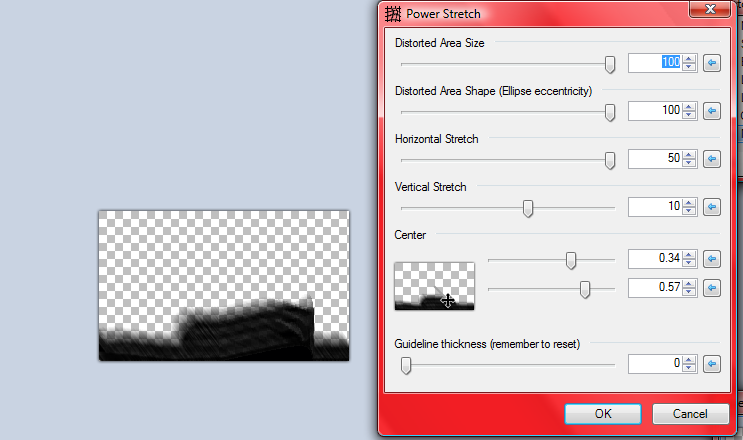
Now use Power Stretch (Distort>Power Stretch) with these settings:
100
100
50
10
0.3 -0.4 (Or where you want, it looks good here)
0.5 - 0.6 (Or where you want, it looks good here)
0
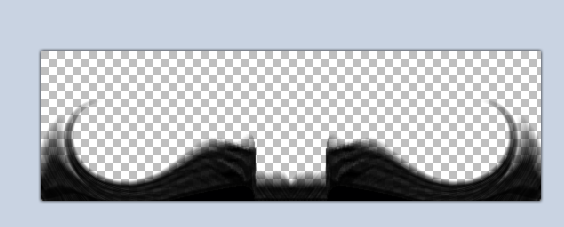
Now use TwistZ (Distort>TwistZ with zoom) with these settings:
27 - 28
1.5 - 2
100
-0.4 - -0.5 (Or where you want, it looks good here)
0 (Or where you want, it looks good here)
5 (Like always)

There are A LOT of ways to do this part, so do it how you want.
But, here's how I did it:
Copy the whole picture,
Use the Canvas Size (Image>Canvas Size) tool and make it so that it's 500x150 pixels(Select the middle-left square in the bottom right),
Paste it in,
Grab the middle left resize square and move it all the way to the other end.
Now add some kind of text in between the space in the center (If you put all the coords how I did, not sure if it's there otherwise.)
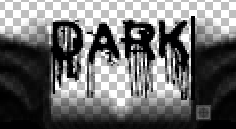
And there we go!

Creating A Pretty Cool Shadow Sig
in Creations
Posted
Doesn't everything?