


theadamgaskins
-
Posts
5 -
Joined
-
Last visited
Posts posted by theadamgaskins
-
-
This is by far the best text tutorial I've seen. The effects so nice.
I was very happy with my result.
Thank you! Glad you liked it!

-
You're missing the blend mode for the Cloud layer

I've got just one more suggestion: Blur the 'Shiny' layer to soften the edge of the ellipse.
Nice that you included the PDN file. A very nice touch! Thanks.
Oh, thanks. Nice catch, and idea. *added and fixed*

-
Hi theadamgaskins, welcome to the forum.
This is a nice effect. Shiny (that's a little Firefly in-joke
). You've done a good job explaining it in very clear and precise steps. You've even uploaded it into the correct forum section!
The screenshots are too large however
 .
. The first screeny is 958x772 pixels and the JPG is 174.8kb in size. If you resize this (maximum dimension of 800px - as per the Tutorial Guidelines items 1a & 1b), and save it as an optimized PNG (see item 1c) then you'd be able to get the filesize down to 26.5kb. A significant saving in don't you think?
Please as a minimum, resize the overlarge screenshots.
Thanks.
Glad you like it!
And, I'm sorry about that. Fixing now...
EDIT: ok, fixed
-
This tutorial is available as a PDF. Click here to view or download it
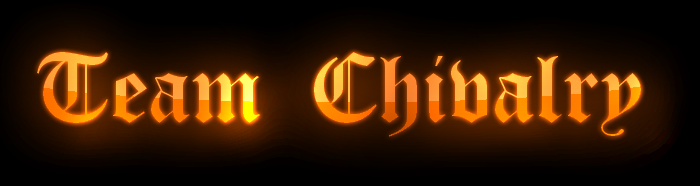
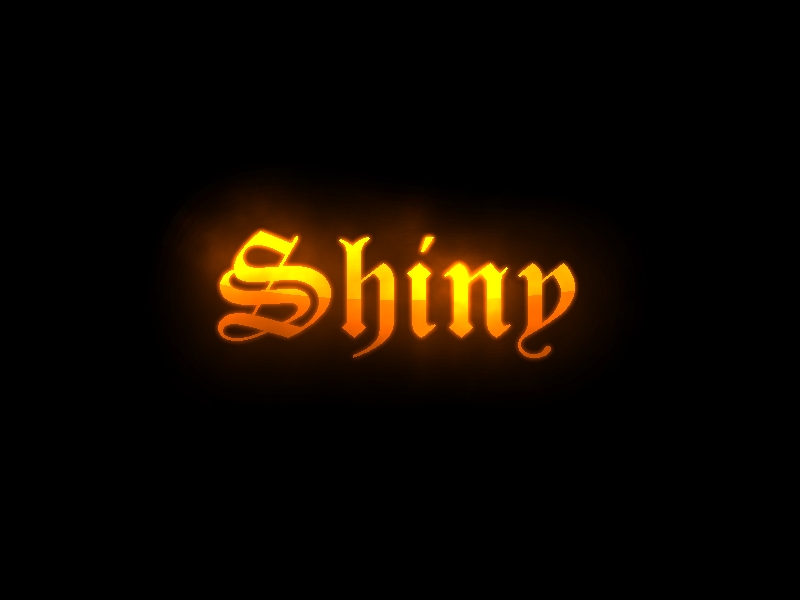
By the time you finish this tutorial, you should be able to make images like this:
Step 1
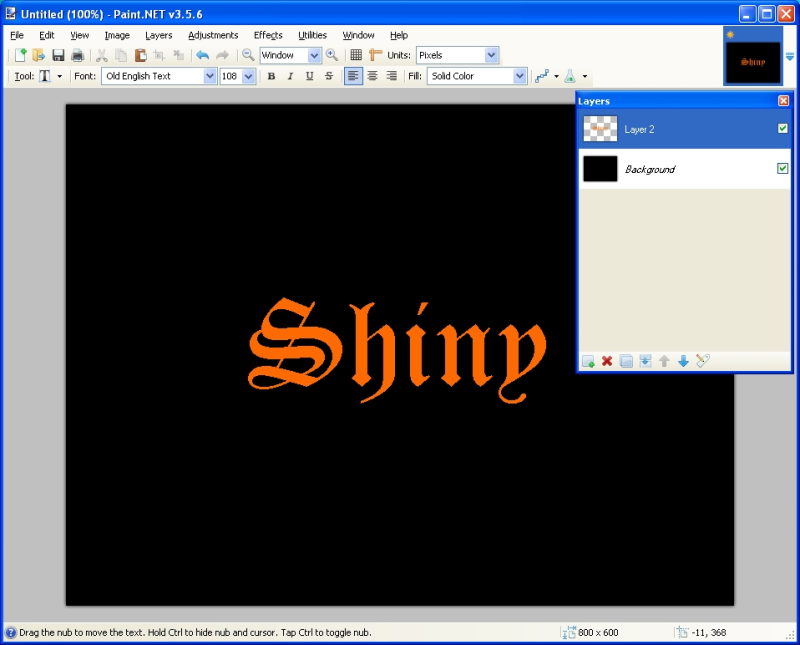
Fill the background layer with black. Create a new layer, and draw your text that you want to be shiny in orange, with no antialiasing.
Step 2
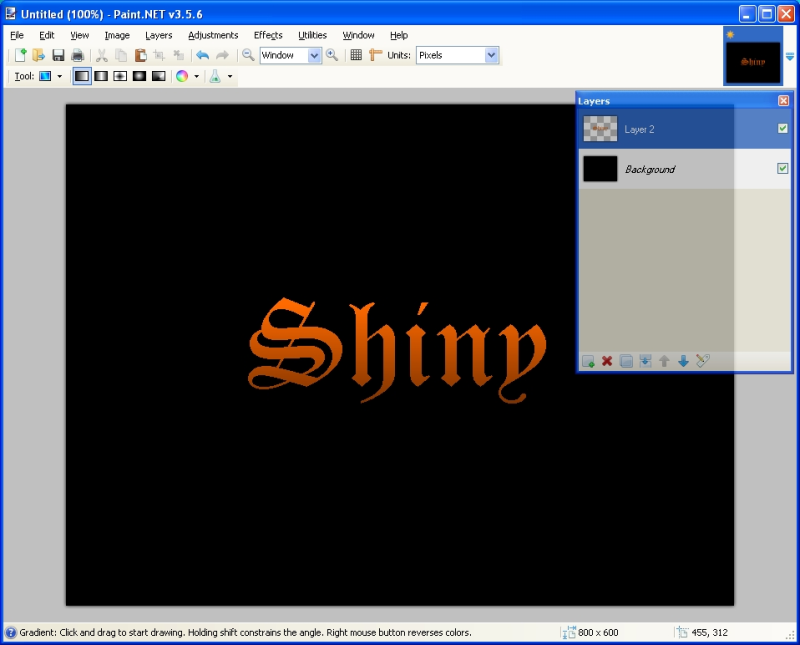
Select the text, and draw a gradient from Orange to Brown, with Orange on top, and Brown on bottom. These are the colors I used, but feel free to use your own combinations.
Step 3
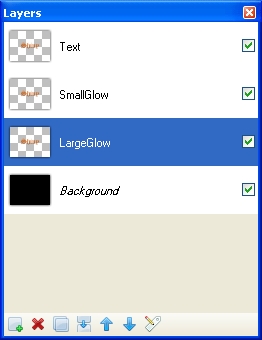
Duplicate the Text layer, and name the layers like so
Step 4
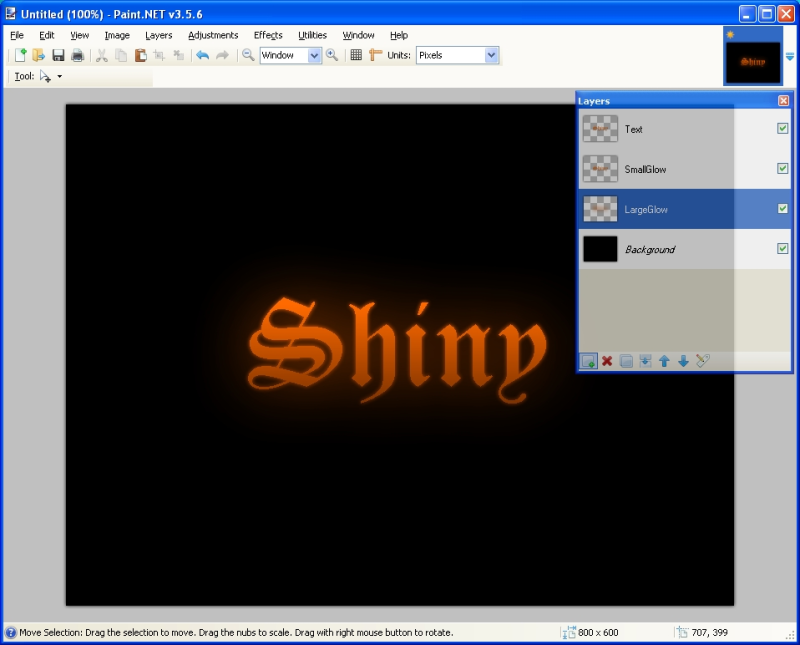
Blur the Small Blur layer with Gaussian blur just a little bit (I did 5), and the Large Blur layer significantly more (I did around 90).
Step 5
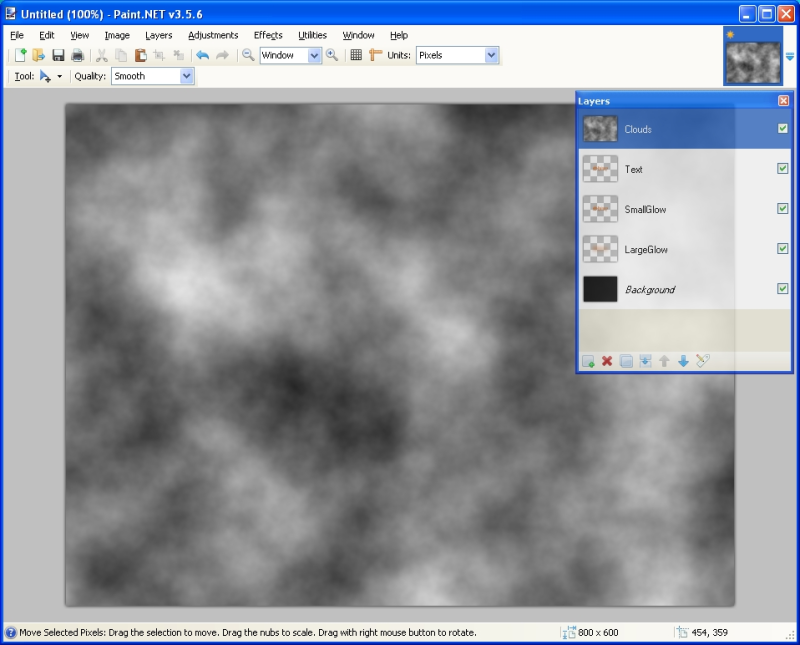
This is where the magic happens! Create a layer on the top, name it clouds, set its blend type to Color Dodge, and render some clouds. Make sure you set the primary and secondary colors to Black and White. Just fiddle with the settings until it looks shiny enough.
Step 6
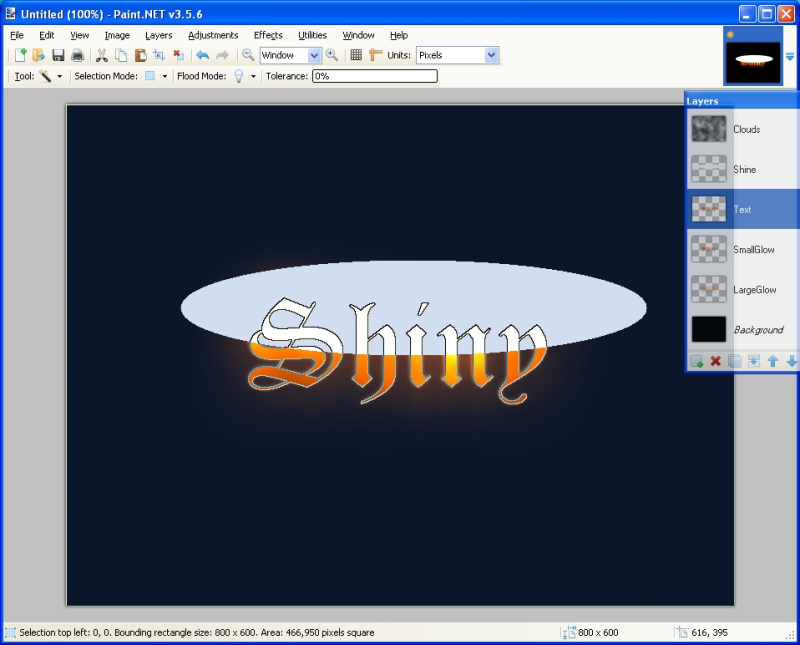
This step is optional. Create a new layer under the clouds layer, called "Shine". Draw an oval like so, and go to the text layer, and select everything except the text. Go back to the Shine layer, and hit "delete". Lower the Opacity of the Shine layer, and (if you want) set it to overlay. Apply a Gaussian Blur of 1 or so to the layer, to smooth the edges.
Finished
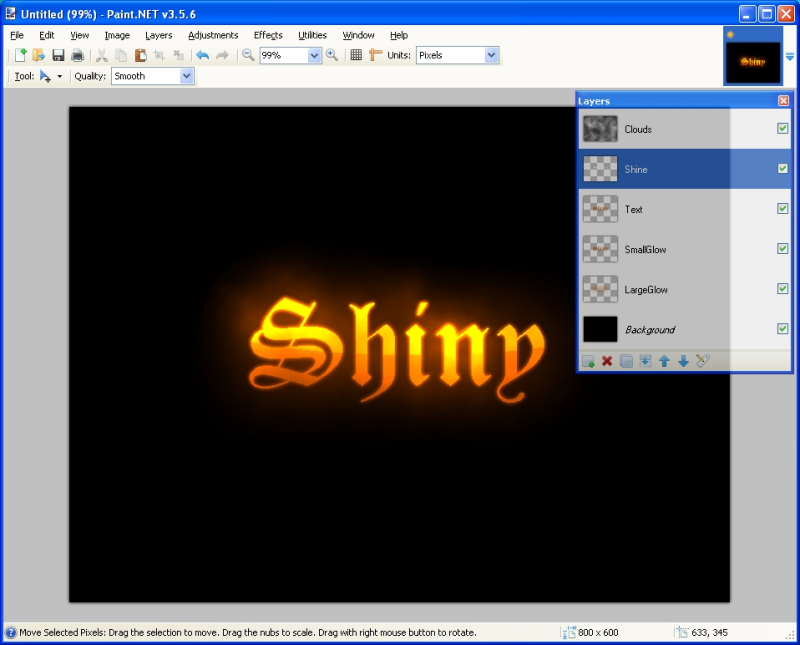
Your final setup should look something like this.
I hope you enjoyed this tutorial! Here's the finished product:
The more time and effort you put into it, the better it will look. The initial example is an example of this. For those who want it, here is the PDN file that I made in this tutorial.


Shiny Gold Text
in Text Effects
Posted
Old English Text MT