


xmario
-
Posts
69 -
Joined
-
Last visited
Posts posted by xmario
-
-
-
-
-
-
Thank you! It's really just а funny tutorial. At the same time, we saw how to use the plugin Trail.
The use of Pixelate effect can help in creating palettes. May be it will be useful.

-
This tutorial is available as a PDF. Click here to view or download it
LEGO Photo
Plugins needed:
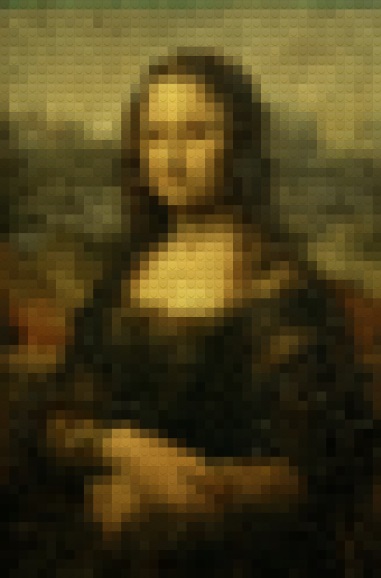
The final result:
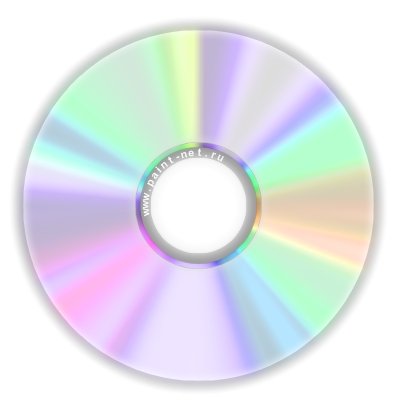
We need LEGO locks images to make LEGO photo.
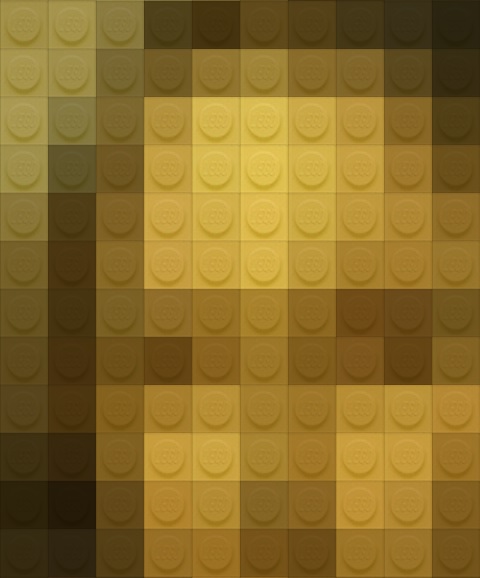
There are some LEGO images in 48 by 48 pixels.


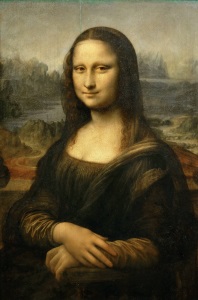
As the original photo I took a picture of Leonardo da Vinci's "Mona Lisa".
Since the photo will consist of LEGO images size 48 by 48 pixels, the size of the original picture must be a multiple of 48.
Size of the original photo I have 1962 to 2976 pixels.
Step #1
Open the "Mona Lisa" image in paint.net.
Create a new empty layer above.
Copy LEGO lock image and paste it to a new empty layer.
Move it in the top left corner of the empty layer.

Step #2
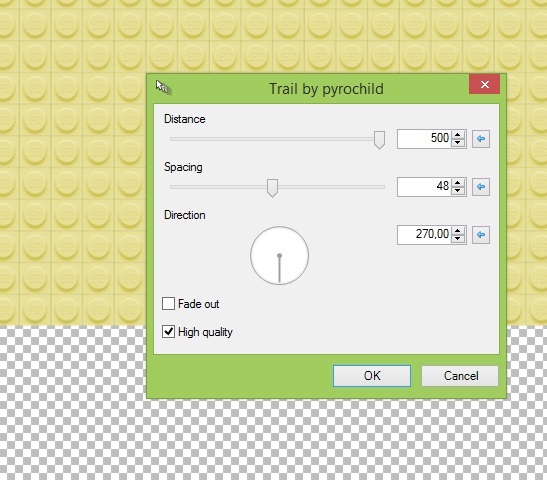
Apply the Trail-plugin by Pyrochild.

May need to apply this plugin several times (CTRL+F) to fill the entire horizontal row.
Apply the Trail-plugin by Pyrochild with 270 degrees direction to fill the entire vertical row.
Intermediate result:
Step #3
Move the picture of the Mona Lisa on the layer above the LEGO.
Apply Effects – Distort – Pixelate.
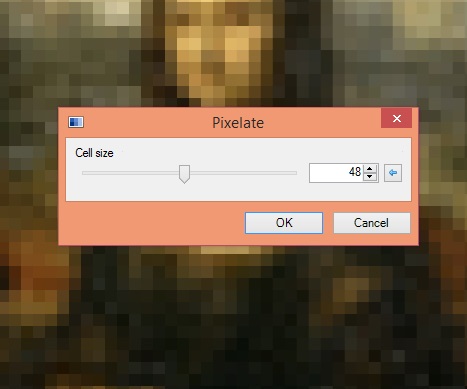
Step #4
Set the blending mode of the layer with the Mona Lisa as "multiply".
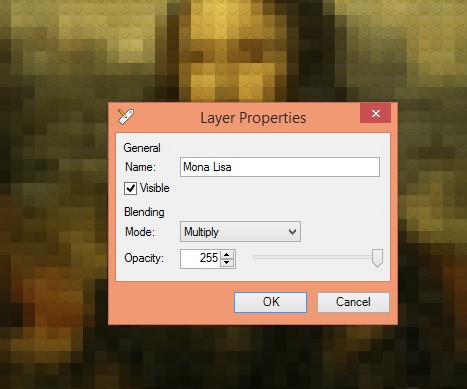
The final result:
 Description of this tutorial in Russian
-
 1
1
-
 2
2
-
-
Your pictures are not visible
-
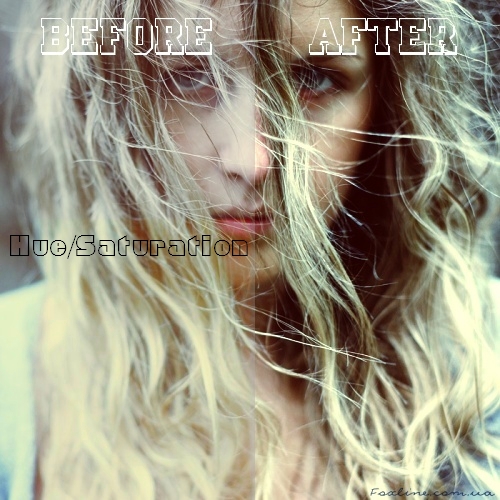
You can also try increasing the saturation with Adjustments -> Hue/Saturation.
Perhaps you're right. For most images this option can be used, but unfortunately not always for photos.
-
This tutorial is available as a PDF. Click here to view or download it
A simple way to make the colors more intense in the photo
This is a easy way to make more saturated dead colors in a photo or in a picture.
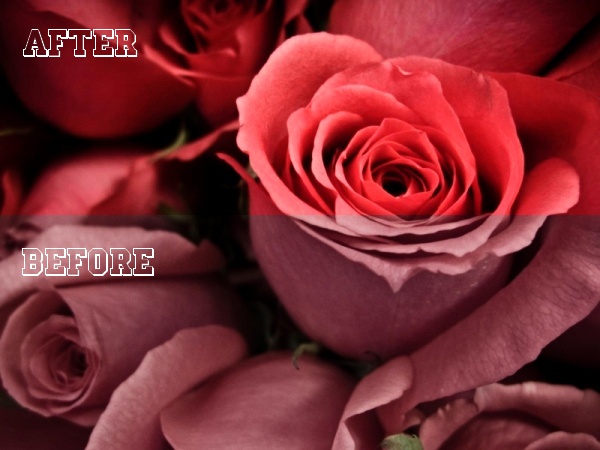

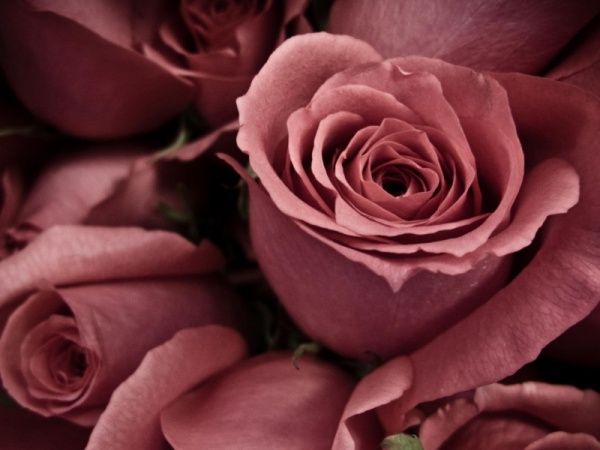
So, we'll take a picture, to make the colors more saturated. For example, like this photo.
1. Open the photo in paint.net.
2. Duplicate the layer with the photo.
3. Apply to the top layer “Adjustments” - “Black and white”.
4. Apply to the top layer “Adjustments” - “Invert Colors”.
5. Set the blending mode of the top layer - "Reflect"
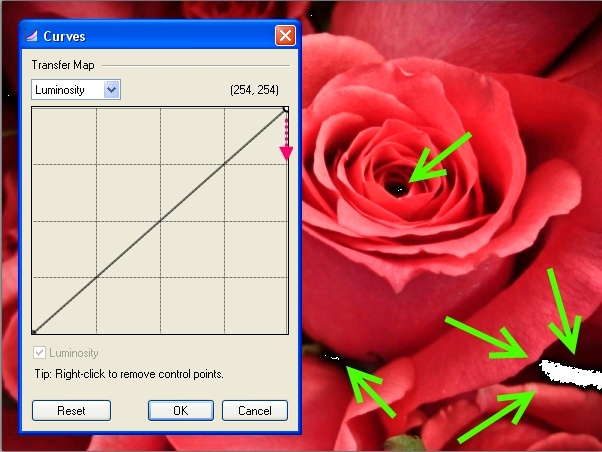
For dark images in the places where they were especially dark, can appear overexposed white areas. This is easy to fix. Apply to the top layer “Adjustments” - “Curves”. Slightly move the top point down until the white illuminated areas will not be wasted.
 Description of this tutorial in Russian
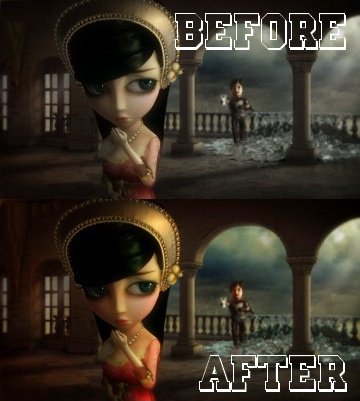
One more example:
-
1
-
2
-
-
Cool! Only the shadow looks unrealistic. Perhaps is the extra light-flare before the ball.
-
-
-
-
-
This tutorial is available as a PDF. Click here to view or download it
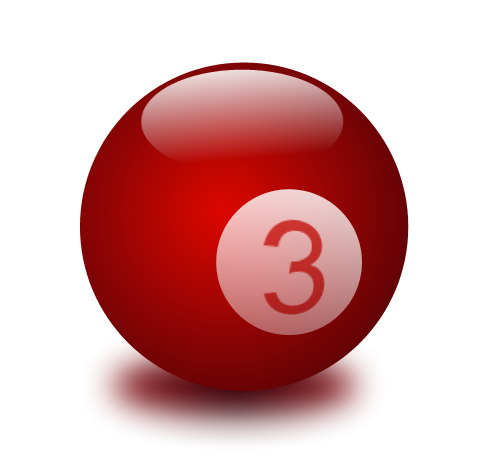
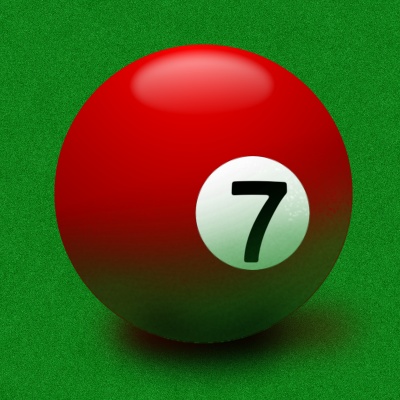
Pool ball
So here's what we create:
 Description of this tutorial in Russian
Plugins needed
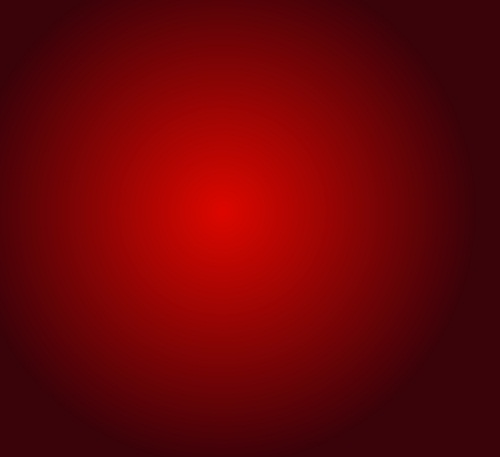
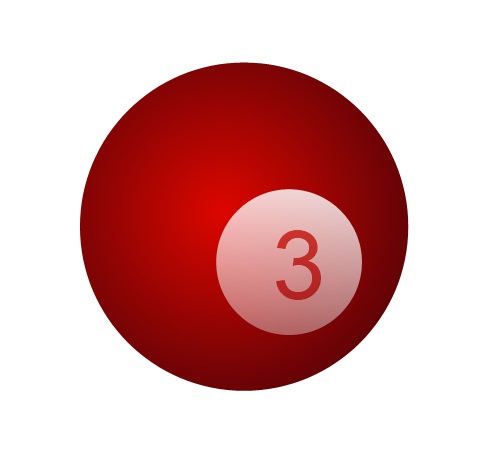
Create a new layer. Make a radial gradient. I used the colors red #D70600 and black.
Create a new layer. Draw a circle on it. It will be a mask.
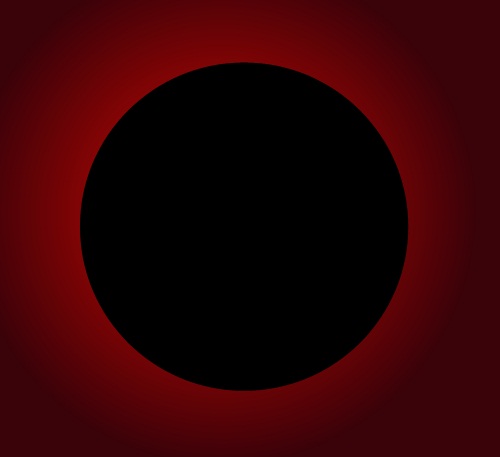
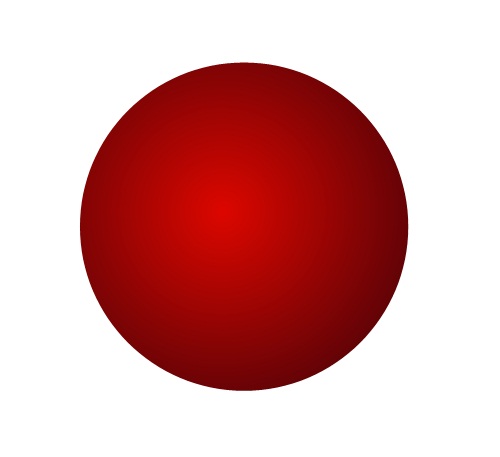
Select all at the layer with the black circle. Copy it to the clipboard. Turn off the visibility of the layer with a black circle. Go to the gradient layer. Apply the alpha mask plugin.
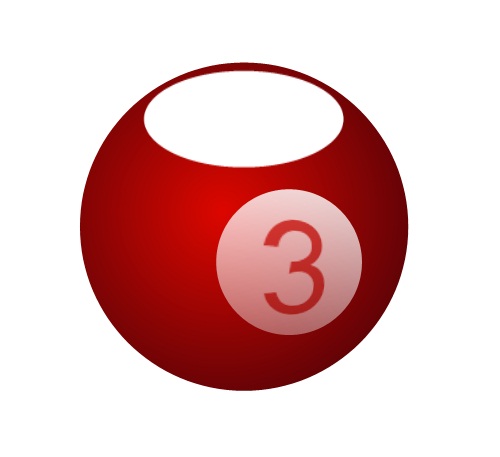
Create a new layer. Create on it is another smaller white circle.

Use the transparency gradient. Fill them bottom-up a white circle.

Create a new layer. Using the Text tool, write the number.
Use a paint.net standard effect Bulge (menu Distort). If you are a beginner, skip this step, it's OK this way.

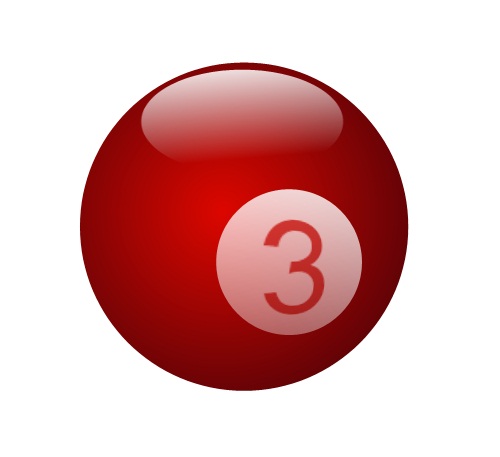
Create a new layer. Draw a white ellipse.
Use linear gradient in transparency mode on ellipse, to make it translucent.
Create a shadow. Create a new layer below all the layers. Draw on it a black ellipse.
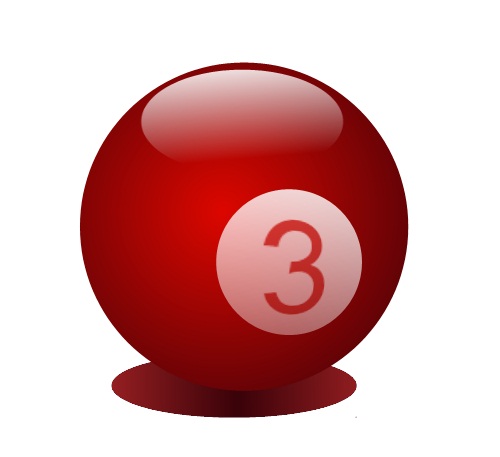
Apply on the black ellipse the standard paint.net effect Gaussian Blur.
-
The brush folder for this version of Smudge is different from previous versions, to avoid conflict with Custom Brushes'.
Click Add/Remove Brushes in the brush menu to find the new one.
Thank you! There is no problem to add brush. How to remove a built-in brush from Smudge 3.0 and add it into Smudge 3.5? Where are the files with built-in brushes for Smudge 3.0?
-
Cool!! Background colors can be changed is the perfect solution!

But..
 ...now there are no built-in brushes in beta, that were in the previous version. For example this brush has been very useful.
Brush from a previous version do not work in beta. Specifically, I cannot add them there.

-
You are very persistent. Hopefully I can get that done by the end of the year, but I really am very busy with school, work and other coding projects. And soon, snowboarding.
I am sorry to bother you again, but what about the gray background (instead chessboard pattern) to Smudge Effect
-
Red Smilie is not amused with Pink Smilie

-
Hopefully I can get that done by the end of the year...
We will be waiting impatiently for this.
It is very difficult to Smudge the lite or grey picture on a transparent background. -
I'm sorry
but, what about the gray background (instead chessboard pattern) to Smudge Effect? It's really need! 
-
JulioCoolio: Very cool.
 But the ball have jagged edges. You can use dpy's AA's Asistant.
Heat Stroke: Very nice too!
 But I think there is too much white
-
@ @xmario: I've added links to the plugins you listed. Next tutorial you get to do them yourself, OK?

I'm sorry
 First, I hurried to write the tut, and then I just forgot it.
 -
вылетает модуль upload to там есть лог ошибки, посмотрите плз
Я бы посоветовал написать про эту ошибку вот сюда ->


Grass texture
in Textures
Posted
This tutorial is available as a PDF. Click here to view or download it
Grass texture
We will make this grass texture:
Plugin you will need - Splinter Ed Harvey Effects
1. First, create a new image.
The image size must be a little more than you need the texture size, because the edges will be cropped.
The edges of the texture will be little unnatural.
Apply standard effect Clouds.
2. Create a copy of the layer.
Apply to the top layer the effect Crystalize.
3. Create a copy of the top layer.
Set the blend mode of the top layer as "Xor".
You should see a completely black background.
Now you have three layers.
4. Select the contents of the top layer.
With the keyboard arrow keys, move the layer one pixel up and one pixel right or left.
Merge the top layer down.
Now you have two layers.
5. Apply to the top layer plugin Splinter.
6. You can paint the texture in a green color using a different correction.
7. The color of the grass looks unnatural.
Use the bottom layer with the clouds.
Move it up, above the layer with the grass texture.
Set the property clouds layer as "Overlay".
P.S. For some people it may seem that the grass is too straight, like a fir needle.
In this case I can advise to use distortion effects. For example, Dents or SinnWaves, or other to your taste.