


baalazmon
-
Posts
18 -
Joined
-
Last visited
Posts posted by baalazmon
-
-
he used a font called visitor from dafont
-
im quite proud of these
-
thats exactly what i needed, thank so much

-
thanks sarkut, and sorry about that, now its fixed
-
I mean, would there be a way for it to make the black in an existing picture more transparent, so the darker the more see-through. So i could replace a pure black sky (with scenery and sun already) with a starfield or something else.
-
Hello, i've been working with PdN for a while, and now im mostly using it to combine/touch up renders, im going to get more into creating with it soon. So my question is; I have an image, and i want the black in the image to be more transparent, like around a sun, it would gradually fade from light>transparent, not suddenly shifting, I cant find this explained anywhere. If requested I will post the images, but they are quite large filesize, so it would take a good amount of time to upload.
Thank you for your time
-Baal
-
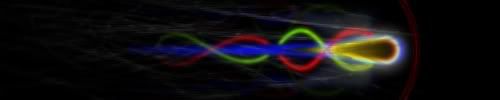
so this tutorial will teach you how to make this

there are 32 steps, which is about 22 more than intended
you will need
tilinghttp://paintdotnet.forumer.com/viewtopic.php?f=16&t=22521
polar to rect http://paintdotnet.forumer.com/viewtopic.php?f=16&t=4173
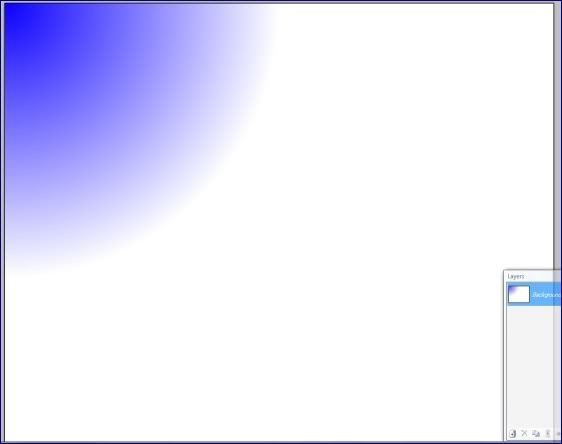
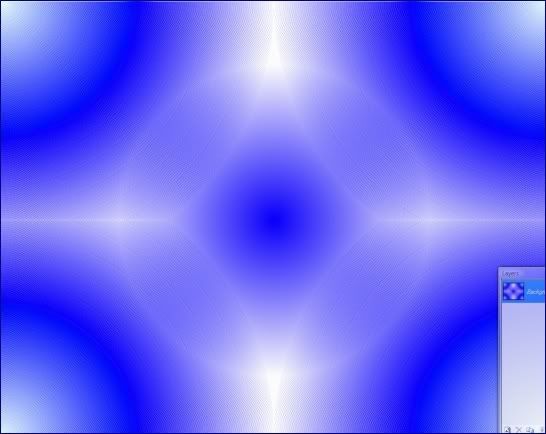
first create your picture, the same size as your display
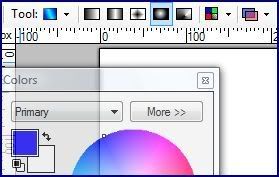
then select the circular gradient with whatever color you want
then make one in a corner going 1/2 the width of the image
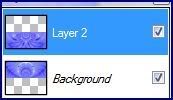
duplicate that layer and flip it horizontally
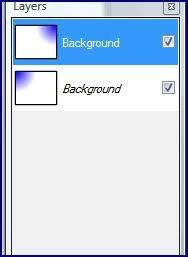
duplicate the flipped one and flip it vertically, then duplicate that one and flip it horizontally
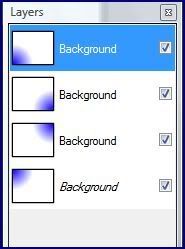
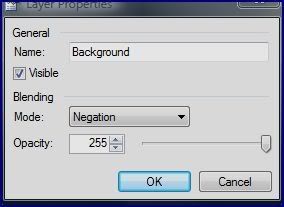
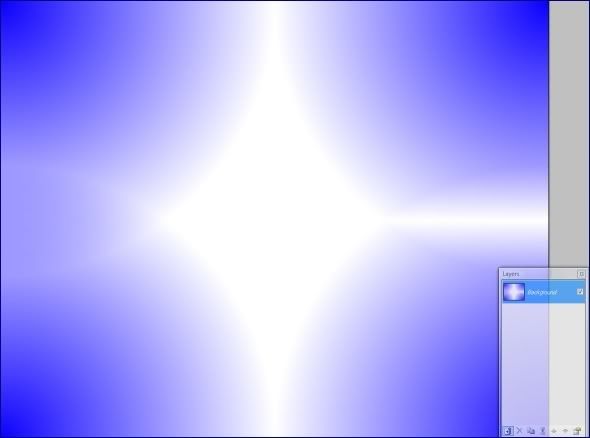
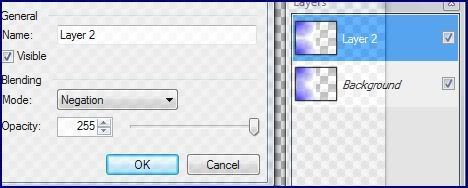
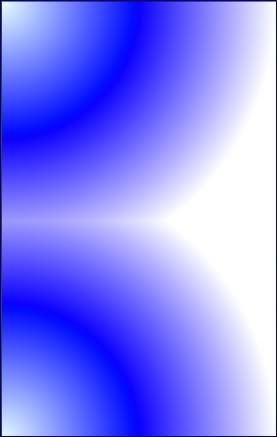
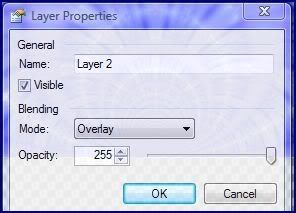
hit f4 and do negation blending on all of them
will end up like this

flatten it
invert the colors
cut half of it away with the rectangle select
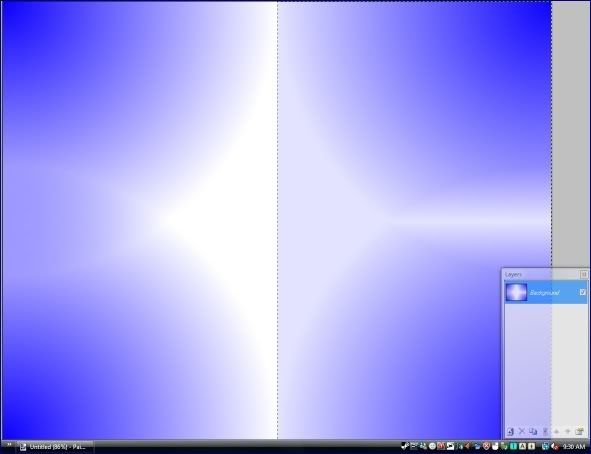
and put it in a new layer
flip it horizontally and do negation blending
and voila
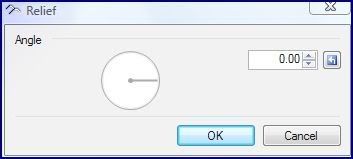
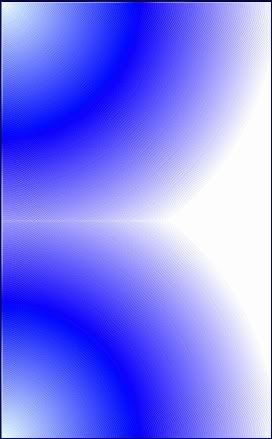
then go to relief and do it at 0, 90, 180, and -90
you should have this
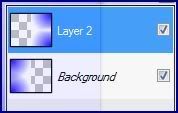
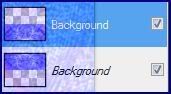
then duplicate it and flip it
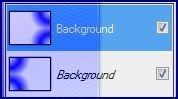
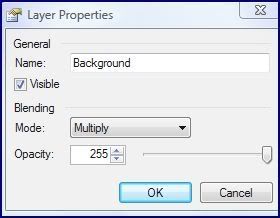
set layers to multiply
flatten it

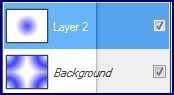
then create a new layer and put a small circular gradient in the center
blend it with negation (i believe, forgot to take a pic)
invert the colors
then do the relief thing again at 0,90,180, and -90
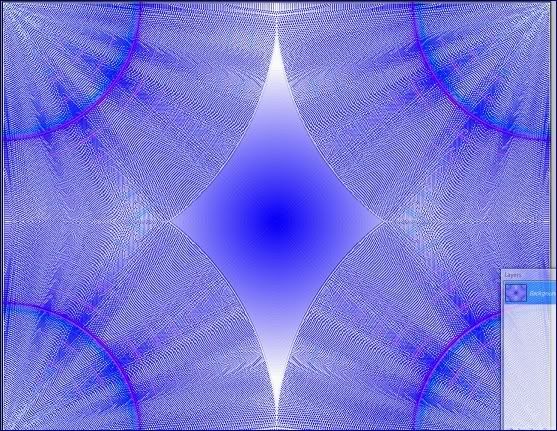
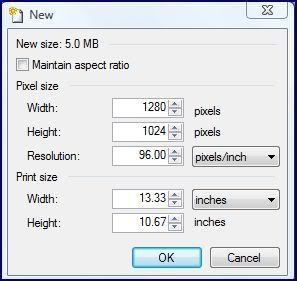
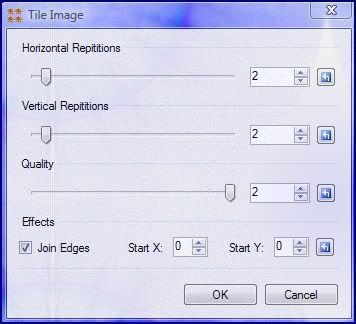
use tile image with the settings shown in the picture
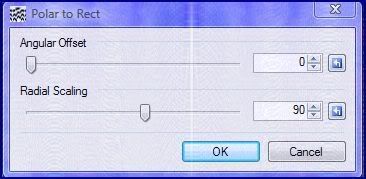
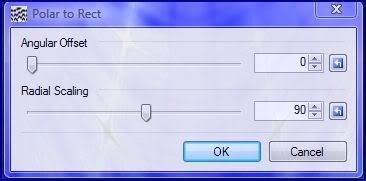
then polar to rect, with settings shown
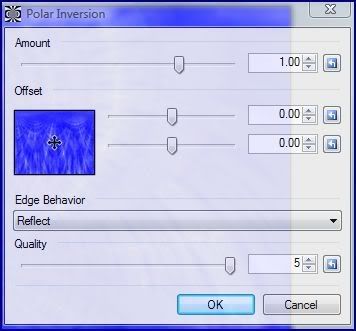
and polar inversion with these settings

cut away half and put it on a new layer
flip vertically and overlay
flatten it, cut away half, put it on a new layer, flip the new layer vertically, and flatten
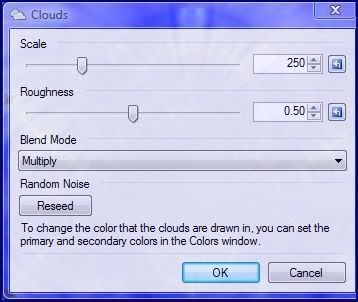
render clouds with these settings (also use gaussian blur a bit if you want to, like 1-3 at most)
polar to rect with these settings
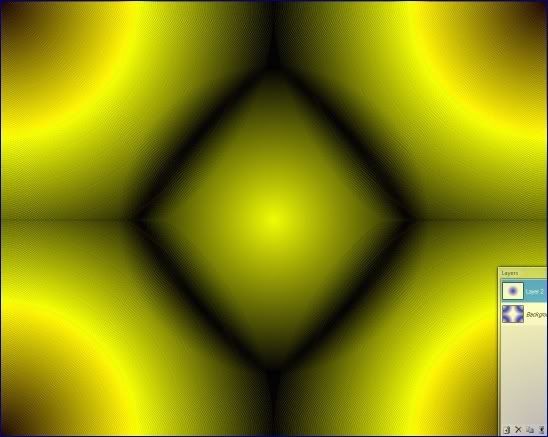
polar inversion with these settings
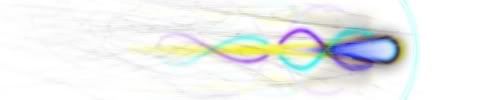
and you are done
-
so this tutorial will teach you how to make this
there are 32 steps, which is about 22 more than intended
you will need
tilinghttp://paintdotnet.forumer.com/viewtopic.php?f=16&t=22521
polar to rect http://paintdotnet.forumer.com/viewtopic.php?f=16&t=4173
first create your picture, the same size as your display
then select the circular gradient with whatever color you want
then make one in a corner going 1/2 the width of the image
duplicate that layer and flip it horizontally
duplicate the flipped one and flip it vertically, then duplicate that one and flip it horizontally
hit f4 and do negation blending on all of them
will end up like this
flatten it
invert the colors
cut half of it away with the rectangle select
and put it in a new layer
flip it horizontally and do negation blending
and voila
then go to relief and do it at 0, 90, 180, and -90
you should have this
then duplicate it and flip it
set layers to multiply
flatten it
then create a new layer and put a small circular gradient in the center
blend it with negation (i believe, forgot to take a pic)
invert the colors
then do the relief thing again at 0,90,180, and -90
use tile image with the settings shown in the picture
then polar to rect, with settings shown
and polar inversion with these settings
cut away half and put it on a new layer
flip vertically and overlay
flatten it, cut away half, put it on a new layer, flip the new layer vertically, and flatten
render clouds with these settings (also use gaussian blur a bit if you want to, like 1-3 at most)
polar to rect with these settings
polar inversion with these settings
and you are done
-
thanks storm, i didnt know about size limit either, i think they are all ok size....
but there are too many and i ususally make backgrounds... so the link has triumphed
-
thanks storm, i didnt know about size limit either, i think they are all ok size....
but there are too many and i ususally make backgrounds... so the link has triumphed
-
allow me to start this with a disclaimer, i use tutorials a LOT
most of my unique work is really abstract
so this is my gallery
compliments are always accepted
as is criticism, the harsher the criticism (within reason) then the more i can learn from it
please dont just say "oMg U r TeH sUx0rZ!!!!!111111eleventy-one eleven one one one"
that would not help anyone
so, commence the gallerying
i have been trying to work back from the background image (the dark blue one with the glasslike sphere one the top) for some time and i was wondering if someone skilled in such matters could assist, i know i used polar inversion and polar to rect, as well as some clouds
i also appreciate challenges, so if someone can give me one that would be fun
so now for something completely different
pictures
if i am breaking any rules then please let me know and i will solve the problem ASAP
ok, there are just too many to post, so please go to the album
here are a few


the album is at http://s586.photobucket.com/albums/ss302/baalazmon
-
allow me to start this with a disclaimer, i use tutorials a LOT
most of my unique work is really abstract
so this is my gallery
compliments are always accepted
as is criticism, the harsher the criticism (within reason) then the more i can learn from it
please dont just say "oMg U r TeH sUx0rZ!!!!!111111eleventy-one eleven one one one"
that would not help anyone
so, commence the gallerying
i have been trying to work back from the background image (the dark blue one with the glasslike sphere one the top) for some time and i was wondering if someone skilled in such matters could assist, i know i used polar inversion and polar to rect, as well as some clouds
i also appreciate challenges, so if someone can give me one that would be fun
so now for something completely different
pictures
if i am breaking any rules then please let me know and i will solve the problem ASAP
ok, there are just too many to post, so please go to the album
here are a few
the album is at http://s586.photobucket.com/albums/ss302/baalazmon
Image Hospital: Help With Image Problems Here!
in The Pictorium
Posted
im trying to make a background out of the last panel in this
http://www.penny-arcade.com/comic/2009/10/30/
this is what i have so far, but the gradient and logo just dont seem... right to me
http://i586.photobucket.com/albums/ss30 ... n/paw7.png
its a large image, so im not going to do the code thing, just follow the link