


ChitoDog
-
Posts
135 -
Joined
-
Last visited
Posts posted by ChitoDog
-
-
Very nice results Sarkut. However, you lost me a bit back where you say:
Copy the Mask layer into the clipboard.How do we do that?
Or is that explained where you say?:
On your keyboard, press:Ctrl + A
Ctrl + C
Ctrl + D
If you or anyone who fully understands this tut can help me out I'd really appreciate it. Thanks in advance.

-
It does
, but without requiring you to spend ludicrous amounts of money.Thanks for the Youtube sample Pyrochild. Hmmm...not really useful for the types of graphics I work with, but I'm sure it can be useful for others who wish to make funny edits to people' faces and other graphic projects and what not. Nice plugin though pyrochild, thanks for sharing it.
-
Not trying to be negative here, but can you or someone please post more samples of what exactly this plugin does before I consider installing it? I'm sure it's great, but the sample you provided in your first post doesn't really show much of what it does. Thanks ahead of time.
-
===================================================
Yes.
Most likely it means move the slider left to -20.
.
Thanks for pointing that out for me Sarkut.
-
Thank you pdnnoob
-
Nice tut, but I got lost in step 7
7. Add a new layer, call it Base Brushed Metal. Fill your selection with black, add noise with 64 Intensity, 0 Color Saturation, and 100 Coverage.Motion Blur this at a 0 degree angle with 50 Distance. Make sure Centered is checked.
When I add the new layer and name it 'Base Brushed Metal' and fill it with black, the whole square canvas turns black. How do you do it so that it only fills the circle and not the whole canvas like in the tut images?
Also in step 6:
6. Gaussian Blur this layer by 15. Set the Transparency to about 20% Transparent.When he says "Set the Transparency to about 20% Transparent", does he mean "Adjustments >>> Transparency"?
Since Expiration hasn't been on since 2008, hopefully someone who understood this tut better can help? Thanks ahead of time.
-
Yea, I came across that one earlier, but wasn't what I was looking for. Plus, that one's like 5 years old.
 Thanks though afcdon.
 -
Hello, was wondering if anyone knows if there's been a recent Paint.Net tutorial for a Glassy Button or Glassy Orb posted anywhere? The type of Glass Button I'm looking for is basically similar to this Photoshop YouTube tutorial:
Anybody know where I can find such a tutorial for Paint.Net? Thanks ahead of time.
-
I too think this move to an IP.Board was a wise decision. My own board runs on IPB as well, so I had no problem getting around this new board. Two thumbs up to pyrochild and Rick for this decision and their hard work.

-
So...I decided to make a sig for myself with links to each of my tutorials and look at what I got. The bottom part of the frame refuses to make contact with the rest of the picture!
Here's the BBCode I used. There are 9 images involved so it's a little long, but it almost worked.
[size="1"]==SIG CONSTRUCTION IN PROGRESS== DX why is that stupid blank spot showing!?[/size] [size=0][img=http://i758.photobucket.com/albums/xx228/pdnnoob/pdnnoob%20sig/1.png][url=http://forums.getpaint.net/index.php?app=members&module=messaging§ion=send&do=form&fromMemberID=54230][img=http://i758.photobucket.com/albums/xx228/pdnnoob/pdnnoob%20sig/2.png][/url][img=http://i758.photobucket.com/albums/xx228/pdnnoob/pdnnoob%20sig/3.png] [img=http://i758.photobucket.com/albums/xx228/pdnnoob/pdnnoob%20sig/4.png][url=http://forums.getpaint.net/index.php?/topic/13925-chrome-text-with-melting-chrome-text/][img=http://i758.photobucket.com/albums/xx228/pdnnoob/pdnnoob%20sig/5.png][/url][url=http://forums.getpaint.net/index.php?/topic/14481-clouds/][img=http://i758.photobucket.com/albums/xx228/pdnnoob/pdnnoob%20sig/6.png][/url][url=http://forums.getpaint.net/index.php?/topic/18501-shynetex/page__pid__316129__st__0entry316129][img=http://i758.photobucket.com/albums/xx228/pdnnoob/pdnnoob%20sig/7.png][/url][img=http://i758.photobucket.com/albums/xx228/pdnnoob/pdnnoob%20sig/8.png] [url=http://deetroyt.myminicity.com/][img=http://i758.photobucket.com/albums/xx228/pdnnoob/pdnnoob%20sig/9.png][/url][/size]
Did I do something wrong, or is it a bug I'm going to have to deal with?
I could be wrong, but it seems you forgot one bracket in one of your images.
Try this and see if that helps. I added the missing bracket for you:
[size="1"]==SIG CONSTRUCTION IN PROGRESS== DX why is that stupid blank spot showing!?[/size] [size=0][img=http://i758.photobucket.com/albums/xx228/pdnnoob/pdnnoob%20sig/1.png][url=http://forums.getpaint.net/index.php?app=members&module=messaging§ion=send&do=form&fromMemberID=54230][img=http://i758.photobucket.com/albums/xx228/pdnnoob/pdnnoob%20sig/2.png][/url][img=http://i758.photobucket.com/albums/xx228/pdnnoob/pdnnoob%20sig/3.png] [img=http://i758.photobucket.com/albums/xx228/pdnnoob/pdnnoob%20sig/4.png]][url=http://forums.getpaint.net/index.php?/topic/13925-chrome-text-with-melting-chrome-text/][img=http://i758.photobucket.com/albums/xx228/pdnnoob/pdnnoob%20sig/5.png][/url][url=http://forums.getpaint.net/index.php?/topic/14481-clouds/][img=http://i758.photobucket.com/albums/xx228/pdnnoob/pdnnoob%20sig/6.png][/url][url=http://forums.getpaint.net/index.php?/topic/18501-shynetex/page__pid__316129__st__0entry316129][img=http://i758.photobucket.com/albums/xx228/pdnnoob/pdnnoob%20sig/7.png][/url][img=http://i758.photobucket.com/albums/xx228/pdnnoob/pdnnoob%20sig/8.png] [url=http://deetroyt.myminicity.com/][img=http://i758.photobucket.com/albums/xx228/pdnnoob/pdnnoob%20sig/9.png][/url][/size]
-
Hello Simon Brown, I installed the 'Create Image Map' plugin, but there's not much information on how to go about using it on the images. Is there a tutorial or sample topic of some kind on how to use this particular plugin? If so, can you please provide me with the link/s? Thank you ahead of time.
-
Great job, thanks for all the hard work.
One issue I have though, the paintbrush tool responds really slowly - it's really jerky to draw with it. Whereas the pencil tool is not jerky at all.
I tested the paintbrush tool on the 3.36 version and it's fast, 3.5, it's slow... why?
I'm running Windows 7 RC1 32bit, Core2Duo T5600, 3GB RAM.
Thanks,
JB
Update:
I was doing a little more testing. I have a Tablet PC. I found that the paintbrush tool is not jerky when I use the touchpad, but it is jerky if I use my wireless mouse or my stylus. However, with version 3.36 I could use my wireless mouse and my stylus and it was not jerky at all.
I have the same issue not only with the paintbrushes, but with PDN in general. The paintbrush feature lags big time and the bigger the image I'm working on, the more it lags. I can't work carefully with details with it because it bounces around while it lags too. Not only that, but when I leave my PDN alone for more than 30 minutes or so, it tends to go into this 'semi-freeze' state and causes all my other open programs to go into it as well, thus slowing down my whole computer. All my other programs work nicely and fast, but PDN is the only one that lags when I work on it. It was doing all the freezing before I upgraded to v3.5, then when I upgraded, the lagging of the paintbrush feature started too. I'm too busy to take time to check each plugin I added in the past, so I ended up just uninstalling PDN and reinstalling it, but it did no good because I have the same issues with a fresh copy of it as well. Only difference was that I lost all the plugins and color palettes I had saved when I uninstalled it. Now I have to start over. Any idea if the paintbrush lagging/slow issue will be fixed?
-
ChitoDog thank you so much, and about the the hexagons background just follow these 3 easy steps, but you need MadJik plugin Hexagonal Grid to render it:
1-On a white layer apply Hexagonal Grid plugin (image1 below)
2-Invert colors( Negative ).
3-Use Rotate/Zoom effect find it under Layers button(image 2 below). That's all
Wow, a million thanks yellowman! Totally appreciate the info and the mini tut on how to actually create the effect. I'll d/l the plugin and get right to work. :wink: Thanks again!

-
Thank you every one, I am glad to see you liking this tutorial, but I want you also to know that this tutorial is just to teach some concepts of 3D text, don't just follow the steps as they are to make same model, I want you to be creative and make your own images using your own ideas and effects, I know it is difficult for some in the beginning but by time with practicing on PDN I am sure it will be easy to you .
Here are some new images just to see how powerful is the PDN I hope you will like them:
.......Beveled Text.......

.......colored.......
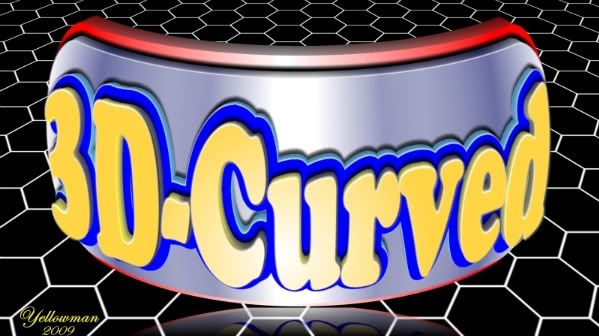
.......Gold.......

Very nice effect/tutorial yellowman. I especially like what you did with the image in the middle. Any chance you can share which effect/plugin you used to create that particular bg effect? I'd like to create a similar effect, but with different colors for a project I'm working on.
-
TT_TT now i know the problem is that the rain can fall only in a way i think that can move the way and move the angle, for that my work dont work.
is for that? u know? ill go to change the angle and if doesn`t work uhmm... ... ill go to start again
No disrespect yazzaru, but I have no idea what you just said. :shock:
-
HAHA! I was trying that out at the same moment that you were posting the reply David. I was going to come on and edit my post to say that I figured it out, but you beat me to it lol Thanx for the quick reply though.
-
I've noticed that many members have their Signatures centered in the middle of their posts. How does one do that?? Help anyone?
 Thanx in advance.
 -
here is my first attempt

Whooaa! :shock: That's a pretty awesome rain effect, grimus99xj. It even matches the scenery. Looks like Armageddon or some major War in the background and acid rain is coming down pretty hard. Very cool.
10/10 -
Very nice examples of the finished effect, but I was somewhat stuck and a little confused with this tutorial. You state:
I tried positioning the mouse on "0,599" but according to the measurements that show at the bottom right of PdN, "0,599" starts at the bottom left of the canvas, not the top right. So shouldn't it be "599,0" instead?6. on strand 1 layer, using the same tool, place it at 0,599 and erase all the way down the canvas.I was also somewhat stuck on step 12. particularly where you say,
which layer are you talking about from the 2 and how do you move it upwards? I see at the bottom of the "Layers" window that one choice says "Move Layer Up". Is that what you mean? If so, when I click the bottom layer to move up, nothing happens. Also you say in step 12,then move a layer upward until the textures line up.
Do you mean to raise the image size up to 1200, or to raise the canvas size to 1200?double you canvas heightBasically all of step 12, especially the beginning 2 or 3 sentences, sound a bit confusing to me. If it's not too much trouble to explain step 12 with a little more details, I'd appreciate it. Thanx in advance.
-
I liked this effect so much, I ended up redoing my avatar and sig to match as a set. Great tut, thanx for sharing it. 8)
-
Thanx david, I wasn't sure which one it was since the tut called for "Median Blur", so that's the one I was trying to look for lol. Thanx again man.
-
I can't seem to find the "Median Blur" and I have PdN version 3.36. I looked under the "Blurs" Category and I don't see anything that says, "Median Blur". The only thing I see that comes close is in the "Noise" Category, but that one is only called, "Median". The author of this tut stated that the "Median Blur" is suppose to come with PdN, but I don't see it. Am I suppose to install the plug in or something? Thanx in advance for any help.
-
I managed to make this. I made that lightning affect by using a transparent linear gradient on the Sixth Layer :AlphaChannel: .
This is a very good tutorial!

How many layers did you use for that particular image? I'm only asking because it seems like you didn't use enough "normal rain" layers for the lightning effect to look more like lightning flashing. It looks somewhat like the "lightning" effect is just flickering on and off at a constant fast pace. Try adding more "normal rain" layers (at least a minimum of 15 in all) THEN add the "lightning" layer (just one) and see how that looks. That should give it a better lightning effect that will flash every so often instead of fast and constant. :wink:
-
Thanks topic and you oma
I enjoyed this, its one of the best Tuts
lol I just did what you've done in the Tut.
here is my work:-
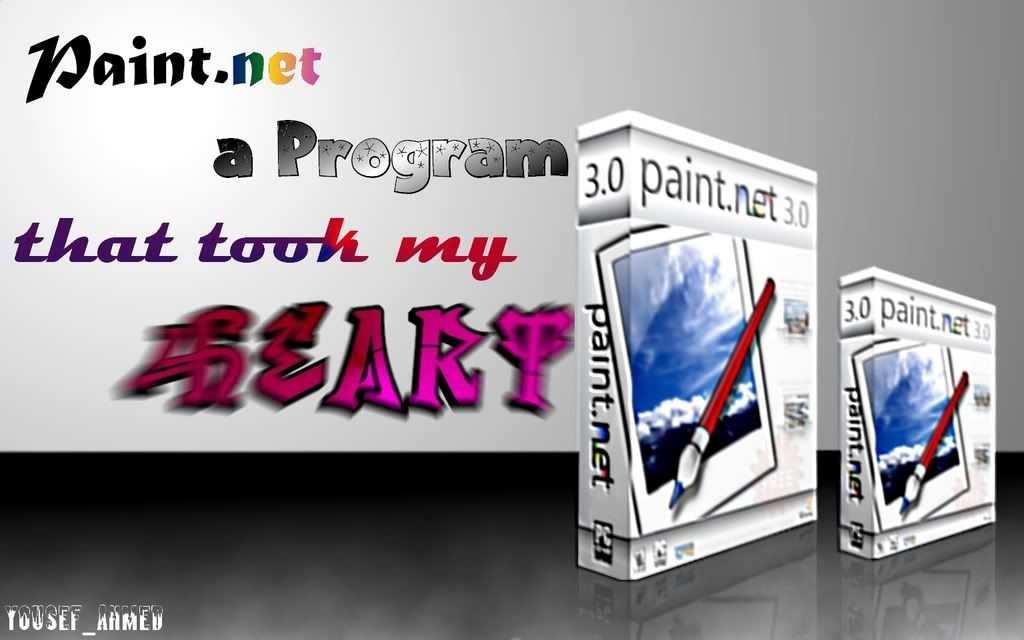
Paint.net
a program
that took my
heart
*I WANT IT BAAAAAAAACK!!!!*
Nice, but IMO would look much better without all the "blurry" effects you added to the box and fonts.

Gold Metal
in Text Effects
Posted
Thanks for your reply/help yellowman. Was much appreciated.