


indie88
-
Posts
108 -
Joined
-
Last visited
Posts posted by indie88
-
-
This tutorial is extremely simple and can be used as a starting point for many many things including:
-
[*:zv431f0e] Hard Stone Texture
[*:zv431f0e] Realistic Crumpled Paper Texture
[*:zv431f0e] Burning Coals
[*:zv431f0e] Planet Textures
All of these require the basic 'Clouds' plugin.
#1 Smooth (Chalk) Stone/Realistic Paper
-
[*:zv431f0e] Open a new Image (Size is up to you)
[*:zv431f0e] Effects > Render > Clouds (Default Values)
[*:zv431f0e] New Layer --> Render Clouds
[*:zv431f0e] Change this layer's Blending Mode to "Difference"
[*:zv431f0e] Add 4 or 5 layers total with Clouds and "Difference" Blending (Don't Duplicate)
[*:zv431f0e] Flatten the image (Ctrl-Shift-F)
[*:zv431f0e] Duplicate this layer TWICE
[*:zv431f0e] Emboss the first Duplication (Stylize > Emboss) to around 45 Degrees (to the lower right), then lower the brightness all the way down (Adjustments > Brightness + Contrast)
[*:zv431f0e] Set this layer's Blending Mode to "Overlay"
[*:zv431f0e] Emboss the second duplication to around 135 degrees (top left!), and heighten the brightness all the way up. Set this layer's blending to "Overlay" too.
[*:zv431f0e] For a PAPER or smoother rock texture REMOVE THE BOTTOM (un-embossed) LAYER and change colours or pick a layer as you feel necessary
Crumpled Paper (Or Chalk)

Light Rock

#2 Hard Rock/Super Realistic Planet Texture
-
[*:zv431f0e] At this point you will have 3 layers (Clouds, White Emboss, Black Emboss)
[*:zv431f0e] For an amazingly easy hand-made planet texture, try colourising (Tint or Filter/Swap) the White layer to blue, and the Black layer to green.
[*:zv431f0e] This can then easily be used with Shape 3D to make a realistic planet (You'll probably want to re-emboss them following the steps above)
[*:zv431f0e] As you can see, greyscale, this looks like a hard volcanic rock texture and looks pretty 3D! If the white areas are TOO white just play around with the brightness of the white layer.
[*:zv431f0e] To get a more natural looking rock colour, use Curves or Curves+ (Adjustments > Curves) on the top (white layer) and play around with the lines ( I recommend less green and blue and more red - this will get you a nice brown)
[*:zv431f0e] To get a 'Burning Coal' texture, use Curves on the bottom "Cloud" layer and ramp up the red!
Hard Rock

Planet Texture

Burning Coals

Remember to work with the colours and this simple process can take you a long, long way!
Indie

PS: Had a quick look and couldn't find anything similar (or, IMO, as good!), hopefully this can help some people, this is something I've discovered myself and am very happy with the (many!) results
PPS: I still can't beleive how this can be SOOOO simple and so versatile!
EDIT: My apologies. Imageshack is .
-
-
hmm i think we should have it as abstact
I definately think we SHOULDN'T have it as abstract, or as an astract theme in the slightest. I want boundries, damnit!
:shock:
-
I know i should be using serach, but i'm in a rush, and the search here is the most useless thing i've ever encountered.
Can someone provide me with links to the above, and suggest any other "Advanced" sort of things?
-
A touch of glow might help the finished product, too.
Some of the blurs in selected areas might be useful too.
-
This is an "Oil Painting" i made. The actual face that i "based" it on is from this Stock Image (Large Image)

Click for bigger version (Roughly double size)
Definately worth viewing closer to see detail..
Need an idea for the left side of the pic
NOTE: This is not the result of clicking "Effects>Oil Painting", It's all by hand.
-
I know this is OT, but I'd like "Love" or something similar to be the next theme.
The thing is, I woke up at 2.30am this morning, with a perfect, fully formed Haiku on my lips that i'd just made up.
Poetry is twice as beautiful Pure, so I haven't changed it.
-

My latest sig pic. Need to move onto bigger things. dA sucks, i don't think i can upload my sig pics, copyright and stuff
 The images i use are on about 100 results on google
 Source Images:
Angelina Jolie's Lips, who else?!
Song Lyrics: Kill Hannah - Lips Like Morphine: 2nd Verse, Lines 1 & 2
Comments? I still feel it's a tiny bit rough, but it's a big bother to get the colours right to blend in. Plus there are 11 layers there because i messed up the blend mode and colour. Need to get used to it still.
-

A background I made for some text following a few tutorials^

A realistic night sky effect glow & gradient test.

A quick, comic game-y sig testing blurs for distance effect.
Repost, sorry.
-
Olav, I know this is a bit off-topic, but i really like your Avatar!
The top of your glass test tubey thing needs a little work to attach it to the middle... bit.
Lol.
@Ve[...]dewd: I like the middle orb, and the bit of texture in the very bottom left corner

-
A background I made for some text following a few tutorials^
A realistic night sky effect glow & gradient test.
A quick, comic game-y sig testing blurs for distance effect.
-
@ncfan51: I quite like it. It's a bit big, to say there's little detail, and I'd say the paintbrush needed something extra, but all in all, It's a nice effect. Is that "just" "Oil Painting" and a gradient?
Also, please comment on mine
-


Those are the last images i made, the most recent like 20 minutes ago, for a Hurt/Heal game in the Trash RTS Official Forum
The next proper project i undertake will be a detailed planet, SoZo-style, and i think i have a good grasp of "How to", so here's hoping!
-
That's the last image i made, for a Hurt/Heal game in the Trash RTS Official Forum
The next proper project i undertake will be a planet, and i think i have a good grasp of "How to", so here's hoping!
-
...
_______________
What are we doing next, then?
-
Um.. Hate to bring this up again, but when did the voting finish again?

-
When will the voting end?
-Poll runs till Tue Oct 09, 2007 2:23 pm-
Also, Car + OS Pack for me. How if i'd of known OS pack was so popular, i wouldn't have chosen it. I really want to do the car thing.
-
Isn't this 2 weeks ago now?
-
Hmmm. I figured that this would be the reason. I suppose if more people were voting, it'd be okay. But still, yay me
-
Why?
"I demand a Re-count!"
"Okay... Helio -1..2...3...4...5.., Indie - Zero...Zero... Zero.."
"I demand a Re-cou---[bAN!]
Nah, just be nice to know if anyone liked my work.
-
Can you say who got X votes?
-
Repost due to zero comments...
---
Had a little Foo Fighters thing
The words are all lyrics, PLEASE REPLY + Comment


Version 2 Of the above Pic (+Reverb)
Version 1(No "Reverb") of the above Pic
----
Stock Images Used:
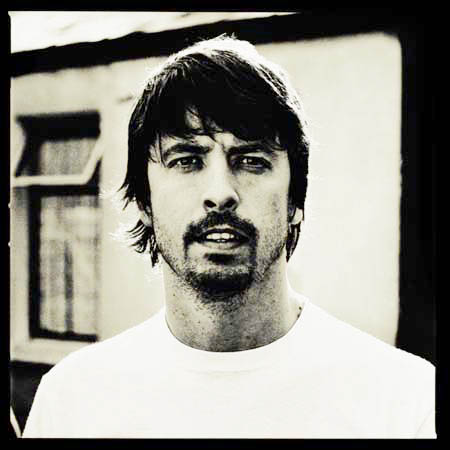
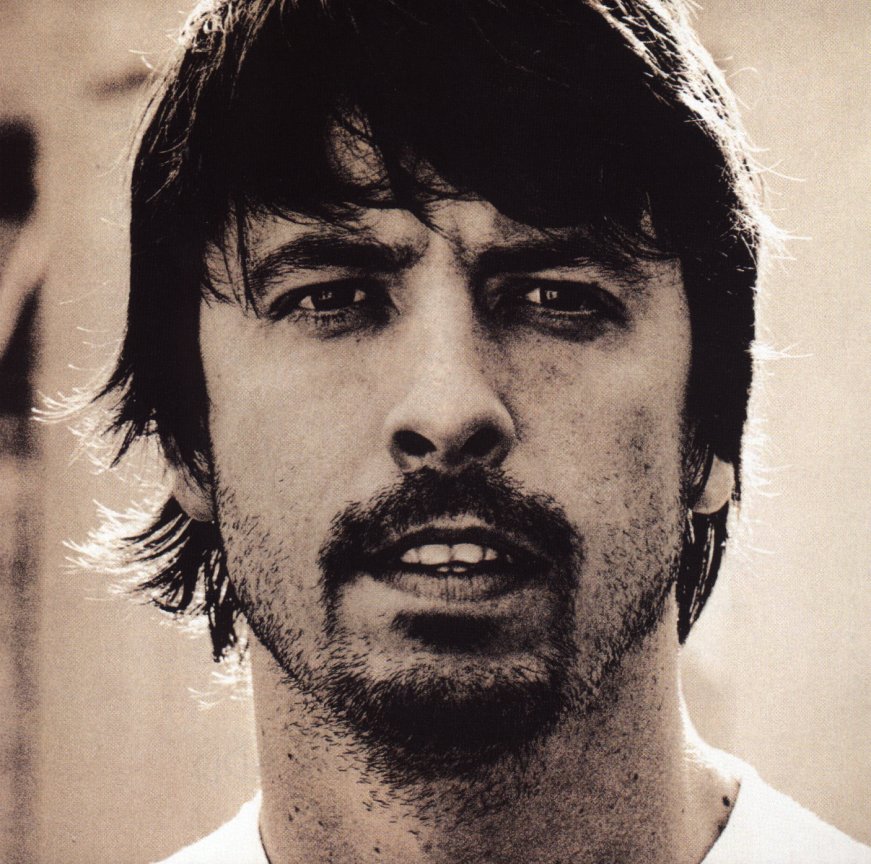
http://www.sheilaomalley.com/archives/grohl2.bmp
http://www.severed-dreams.net/qotsa/dave/images/dave9.jpg
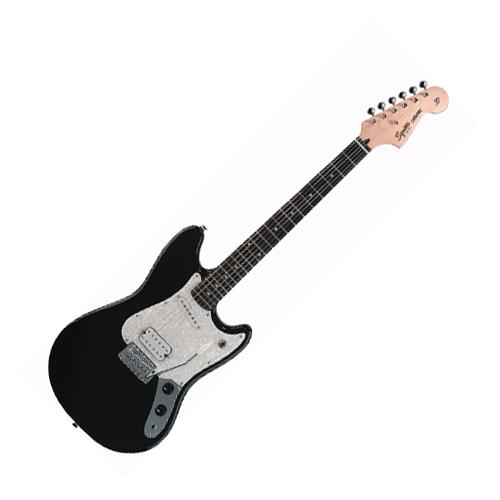
http://www.comparestoreprices.co.uk/images/sq/squier-cyclone-electric-guitar-black.jpg
usedHONDA, is there any closer detail? I can see text...
-
Repost due to zero comments...
---
Had a little Foo Fighters thing
The words are all lyrics, PLEASE REPLY + Comment
Version 2 Of the above Pic (+Reverb)
Version 1(No "Reverb") of the above Pic
----
Stock Images Used:
http://www.sheilaomalley.com/archives/grohl2.bmp
http://www.severed-dreams.net/qotsa/dave/images/dave9.jpg
http://www.comparestoreprices.co.uk/images/sq/squier-cyclone-electric-guitar-black.jpg
-
To be honest, I'd prefer something that wasn't a computer App. Something from real life would be much more fun.
-
I'd be tempted with this for some more futuristic ones!

Hard Stone; Crumpled Paper; Burning Coals + Planet Texture!
in Tutorial Graveyard
Posted
Huh, that actually looks pretty good! Especially the ower blocks
Comments, anyone else?
Mega-edit: Just realised you don't need 5 seperate cloud layers with 'difference blending', just use "Difference" on Blend Mode in the settings as you Render > Clouds!