


snospmiS
-
Posts
205 -
Joined
-
Last visited
Posts posted by snospmiS
-
-
I haven't been posting here for a loooong time, mainly because I just don't have as much spare time as I had when I was fifteen.

Anyway, every now and then I create something with Paint.NET, because messing around with graphics is still fun. Inspired by this website I wanted to make something similar with pdn, but I'm not quite happy with the result:
I made use oft the PencilSketch-Tool and a few other Plugins, but the "drawing" still doesen't look very drawingish in my opinion.
Any suggestions how to create a better drawing-like image with pdn?

-
Hi everybody!
I haven't been here for a loooong time and to be honest, I rarely mess around with PdN anymore.
But one thing caught my attention: I've got a new iPod Touch (3g 32gb) and like u probably know, you can change the background of the lock screen.
f.ex.
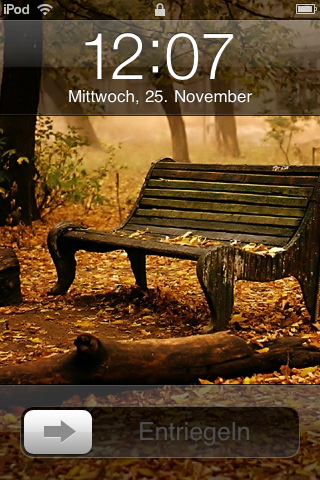
As you can see there are these grey bars at the top and at the bottom. I suppose they work with any kind of transparency because you can still see the actual background image thereunder. I tried to extract the "apple lock screen" how it would look without any background image. I ended up with this:
 (watch it in pdn to see the alpha)
But that "alpha image" just works correct with a white backround. When I put it over a other background image it doesen't look like the output of my ipod. Is there any way to get the "real" screen lock image i can put over a random background image and it always would look like...er...the ipod-way? (x
Here are some screenshots I made from the lock screen with different backgrounds:
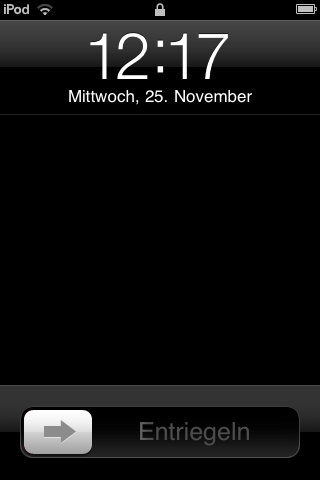
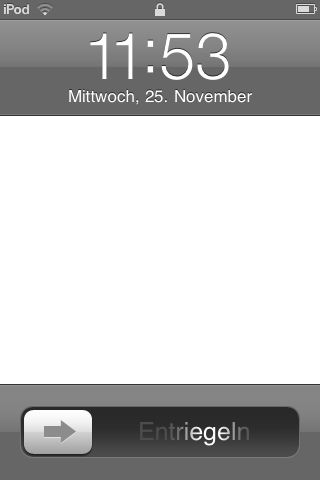
(1. all black, 2. all white, 3. image)
-
Oh cool! My tut still exists!

I haven't been here for a long time, so it makes me quite happy that a lot of people like those tiny, little orbs. ^^
@ LinTorX
Try to solve this problem with different blurs and feathering!
*goes on with taking a look around the forum*
-
@ Katastrophies, twenty-12, SCRN and GradensMommy
thank you!
I'm glad u like it! =) -
well...where're u lost?
-
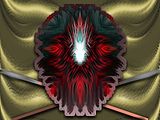
looks great BB00!
My latest work out of moc426's tut:
______Back2Front______
______.::[ click ]::._____

-
Thanks for all the positiv replies!
I haven't posted for a while, but I'll condemn myself to be more active again! 
I'm pleased that a lot of people like my tut and get very neat results out of it! =)
-
-


Just great! =))
The hilt looks really realistic!
@ jake2k
very classy images!
-
If I'm not mistaken, the "Conditional Hue/Saturation" plugin won't work with black!?
-
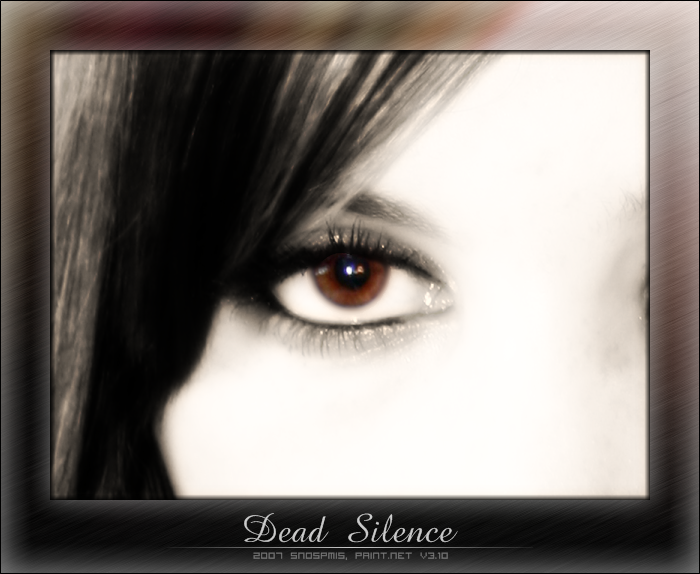
_____Dead Silence____
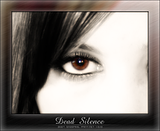
.........:
 click |::.........
little photomanipulation (in the cjmcguinness-style =D )
edit
cool...200th post! x)
-
The Crop to Selection function does only adjust the image to the current selection:
Ctrl+Shift+X ->
Therefore it's disabled when there's no selection active.
In case you want to resize an image, you better use Ctrl+R.
-
-

Really cool!!
edit
i like ur current sig as well!
-

I can see a lot use of Sine Waves! =D Very cool!
Not too bad! :shock:
-
Oh. My. Glockenspiel.
LOL!
 Glockenspiel? Instrument?
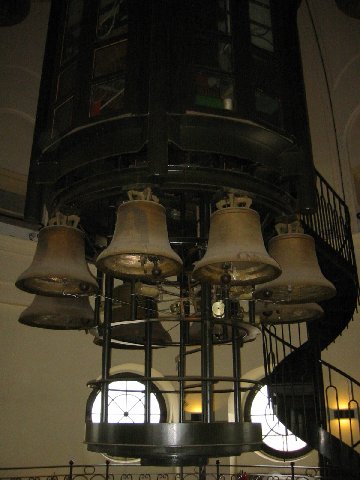
That's what we germans call a "Glockenspiel"
-
that are shortcuts, which simplify a lot steps of the procedure. [strg.] + [.I] f.ex. inverts the selection. Certainly, the shortcuts weren't supposed to be SO small! That's a probem of the new forume which I forgot to fix ->
[size=9][i][strg.] + [shift] + [R][/i][/size]
that came out (in the old forum) as sth like this -> [strg.] + [shift] + [R]
code ->
[size=85][i][strg.] + [shift] + [R][/i][/size]
size=85 instead of size=9! That's why everything is so tiny! But I'll fix it right now. ^^
___edit___
done!
-
yep ^^' my bad...
-
It's a plugin. -> Shadow effect plugin (like Google Maps)
-
-
-
Not too bad!
You could smoothe the edges from your objects a bit and maye add some shadow!
___edit___
EDIT by ASH: I have taken the whole tut from the old forum, and copied it here.ouh, now that's cool!
Thank you sooo much Ash! =))) -
I just selected the red area, inverted the selection and deleted the messed up, black border, then I used the Feather Plugin and added some Drop Shadow
-
Select the area you want to get rid of and try Surface Blur. :wink:
___edit___
right, Soften Portrait works as well


Image Umbrella: Image Modification/Manipulation
in The Pictorium
Posted
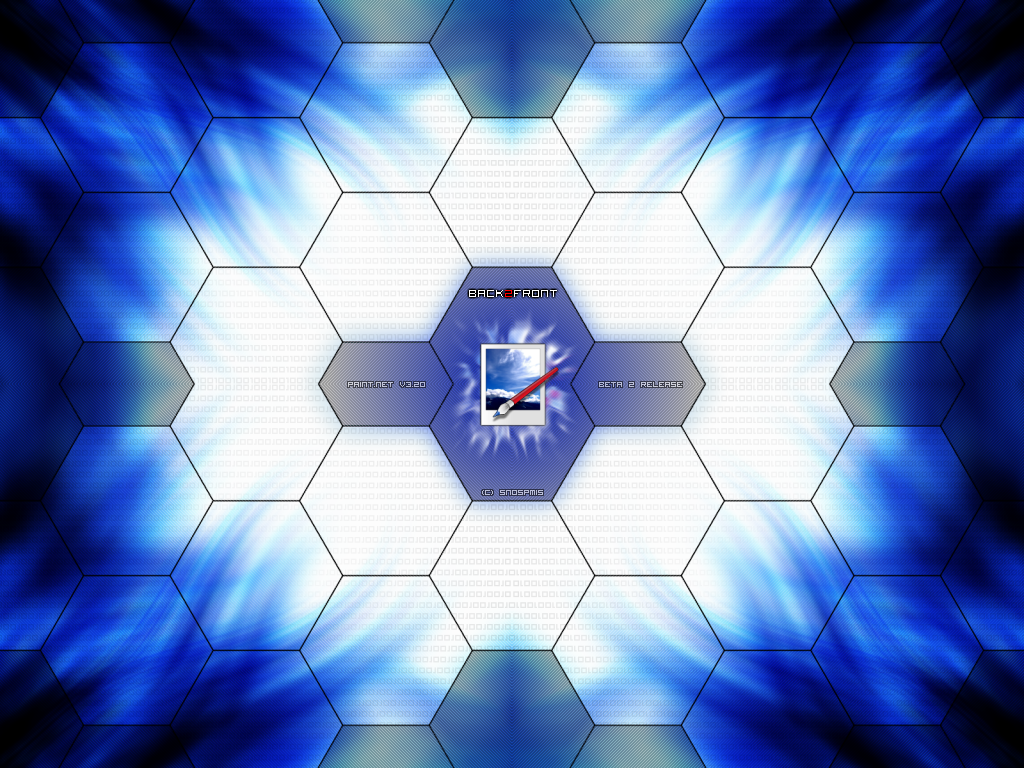
2048*1600
inspired by one of the worst movies ever: The Devil Inside.