


cjmcguinness
-
Posts
494 -
Joined
-
Last visited
Posts posted by cjmcguinness
-
-
Nothing for 6 months, then two in two days...
-
Nothing for 6 months, then two in two days...
-
^^Click visit my deviantart page and download full 1920x1080 HD version ^^
-
^^Click visit my deviantart page and download full 1920x1080 HD version ^^
-
OK - this is the first time I've tried posting pics that I've done in here; so I hope I'm doing this correctly...
I like this Tut - my kids are usually moving so fast that lining them up "just right" isn't always an option.
Orig:

Edit:

What do you think? Did I do this correctly??
The original photo is an ideal candidate for cropping by 'rule of thirds' as the composition places the main object in the centre of the field.
There are a couple of ways this could be cropped; the way you have done, placing the bird on the right of the frame.
Alternatively, I kinda like what's going on in the other half of the picture, with the flamingo in the background; this also gives the image some more depth, so you could crop it with the main object on the left...

Either way probably enhances the composition of the image, it's really a personal choice.
-
That's strange, I didn't notice anything like that when I did it!
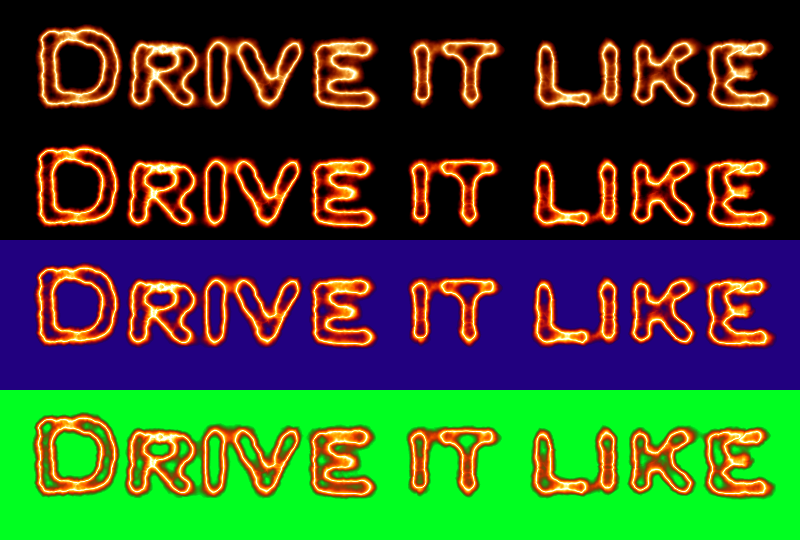
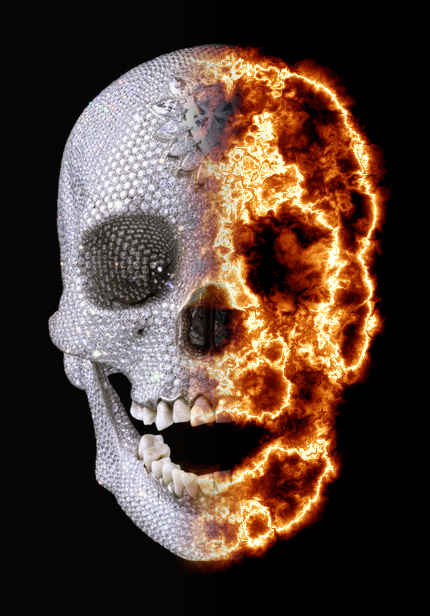
From top to bottom:
1. Original fire effect
2. Alpha Masked on black background (I duplicated the layer 4 times then merged down, adjusted the Hue +20)
3. Same as 2, on a Blue background
4. Same as 2, on a Green background
As far as I can see, there is very little difference from the original.
I think your problem is being caused by saving the image as a .GIF - as this format does not like transparency very much.
Try saving the final image as .PNG and see how you get on.
-CJ
-
After running the 'Fire' effect, you could try running the Alpha Mask plugin without picking a mask file; this will make the background transparent.
Although this does remove some of the whispy bits of the fire, you can duplicate the layer 4 or 5 times and this will restore most of the original look.
-
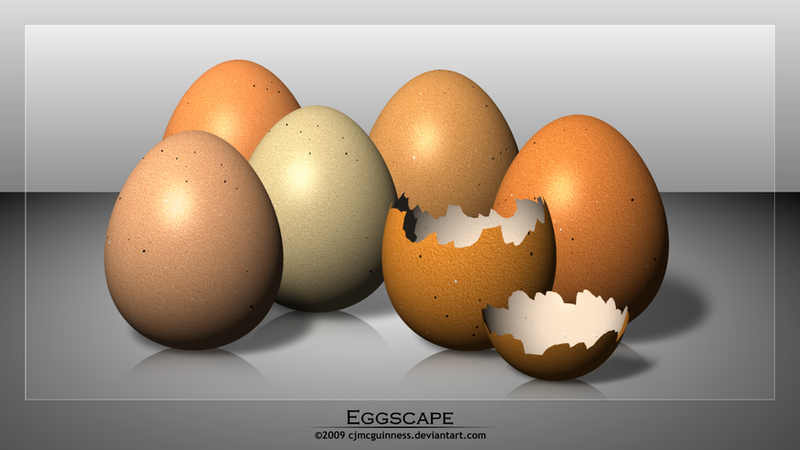
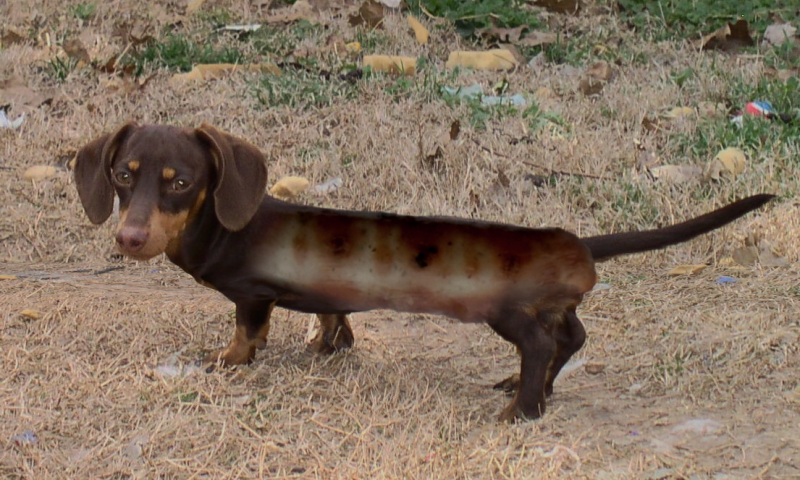
Just messing around...
Sausage-Dog:
-
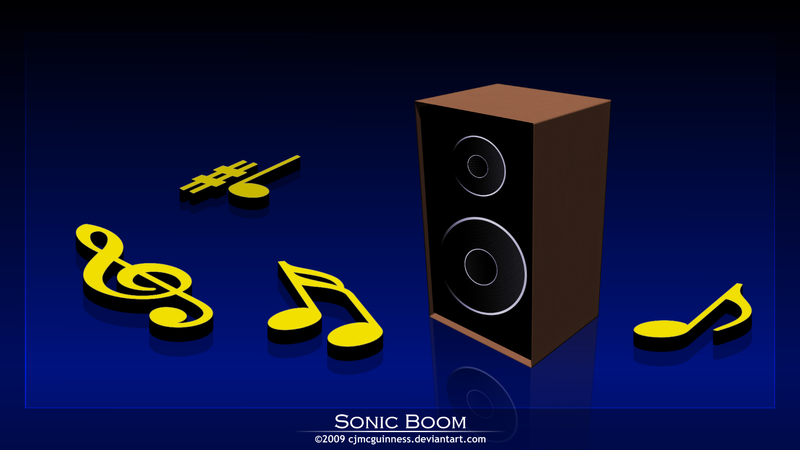
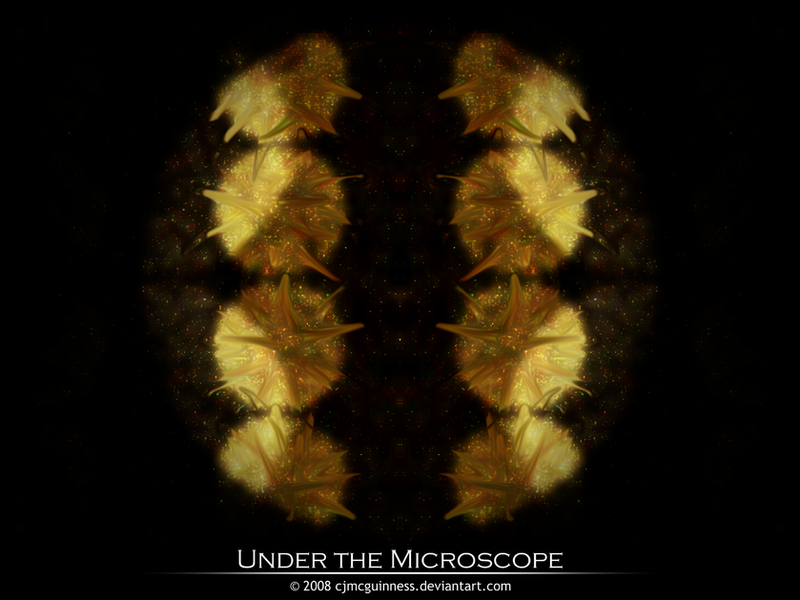
A new abstract...
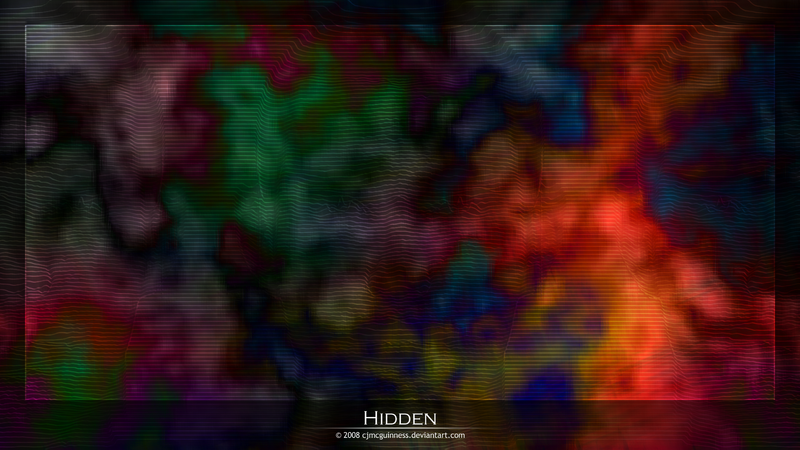
-
A new abstract...
-
Incredible gallery. I like it all a lot.awesome and cool!Oh dear! You are one of the best artists here! And thanks for the links to your tuts! (I am currently working on your card sets, hope you will not feel ashamed of my results....
 )
)Ciao,
Thank you all, glad you enjoyed the gallery; comments are always appreciated.
-
Hi
Would love to be able to do this.
Started out with Paint then downloaded 'Gravity' only then it wouldn't open for me.
Warning box appears stating:
'This image type is not recognised, and cannot be opened'
Any ideas???????????
First of all, you said "Started out with Paint". I assume you mean Paint.NET, and not MS Paint?
'Gravity' is an effect plugin, you don't open it with Paint.NET. Once downloaded copy the .dll file to the Paint.NET effects folder, usually found at c:program files/paint.net/effects. If you have any problems, take a look at BoltBait's tutorial on installing plugins.
Open Paint.NET and open your chosen picture (either from a saved location, or copy/paste from a browser search). Then follow the tutorial steps - the last step is to apply the 'Gravity' plugin by accessing Effects>Distort>Gravity.
Hope this helps.
-
Here's a wallpaper I put together yesterday and originally posted in the official StarTrekMovie forum.

^Click to view and download full 1600x1200 wallpaper^
It uses images extracted from the official wallpapers and movie trailer, available on the official site
I've been promoting the use of Paint.NET throughout my posts in the Star Trek forum, and several users have started posting work also done with PDN.
-
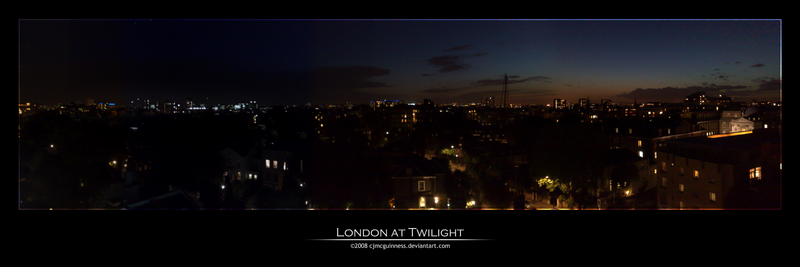
^ Click to visit deviantART and download the full 4200 x 1400 version ^
A panoramic view of London, created by stitching four separate photographs together. It's not the familiar sites of London, as the view is from atop a building in St. John's Wood, looking south-west.
The source shots were taken with my trusty Nokia N95 and it's superb 5mp camera.
Enjoy.
-
My 500th post...
^ Click to visit deviantART and download the full 4200 x 1400 version ^
...a panorama created by stitching 4 separate photographs together.
-
Tried to get the tube oblique dll and the link goes to the wrong place. Can anyone tell me where to get this dll?
It's now incorporated into Madjik's plugin pack, renamed to simply 'Oblique'.
I would advise you download and install the entire pack; some amazing plugins to play with.
-CJ
-
I was up all night trying to figure out how to do something like that! Couldn't figure it out...
Here is my first attempt at pixel art:

Have a look at this tutorial, as well as part 2 (on making a building) - it helped me a lot.
I also did many Google Image Searches for pixel buildings, houses, etc... and copied them into PDN, then zoomed in to take a look at how certain elements were constructed; this helped me with brick and grass textures. Try pasting my house picture into PDN and zoom into 800% -1200% to see the details.
Make sure to use many layers, putting each new element on a separate layer, so you can go back and correct mistakes, as well as copy/paste specific elements.
I started with simple cubes and pyramids and soon started to build up bigger pictures.
Have fun!
-CJ
-
How did I not see this before?
This is giving me lots of ideas!!!
-
I've been messing about with isometric Pixel Art - this is my first attempt

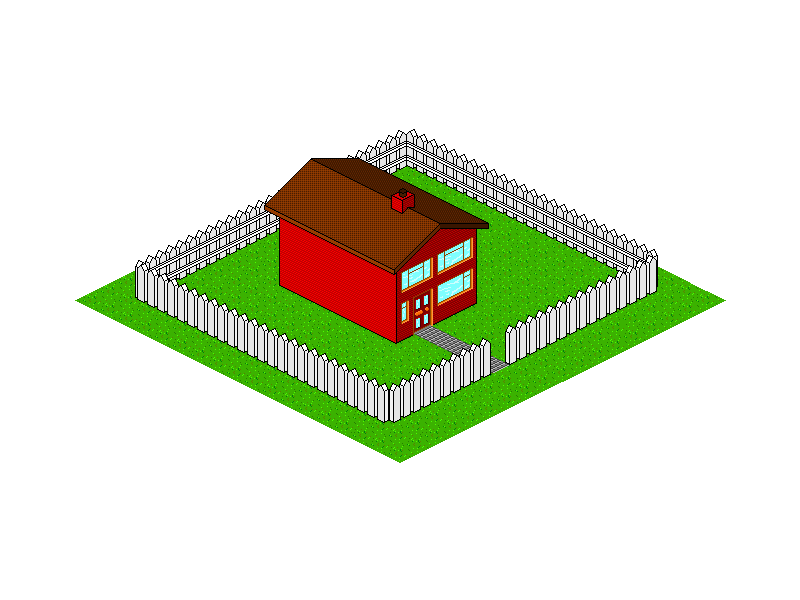
It's kind'a fun and therapeutic...
-
My very first attempt at Pixel Art - quite enjoyable, really.
Did some research and read some online tutorials regarding isometric Pixel Art, as well as colours and shading.
This is definitely a genre I will explore some more.

-
...a star made of something that looks like peppers (a pepper star?)

Very cool, I love this.
BTW... Just noticed your Av and Sig Quote - I'm a big 'Floyd fan too.
-
I just came across a website with some incredible photomanipulation of animals - morphing two different animals together.
Check it out here..... www.humandescent.com
Browse through the 15 page gallery for some impressive and hilarious 'Animorphs' and 'Animangles'.
I reckon something like this would be a great subject for the next competition.
Open choice to all entrants, pick any two animals and 'morph' them together. What'dya think?
-
I can't believe I haven't looked at this gallery before

I know you're not meant/ allowed to swear on here, but ... ******* brilliant. As simple as.
Absolutely stunning
Thanks, welshblue, your comments are appreciated.
I've been incredibly busy with work recently and simply haven't had the time to sit and find artistic inspiration. But I finally found a bit of time and came up with this, my first original submission in over three months; hope you enjoy it.
-
It's been a while, folks - but here's my first new piece in over three months.
Image Umbrella: Realistic Images
in The Pictorium
Posted
Thanks guys, appreciate the comments; glad you liked it.