


cjmcguinness
-
Posts
494 -
Joined
-
Last visited
Content Type
Events
Profiles
Forums
Blogs
Gallery
Downloads
Posts posted by cjmcguinness
-
-
Miguel, the only things I would suggest is after rendering the Light Rays and using Rotate/Zoom, try some 'Surface Blur' (part of the essential EdHarvey effects pack)to smooth the jagged edges of the rays, and some radial blur/anti-aliasing/feathering on the crystal sphere.
-
wouh, I missed some really cool images! :shock:

I don't know...your images always have that...certain something!

I hope that means something good

-
Something quick and easy with Shape 3D...

-
-
Spacescapes are not really my thing, but I thought I'd have a go anyway.
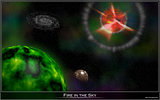
Criticism welcome (and expected).
-
It would be even better if you can make 2 back doors instead 4 back doors on each side of the car

Something like this?
Hmmm... you're probably right, it does look better.
-
cant you just use resize and turn off maintain ascpect ratio and just change the width?
yeah, the tires will be squished but sometimes it will look quite good
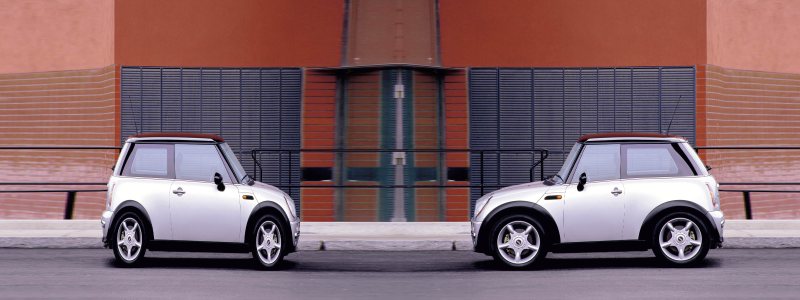
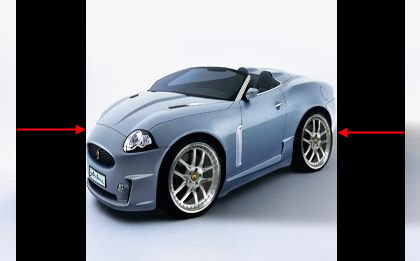
Of course you could simply do that, but (IMHO) you get better results if you keep the wheels the original size and squash the rest of the car.
Take a look at the example below - on the left I squashed the entire car and on the right I followed the rules of this tut. I think you can see the different results is produces. One just looks like a squashed picture, the other (by keeping the wheels perfectly round) has the look of a toy car; mainly because the wheels now look over-sized for the rest of the body.
The method explained here is only a suggestion; feel free to experiment with different methods of alteration and post your results here.
As you will see from earlier posts; some users have taken to altering other vehicles, animals and even people. Just have fun with it.
Thanks -CJ.
-
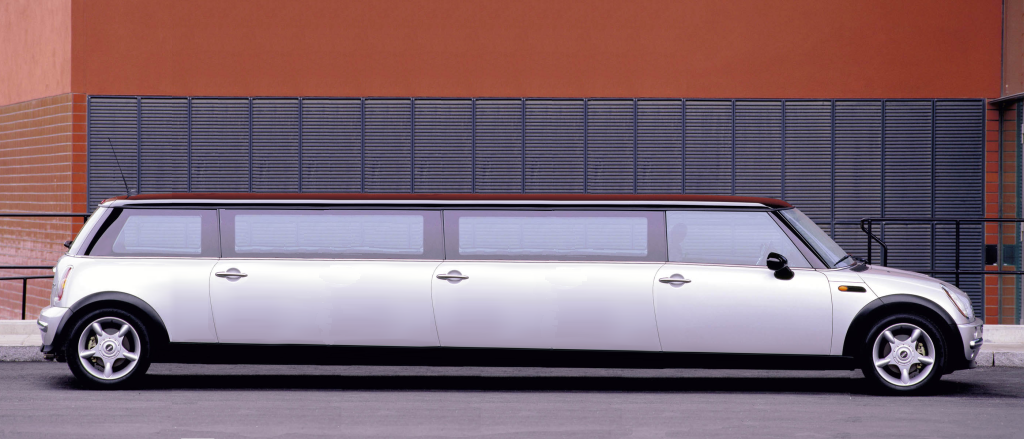
I decided to take a different approach and turn an already small car into a bigger version...
-
A while ago I posted a tutorial on turning an image of a ful sized car into a toy verion Real Car > Toy Car Conversion
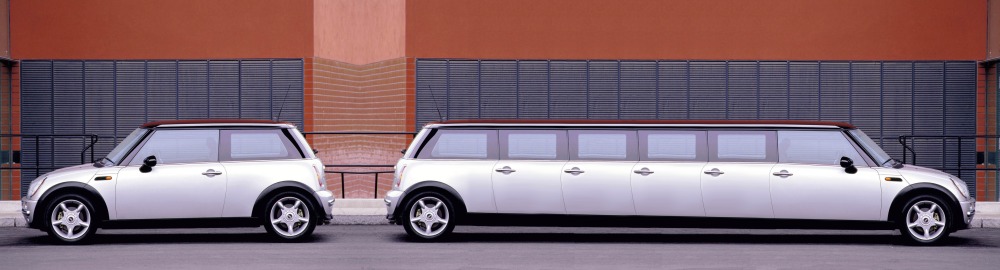
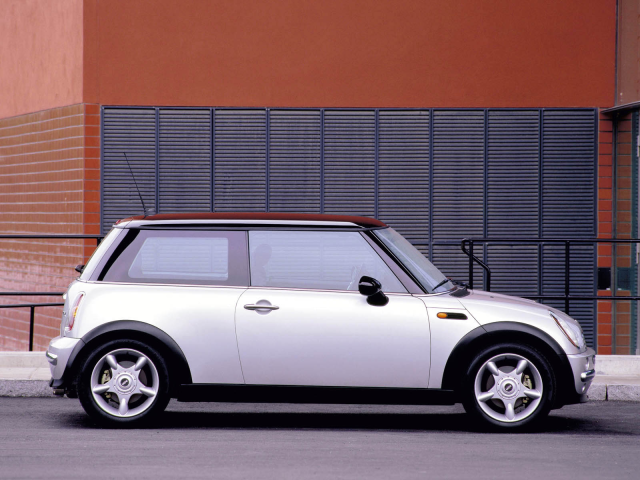
Today, however, I decided to turn a 'real' small car into a longer version...
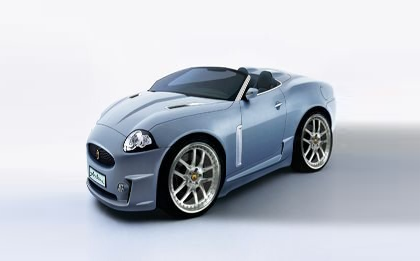
So I took this...
...and turned it into this...
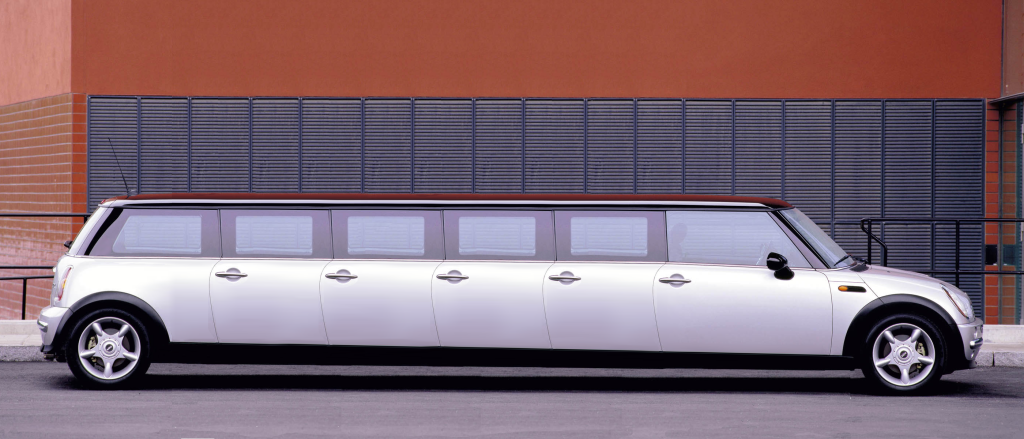
My next project is to try and splice two different cars together.
-
Take a look at the very first topic in this section; Custom Brushes is number 1 in the Popular Features Requests
-
I missed the last SOTW competition when I was on vacation, so I can't wait to have a go at the next one.
Jerbert's been suggested a few times and passed over - so it gets my vote.
When do we get started?
-
@T_LH: Looks good, looks like a big smoke ball.
New one from me...
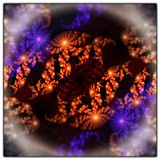
Click please.
EDIT: Oh yeah. 100% PDN. Thanks CodeLab.
I assume that you cut out sections from the Julia fractal. Is that the standard Julia from CodeLab or did you adjust any of the settings?
-
If you've got an image with a (relatively) plain background you can squash the pieces of the car, then stretch the edges.
Just select the pieces at each edge and expand them instead of contracting.
You'll end up with the same size of picture, but the car'll be smaller.
-
You did a good job with a picture that was taken at an angle; this usually works best with images that are taken totally side-on. :-)
-
Photofreak, or Veromy, your photos are great, but you must understand that this board is for publication of work that has to do with Paint.NET. You can't just randomly post any image that you make, it has to have been done, at least slightly, with Paint.NET.@Photofreak:
You better start posting images that have something to do with Paint.NET.
If you keep this up, you will get ban.
^@Photofreak
You've been warned twice (once by a forum Moderator) that this thread is not simply for posting of random photographs. Sure, feel free to post images that you have edited/manipulated using PdN, but if you continue to post links to your photographs I fear that you will be banned and have your posts deleted.
-
Use the Rectangle Select
 tool to highlight the required area. You can use the Move selection
  tool for accuracy after making a basic selection. This will just resize the selected area without affecting any of the original image.
Once you've selected the area you require switch to the Move Selected Pixels
 tool and grab one of the nubs (left-click with the mouse, hold and drag). There should be 8 nubs - 4 in each of the corners of the selected area and 4 top, bottom and each of the sides.
Grab one of the side nubs and when you drag it will compress the selected area.
Once the area is squashed to the size you require, move the cursor to the centre of the selected area and left click to drag the whole area so you can position it correctly again.
Hope this helps.
-
...Mail Pack (png only, i can't create icos

You can if you download and install the Icon, Cursor and Animated Cursor Format Plugin
-
-
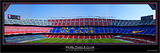
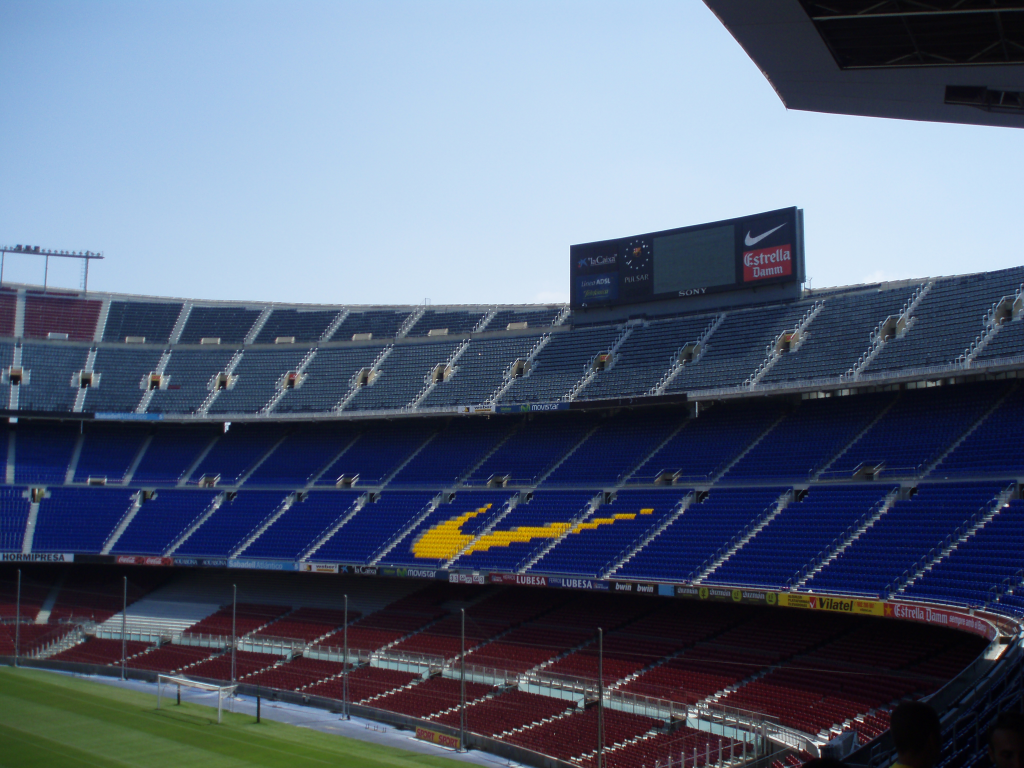
Just back from a summer holiday during which I visited the Nou Camp stadium; home of FC Barcelona.
I took a series of pictures inside the stadium and used PDN to compile them into this panoramic shot.
you used PdN to maka a panoramic shot :O
thats cool!
BTW whats Nou Camp?
I took these 4 original pictures...
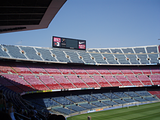
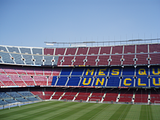
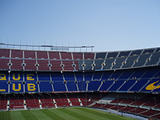

...and used PdN to composite them and fix the joins using clone stamp and various blurs. I then cropped the final image and framed it.
Camp Nou (translates as 'New Field') is the name of the stadium - it is the home of FC Barcelona and is the largest sports stadium in Europe with a capacity of 98,000.
-
Just back from a summer holiday during which I visited the Nou Camp stadium; home of FC Barcelona.
I took a series of pictures inside the stadium and used PDN to compile them into this panoramic shot.
-
What should I call this?
I call it 'Blooming Marvelous'
Get it?
-
EDIT: *Sorry, just re-read the original post and you do not want all the corners rounded, the description below will round all the corners*
The way I usually do something like this...
1. Open the image in PDN
2. Duplicate the layer [CTRL]+[sHIFT]+[D]
3. Set your secondary colour to transparent
4. Image > Canvas Size: By Percentage to 125% (make sure anchor is set to Middle)
5. On the top layer - Effects > Blur > Median Blur. Leave the Percentile at 50 and adjust the Radius to between 10 - 30 (depending on the curve you want).
6. Magic Wand the transparent area on the top layer, switch to the bottom later and press delete.
7. You can now delete the top layer and you have rounded corners on the original.
You may need to feather the edges for a smooth finish.
This might sound a bit complicated, but once you get used to it it's quite handy.
Hope this helps.
-CJ
-
@Gladi8or2
Cool, is this completely PDN, or is the skater cropped from a stock image.
If it's 100% PDN then fantastic work!
-
More fun with Shape3D

 tool to highlight the required area. You can use the Move selection
  tool for accuracy after making a basic selection. This will just resize the selected area without affecting any of the original image.
 tool and grab one of the nubs (left-click with the mouse, hold and drag). There should be 8 nubs - 4 in each of the corners of the selected area and 4 top, bottom and each of the sides.


Forum has been UPGRADED to phpBB 3 -- post "bugs" here
in Paint.NET Discussion and Questions
Posted
I am also having trouble searching the forum. It seems that posts carried over from the old forum are not indexed and therefore when searching no results are being found (a major nuisance, especially for new users as they will be posting questions and mods/users will be 'politely' asking them to use the search facility; it's not their fault that it is not working so everyone'll have to go easy on some fundamental questions from newbies).
Additionally, the new Paint.NET search page is also not returning results of posts made prior to the upgrade.