

Maximilian
-
Posts
1,593 -
Joined
-
Last visited
-
Days Won
72
Posts posted by Maximilian
-
-
Amazing additions!
") ? Welcome back!
? Welcome back! 
-
 1
1
-
-
I agree with lynxster's comment above. They both look super artistic and mega radiant

-
2
-
-
So colorful!
 ?
?
-
1
-
-
2 hours ago, Eli said:
There is a tutorial for crumpled paper but the images are missing.
It would be awesome if someone had a backup of this tute. Paper tutorials seem hard to find
 7 minutes ago, doughty said:
I have a screen grab of the tutorial "Detailed Aged Parchment" - now in the Tutorial Graveyard. If anyone wants to repost. I'm missing, I think, two images.
I'd very much appreciate the images you have
-
1
-
-
I had never heard of deep-fried images before. Thanks for the tutorial! (I'll give it a go asap) ? Welcome to the forum, by the way!
-
1
-
 1
1
-
-
A vibrant butterfly it is!

-
2
-
-
You may have a go at the Content Aware Fill plugin. Consider reading the whole thread for tips on how to use it. Hope it helps! ? (and welcome to the forum, btw)
-
2
-
-
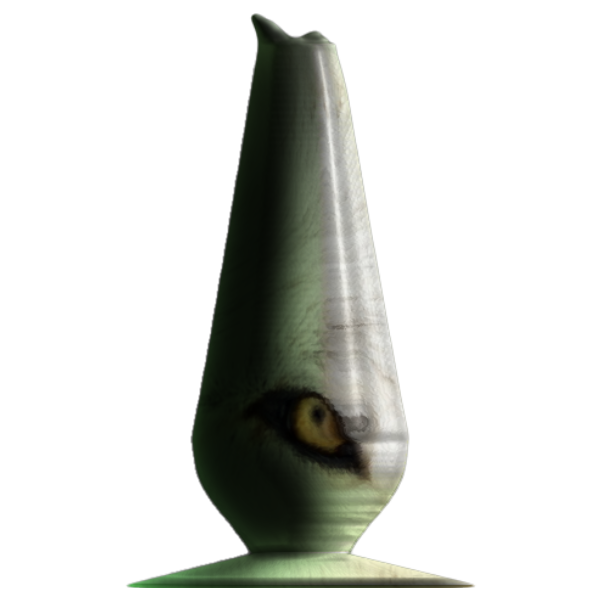
Lovely eyes, especially the German eye!
-
1
-
-
So lush and sunny!!

-
2
-
-
52 minutes ago, Seerose said:
 Dear @Maximilian! Great picture with noise effect?
  Thank you for sharing.

I used TR's Scatter

-
2
-
-
You may want to have a look at this tutorial on the matter of creating animated gifs
-
1
-
-
-
You may consider paying a look at the Make a Jet Turbine tutorial if you're interested in fans. Of course the turbine fan in the tutorial looks different from what you have above, but I think it's worth considering
-
2
-
-
Evan's Effects (scroll down to the bottom of the first post and you'll see the download link)
-
2
-
-
Sehr gut, Freundin lifeday!
-
1
-
1
-
-
41 minutes ago, Seerose said:
Thank you very much for a detailed explanation. A master does not fall from heaven. Who doesn't ask, stays stupid.
Thank you so much.

Thanks for your lovely words, dear Seerose! You're always so kind

-
1
-
1
-
-
One can't help but wonder what there is beyond the trees ??
Does your mom live in the countryside?
-
2
-
-
Really nice outcomes, lifeday!
I'm super glad I could somehow contribute to your happiness

-
1
-
1
-
-
I'm very glad I could help. Feel free to ask if you need any further tips
?
-
1
-
-
5 hours ago, lifeday said:
Hi Maximilian,
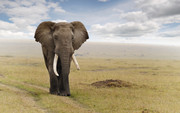
I would like to participate on your happiness.☺️ Yesterday I tried to rework your picture for hours. The elephant became great for me too, but the background.... . I couldn't figure out how to make it so great and fittin. Could you please give me a tip for my background problem?
I thank you in advance and wish you a nice day,
lifedayI will describe the process as briefly and clearly as possible (you will have to work separately on the background with a different plugin):
1— First duplicate the picture and erase the background on this duplicate layer, keeping only the elephant. For this, you can use the magic wand to select the elephant's contour adjusting the wand's tolerance very carefully so as to avoid erasing parts of the elephant itself. If this is not enough or doesn't work well, you can use the eraser, but always carefully (use the zoom to catch in detail what needs to be erased and what needs to be kept).
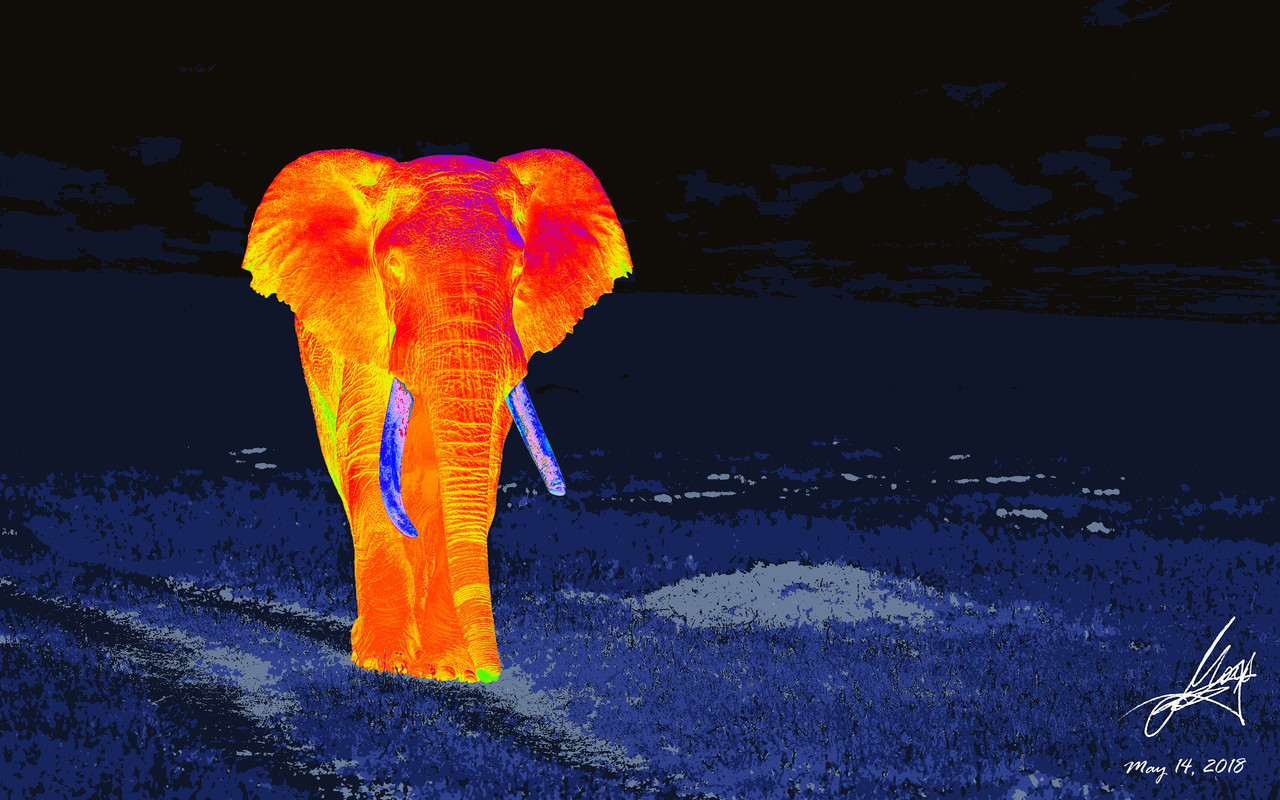
2— Once you have only the elephant on this layer, you can apply the Trippy rainbow effect (I used an Offset of 0.46 to achieve a thermal vision appearance). In this step, the fangs may not look quite right. To solve it, I selected the fangs and applied the Psychocolour effect (which is part of Red ochre's Plugin Pack) with a phase shift of 0.7 (only on the selected fangs).
3— To achieve the dark bluish background, you will need Red ochre's Poster plugin which is also part of Red ochre's Plugin Pack. Make another duplicate of the picture and apply the Poster plugin on this duplicate, setting Hue and Tone to a value of 2 (you can leave the Saturation value as it is). Invert colors (Ctrl + Shift + I), duplicate again setting the topmost duplicate's blend mode to Multiply, and then merge both layers. Now you should have the dark bluish background.
4— Finally, place the elephant layer resulting from step 2 on top of everything.
Hope it works as well for you as it did for me
-
2
-
-
-
Thanks a lot, Seerose!
?
-
1
-
-
-
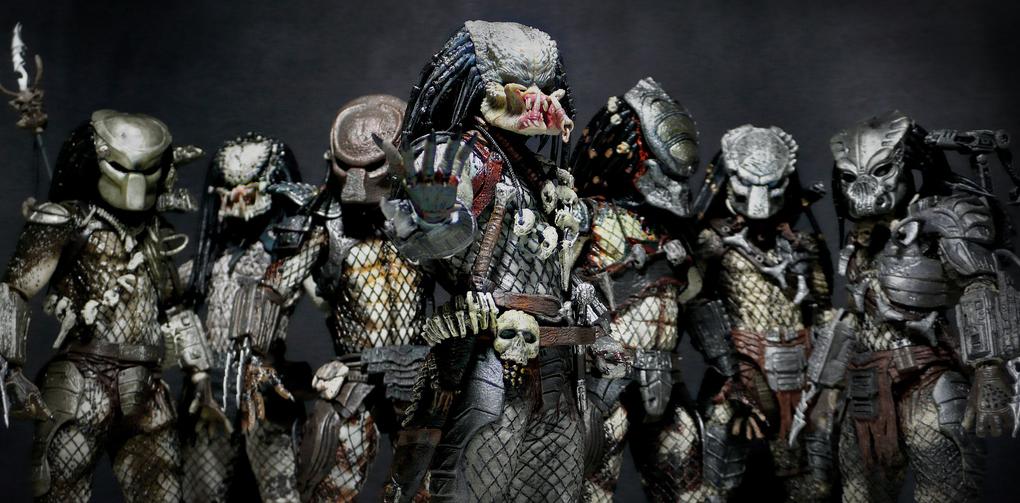
I think I've found a way to use this plugin to emulate the Predator vision with reasonably convincing results, although I may be wrong. In case you're unfamiliar with the Predator movies franchise, I'm talking about these alien reptilian guys with a few sight issues they overcome by wearing helmets featuring various thermal vision modes. I think I've achieved one of such thermal vision modes in few steps, and I hope I'm not making a ridicule of myself ?
Original:
Through Predator vision:

Whether my result looks convincing or not, I had a moment of amusement, so thanks a lot for this much appreciated effect ?
-
5
-
1
-


 Dear
Dear  Thank you for sharing.


lynxster creations ~ St. Paddy's Day! ~ 3/14/24 🍀
in The Pictorium
Posted
Astounding result!